Example - Click A Mesh And Log It
A First Scene Interaction
This example builds on the basic startup example and moves into actual scene interaction.
The goal is simple:
- Start the graph.
- Click a specific mesh in the preview scene.
- Log a message when that mesh is picked.
You can open the finished graph straight in the hosted editor, already wired up: Open this graph in the Flow Graph Editor
To build it yourself from an empty canvas, open the editor here instead: Flow Graph Editor. The steps below walk through wiring it.
Blocks Used
MeshPickEventConstantConsoleLog
This is a small graph, but it introduces one of the most important editor ideas: some blocks become much more useful once they are wired to scene context and configured through the property panel.
Step By Step
1. Keep The Default Scene
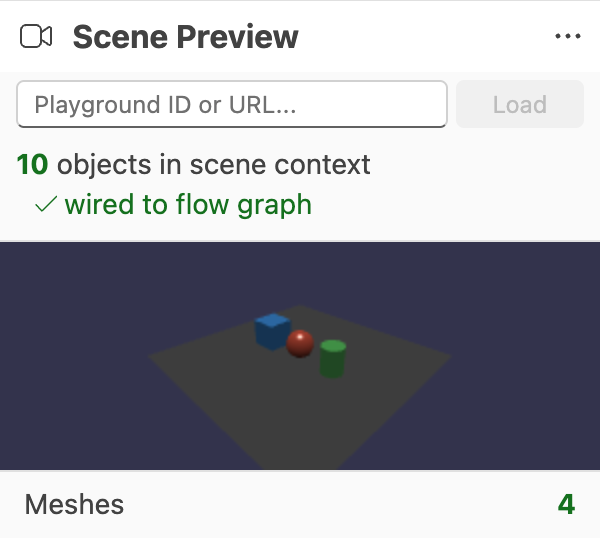
Open the editor and leave the default scene in place.
The default scene already contains a few meshes, which is enough to test pick-based interactions immediately.
2. Add MeshPickEvent
From the Events family, drag MeshPickEvent onto the canvas.
This block fires when a mesh is picked in the preview scene.
3. Configure The Target Mesh
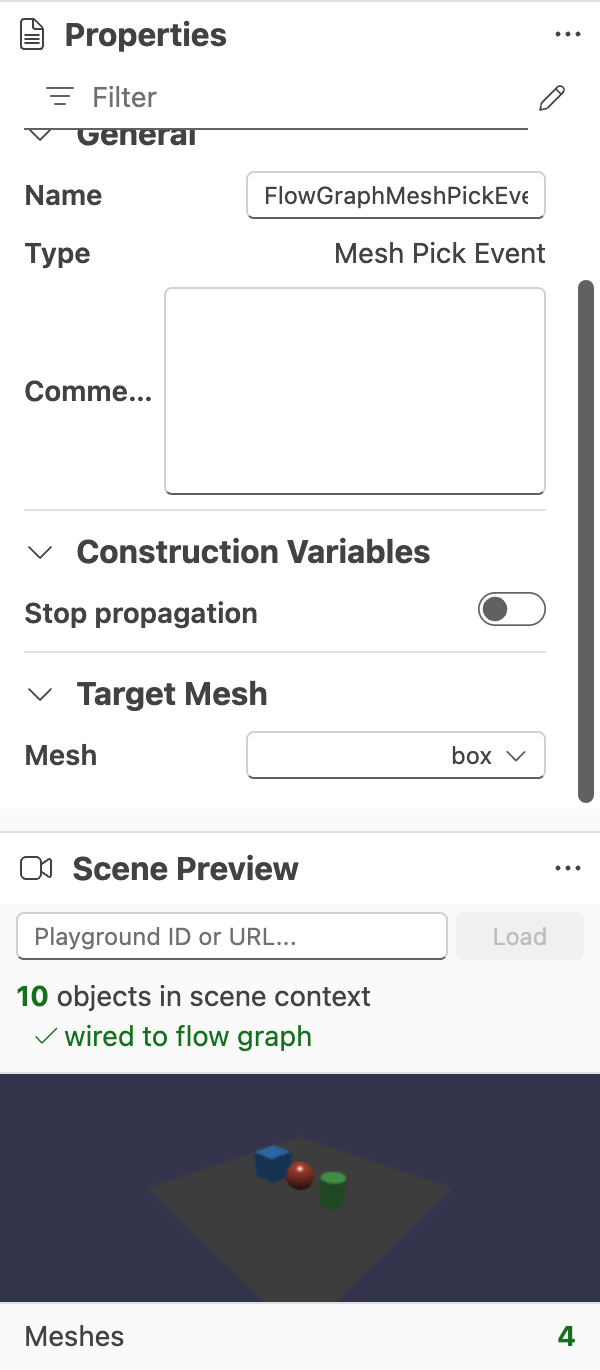
Select the MeshPickEvent block and use the property panel to configure its target mesh.
In the Target Mesh section, choose one of the default scene meshes such as box.
4. Add Constant
From Data Access, add a Constant block.
Set its type to String and give it a value such as Box clicked.
5. Add ConsoleLog
From Utility, add a ConsoleLog block.
This gives you an easy way to verify that the pick event fired.
6. Connect The Graph
Create these connections:
- Execution output of
MeshPickEventto execution input ofConsoleLog - Output of
Constantto the value input ofConsoleLog
7. Run And Test
Press Start, then click the configured mesh in the preview scene.
If the graph is configured correctly, the message is logged when that mesh is picked.
What This Example Teaches
This example introduces a few practical editor concepts at once:
- Event blocks can react to scene interaction instead of only scene startup.
- The scene context panel matters because it provides the assets and object names that scene-aware blocks can use.
- The property panel is often where a generic block becomes a meaningful scene-specific block.
Good Next Steps
After this example, natural follow-ups are:
- Swap
ConsoleLogforSetPropertyto make the interaction visibly change the scene. - Try a pointer event instead of a pick event.
- Use Debug Mode to watch the graph fire when the click happens.
When you want to see all of this combined into a full interactive scene, study Example - Babylon Bros Platformer.
Further reading
Example - Your First Runnable Graph
Build a first runnable graph in the Babylon.js Flow Graph Editor using the default scene and a minimal set of blocks.
Validation and Property Editing
Reference for graph validation, type compatibility, and the property panel in the Babylon.js Flow Graph Editor.
Event Blocks
Detailed reference for the Event family in the Babylon.js Flow Graph Editor.