Node Material Editor Custom Blocks
Custom Blocks
Starting with v5.0, you can create custom blocks by wrapping plain GLSL code. This can be handy when you have complicated code that would be difficult to recreate with the existing node material blocks.
Register Custom Blocks with the NME
Currently, a custom block is described by a .json file that you must provide when registering a new custom block in the Node Material Editor:
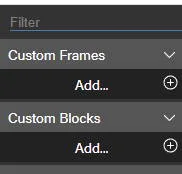
When you click the "+" icon to add (register) a new custom block, you will be prompted for the .json file that describes the block.
Here's how a Multiply custom block could be implemented:
{ "name": "CustomMultiply", "comments": "Multiplies the left and right inputs of the same type together", "target": "Neutral", "inParameters": [ { "name": "left", "type": "AutoDetect" }, { "name": "right", "type": "AutoDetect" } ], "outParameters": [ { "name": "output", "type": "BasedOnInput", "typeFromInput": "left" } ], "inLinkedConnectionTypes" : [ { "input1": "left", "input2": "right", "looseCoupling": false } ], "functionName": "multiply_{TYPE_left}", "code": [ "{TYPE_output} myHelper_{TYPE_left}({TYPE_left} l, {TYPE_right} r) { return l * r; }", "void multiply_{TYPE_left}({TYPE_left} l, {TYPE_right} r, out {TYPE_output} result) {", " result = myHelper_{TYPE_left}(l, r);", "}" ] }Most of the properties should be self-explanatory. Here are the possible values for some of the properties:
- target: Neutral, Vertex, Fragment, VertexAndFragment
- in/out parameters: Float, Int, Vector2, Vector3, Vector4, Color3, Color4, Matrix, Object, AutoDetect, BasedOnInput
- in parameters only: sampler2D, samplerCube
As this block allows any type of input (Float, Vector3, etc., as the AutoDetect value shows for the left and right parameter types), the type of output is set to BasedOnInput to inherit the value of the input plugged into left (the value of typeFromInput) at runtime. Also, we want the types of the left and right inputs to be the same (once an input is plugged in, the other one should inherit the same type), which is why we have an inLinkedConnectionTypes section in the file.
As the types are not known at the time we create the .json file, we must reference them in the GLSL code by using the special syntax {TYPE_XXX} where XXX is the name of an input/output: at runtime, these constructs will be replaced by the right type (float, vec2, etc).
Note that we used a myHelper_{TYPE_left} helper function only to demonstrate that you can use other functions in the code, you don't have to write all your code in the main function.
Lastly, the main function (the one exported in the functionName property) must return void, and the output parameter(s) it returns must be declared as out parameters of the function (see example).
Using Custom Blocks
Custom blocks are no different from the other blocks, so you simply need to drag and drop a block from the list on the left into the main area:
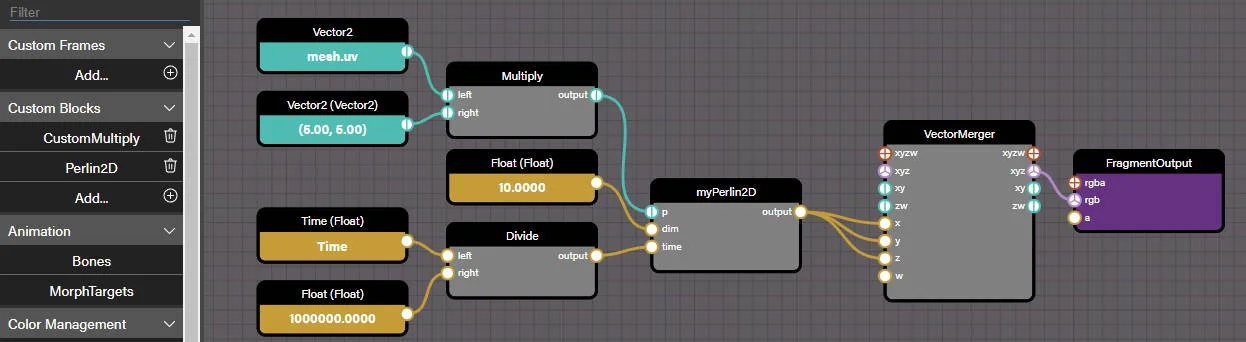
Here, the myPerlin2D block is a Perlin2D custom block (see the list of custom blocks in the left menu).
This block has been imported into the NME with this .json file:
{ "name": "Perlin2D", "comments": "Generates a Perlin noise single value given a vec2 and time", "target": "Neutral", "inParameters": [ { "name": "p", "type": "Vector2" }, { "name": "dim", "type": "Float" }, { "name": "time", "type": "Float" } ], "outParameters": [ { "name": "output", "type": "Float" } ], "functionName": "perlin", "code": [ "float rand(vec2 co){return fract(sin(dot(co.xy ,vec2(12.9898,78.233))) * 43758.5453);}", "float rand(vec2 co, float l) {return rand(vec2(rand(co), l));}", "float rand(vec2 co, float l, float t) {return rand(vec2(rand(co, l), t));}", "", "void perlin(vec2 p, float dim, float time, out float result) {", " vec2 pos = floor(p * dim);", " vec2 posx = pos + vec2(1.0, 0.0);", " vec2 posy = pos + vec2(0.0, 1.0);", " vec2 posxy = pos + vec2(1.0);", " ", " float c = rand(pos, dim, time);", " float cx = rand(posx, dim, time);", " float cy = rand(posy, dim, time);", " float cxy = rand(posxy, dim, time);", " ", " vec2 d = fract(p * dim);", " d = -0.5 * cos(d * 3.14159265358979323846) + 0.5;", " ", " float ccx = mix(c, cx, d.x);", " float cycxy = mix(cy, cxy, d.x);", " float center = mix(ccx, cycxy, d.y);", " ", " result = center * 2.0 - 1.0;", "}" ] }Here's the link to the NME: Custom Perlin2D block
Using Custom Blocks for Ray Marching
Ray marching is commonly used for rendering fractals, volumetric effects, and scenes with complex, procedural objects. It’s flexible and can handle a wide range of situations, but it can be computationally intensive, especially for complex scenes or objects with intricate geometry. Ray marching has been possible in Babylon.js since its inception through custom shaders. In Node Material, the way to enable it is by authoring custom blocks.
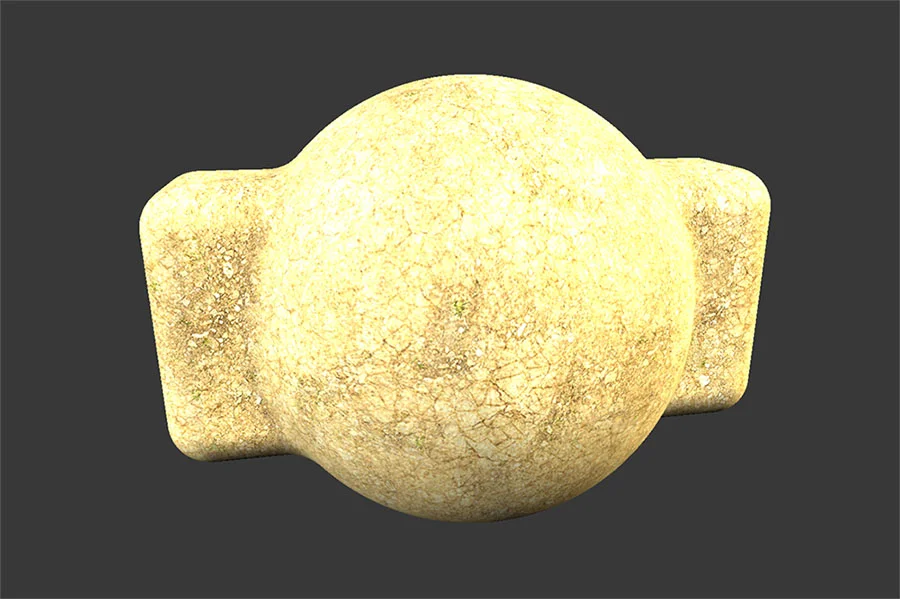
There is no universal ray marching block in Node Material, as each experience that uses ray marching may have different requirements. To learn how to get started with a custom block, we have an in-depth article about using ray marching in node material that includes simple and complex examples. The article also discusses the additional blocks that have been added to the Node Material Editor, like the FragDepth block, to support ray marching in a custom block.
Here are a couple of examples of ray marching. One is a simple example using a custom block in the Node Material Editor, and the other is a very complex example showing the power of ray marching with a custom shader in a Babylon.js Playground.
Ray Marching Custom Block Snail Ray Marching Scene