Global Illumination with Reflective Shadow Maps
| Without GI | With GI |
|---|---|
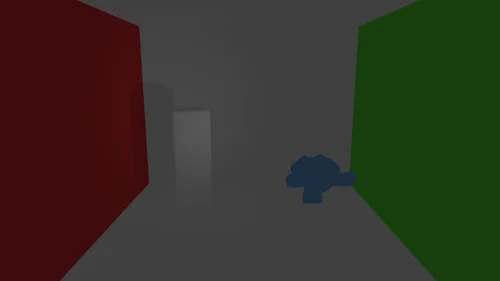 | 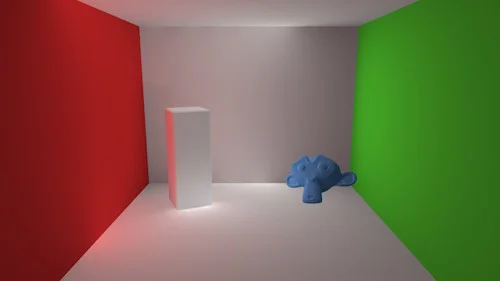 |
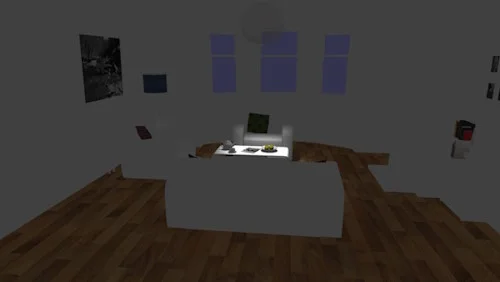 | 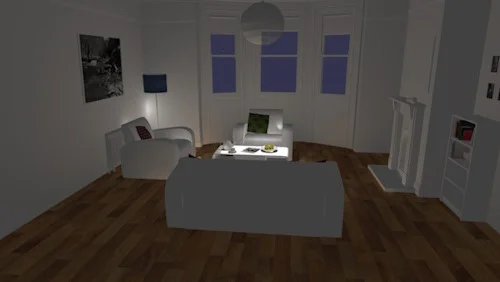 |
Introduction
From Wikipedia:
Global illumination (GI), or indirect illumination, is a group of algorithms used in 3D computer graphics that are meant to add more realistic lighting to 3D scenes. Such algorithms take into account not only the light that comes directly from a light source (direct illumination), but also subsequent cases in which light rays from the same source are reflected by other surfaces in the scene, whether reflective or not (indirect illumination).
Theoretically, reflections, refractions, and shadows are all examples of global illumination, because when simulating them, one object affects the rendering of another (as opposed to an object being affected only by a direct source of light). In practice, however, only the simulation of diffuse inter-reflection or caustics is called global illumination.
The algorithm implemented in Babylon (since version 7) is based on Reflective Shadow Maps (RSM). This algorithm can't compete with other GI algorithms (such as those used in Unreal Engine or other game engines) as a complete GI solution, but it can be effective depending on your scene and the quality you want to achieve. There are also a number of parameters that help you adjust the final result to work on a wider range of devices.
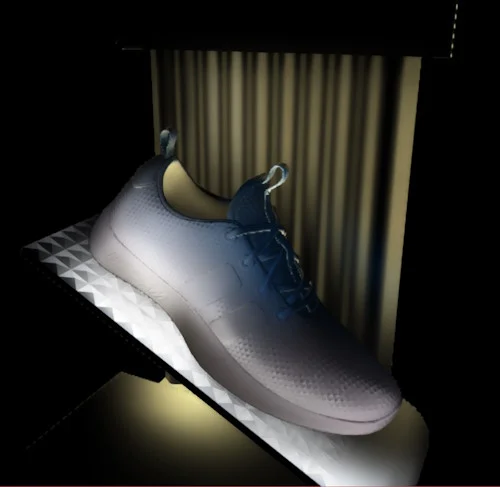
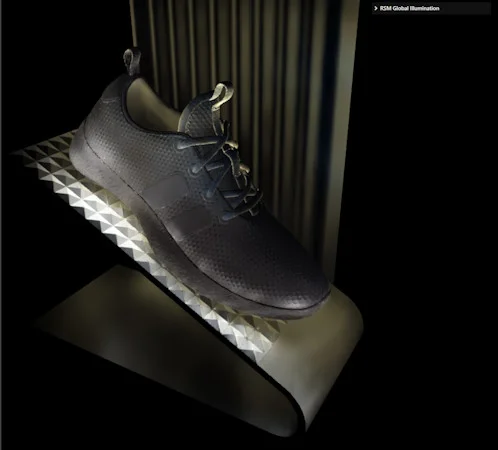
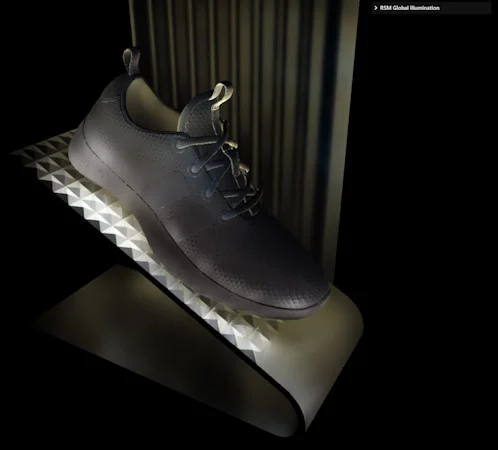
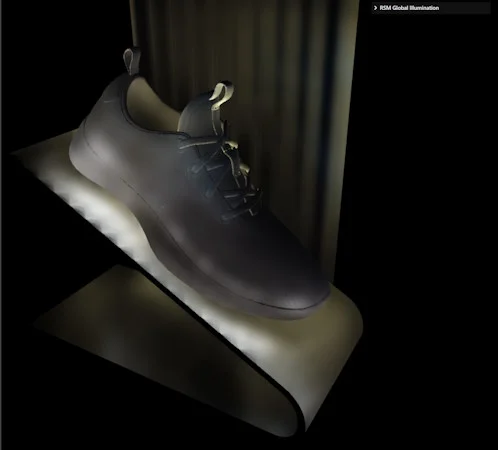
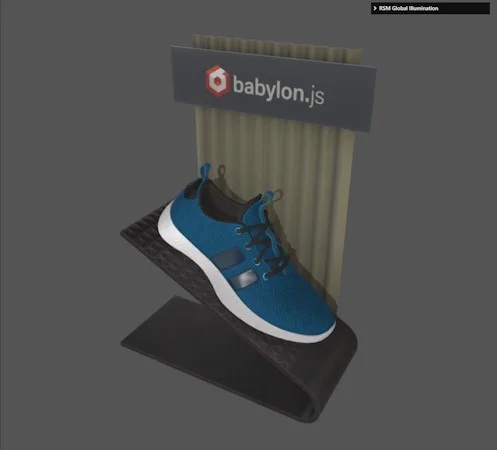
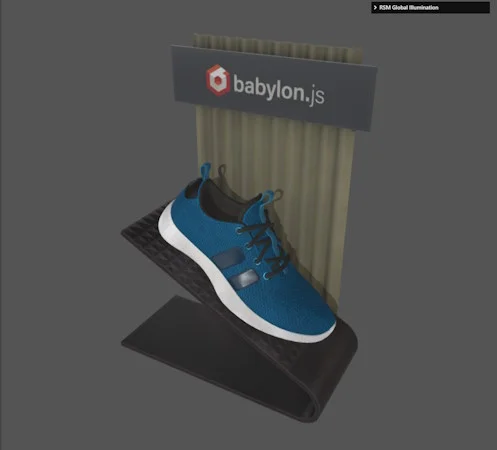
One of the main uses we foresee is in the context of e-commerce, to better anchor models in the environment. See, for example:
| Without GI | With GI |
|---|---|
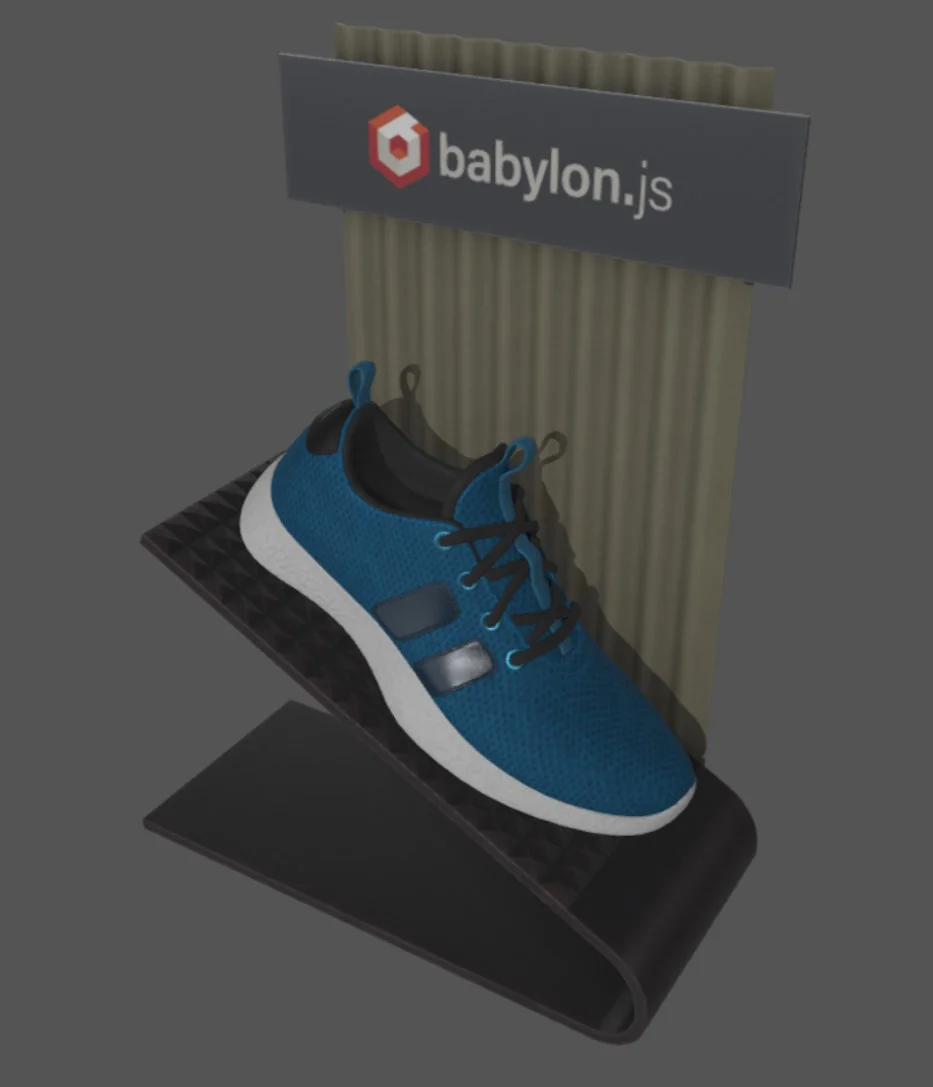 | 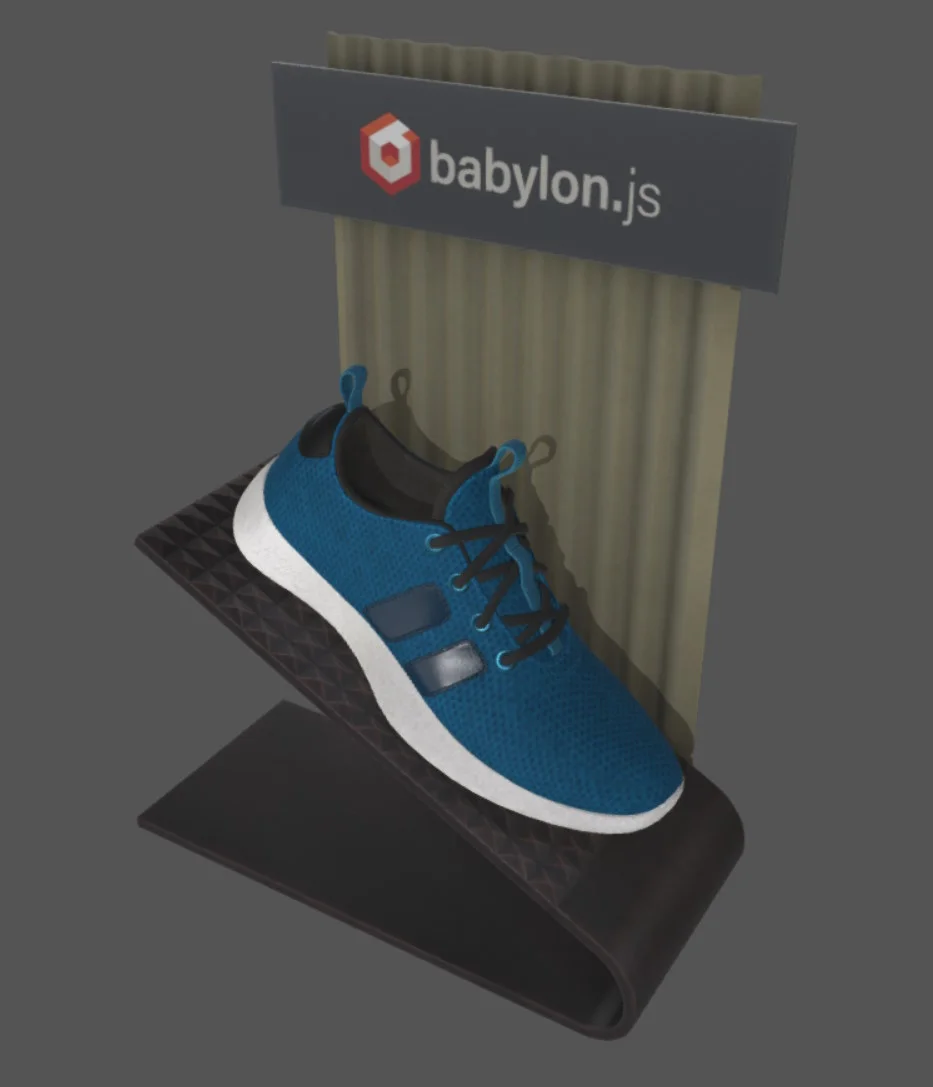 |
The differences are subtle, just look at the shoe support and the backdrop (click to enlarge).
Example in eCommerce contextReflective Shadow Maps (RSM)
Historical background
Reflective Shadow Maps is a technique first described in this article. This is a fairly old article, but many newer GI algorithms use the RSM method as one of the first steps in a more advanced algorithm.
For example, the Light Propagation Volumes algorithm, first used in CryEngine 3 and also used in Unreal Engine 4, uses RSM as the first step in the GI pipeline.
Uncharted 4 (scroll down to "Temporal Antialiasing in Uncharted 4", slide 71 in the PPT file) also uses RSM to manage the light projected by the spotlight in certain parts of the game (albeit with Temporal Anti Aliasing, to spread the calculation over several frames):
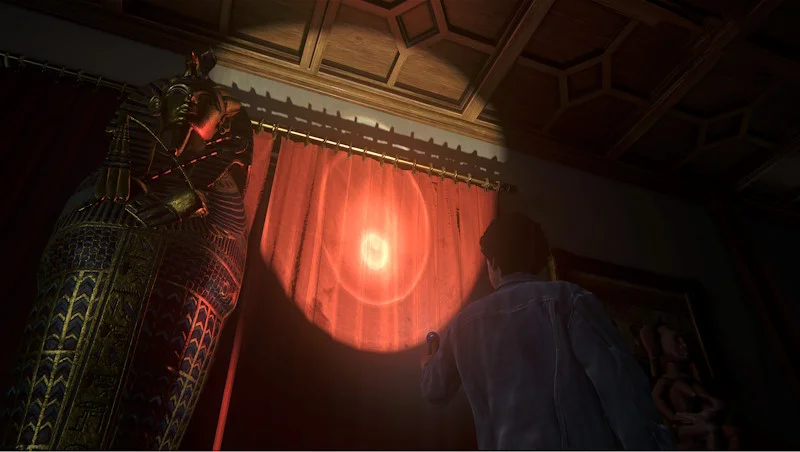
Notice the red light bleeding to the ceiling and statue.
How it works
RSM works by rendering the scene from the point of view of the light—exactly as we do to generate the depth texture for shadow mapping—but in addition to the depth texture (in fact, we generate a position texture instead of a depth texture to save a few calculations later on), we also generate a normal and a flux (albedo) texture. Each texel in the flux texture is used as a Virtual Point Light (VPL) that illuminates every point in the scene. The position texture is used to reconstruct a 3D point in space from each texel, and the normal is needed to calculate the GI light contribution.
| Position texture | Normal texture | Flux texture |
|---|---|---|
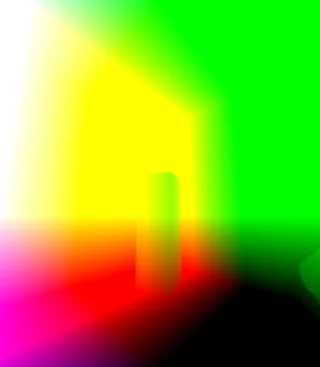 | 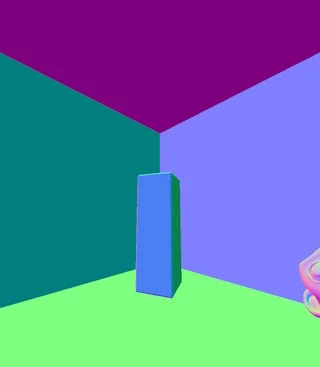 | 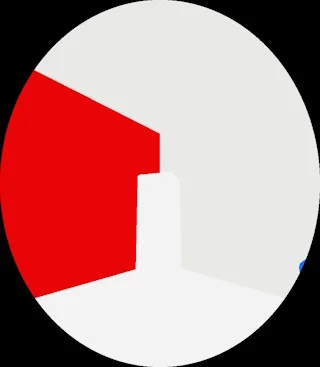 |
(the flux texture appears as an ellipse because the light used in the scene is a spotlight)
As you can see, RSM itself is simply a means of generating light-specific textures. These textures can then be used in a GI calculation or for any other purpose. This is why it is implemented as a specific class in Babylon.js (BABYLON.ReflectiveShadowMap), which can be used on its own.
Using RSM for Global Illumination
GI algorithm
Once the RSM textures have been generated, we can use them to calculate the GI contribution according to the formula described in the article referenced in the Historical background section.
During final rendering, when we calculate the color of a pixel, we gather the light from all the VPLs to generate the final color.
Depending on the size of the RSM texture, this can represent a lot of calculations, which is why we generally limit ourselves to the VPLs located inside a circle (a disk, in fact) centered on the pixel we're shading, after projecting this pixel inside the RSM texture (the circle is defined by its radius in the RSM texture). The reasoning is as follows: pixels in the RSM texture close to the (projected) pixel we're shading are also close in 3D world space. This isn't always true, but it's a pretty good approximation.
We could, however, still have many VPLs inside this circle, so another parameter of the algorithm is the number of samples we want to take inside this circle. The VPLs will be chosen randomly within the circle (see article for details), up to the number of samples chosen.
Improving result
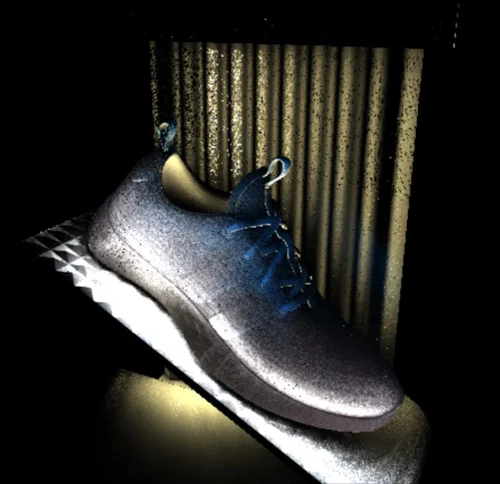
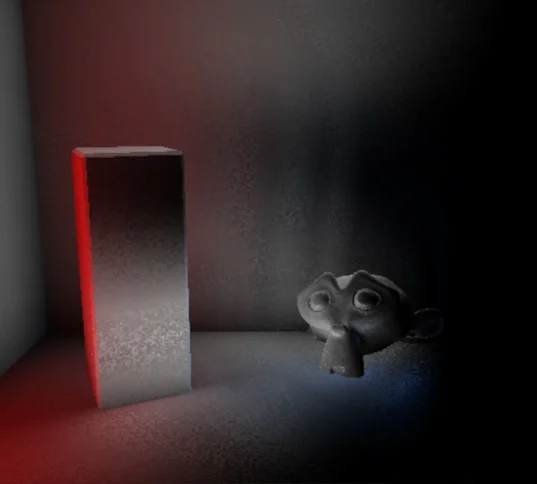
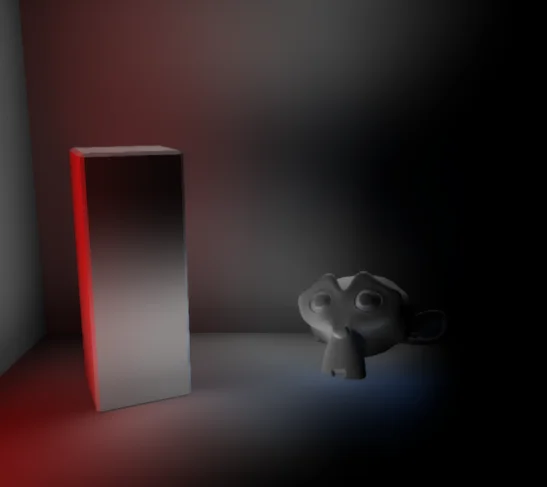
As we only take a limited number of samples to calculate the GI contribution to a pixel, artifacts will be clearly visible (the images below only show the GI contribution):
 |  |
|---|
That's why we've set up a blur pass to deal with these artifacts:
 |  |
|---|
There are a number of parameters linked to the blur pass, which we'll describe later in the appropriate section.
Implementation classes
The BABYLON.GIRSMManager class is responsible for implementing this GI algorithm in Babylon.js. The BABYLON.GIRSM class is used to store illumination parameters for a reflective shadow map (such as the radius or number of samples described above). Instances of this class are used by the GIRSMManager class to generate global illumination for a scene.
You can create an instance of the ReflectiveShadowMap class this way to wrap an existing light:
import { ReflectiveShadowMap } from "@babylonjs/core/Rendering/reflectiveShadowMap";const rsm = new ReflectiveShadowMap(scene, light, { width: 512, height: 512 });rsm.addMesh(); // no specific mesh transmitted to addMesh, so all meshes in the scene are added and will be rendered in the RSMOur implementation supports GI for directional and spot lights. You can also enable GI for multiple lights, but be aware of the impact on performance! If you know that only a subset of meshes will be affected by a light, you should call BABYLON.ReflectiveShadowMap.addMesh with that subset to improve performance.
Once you have an instance of ReflectiveShadowMap, you can add it to the GI manager:
import { GIRSMManager } from "@babylonjs/core/Rendering/GlobalIllumination/giRSMManager";const outputDimensions = { width: engine.getRenderWidth(true), height: engine.getRenderHeight(true),};const defaultGITextureRatio = 2;const giTextureDimensions = { width: Math.floor(engine.getRenderWidth(true) / defaultGITextureRatio), height: Math.floor(engine.getRenderHeight(true) / defaultGITextureRatio),};const giRSMMgr = new GIRSMManager(scene, outputDimensions, giTextureDimensions, 2048);giRSMMgr.addGIRSM(giRSMs);giRSMMgr.addMaterial(); // no specific material transmitted to addMaterial, so all materials in the scene will be configured to render with GIGI rendering is configured at the material level with the BABYLON.GIRSMManager.addMaterial call. If you don't want all the materials in the scene to be configured to use GI, you need to pass this function an array of the materials you want.
From here, you can modify the RSM parameters and/or the GI manager parameters, which we'll describe in the next section.
Note on the playgrounds used on this page:
If possible, you should open them with the WebGPU engine. In this case, the "GPU timings" section of the GUI will give you valuable information about the timing of the various algorithm passes. With WebGL, this section will remain empty, as WebGL does not support GPU timings.
RSM Parameter description
This section describes the parameters you can set at the RSM level to adapt the GI contribution to your needs (in terms of quality and performance). These parameters are part of the BABYLON.GIRSM class.
Full texture mode
In this special mode, all RSM texels are used to calculate the GI contribution. Thus, the parameters radius, number of samples, Rotate samples and Noise factor are not used (see below for more details on these parameters). This mode is activated by setting GIRSM.useFullTexture to true.
You need to be careful when using this mode, as the number of samples used in the calculation is RSMTextureWidth * RSMTextureHeight! For example, if the texture dimensions are 32x32, that's already 1024 samples used for calculation, per pixel.
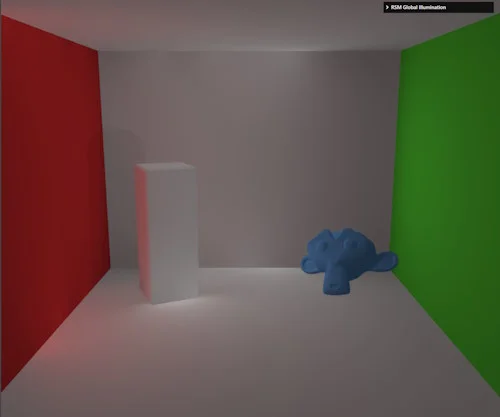
The output in this mode can be quite different from when it is deactivated, because the entire texture is used for calculation:
| useFullTexture = false | useFullTexture = true |
|---|---|
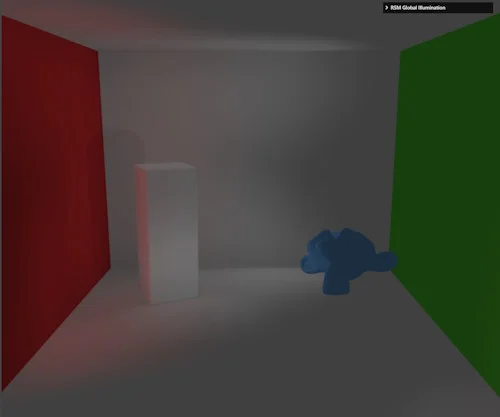 |  |
PG for first screenshot: useFullTexture parameter (false)
PG for second screenshot: useFullTexture parameter (true)
In the second screenshot, the size of the RSM texture is 29x26, so the number of samples is 29x26=754.
Due to the low resolution of the RSM texture, moving objects can exhibit a "wobbling" effect in the lighting. This can be improved by increasing the texture resolution, but you'll quickly be limited by GPU power...
You may also see brighter areas at the base of the pillar and at the boundary between the ceiling/back wall and the back wall/floor. These artifacts can be corrected to some extent using the edge artifact correction setting (see below), but they can be difficult to correct completely, especially when objects or lights are moving.
This is why this mode is probably best suited to static scenes or screenshot generation.
Intensity, Radius and Number of samples
These are the main properties to set when configuring a GI RSM. GIRSM.intensity lets you define the intensity of the effect, while GIRSM.radius and GIRSM.numSamples define the area and number of samples to consider in the RSM texture. See GI algorithm for more details. Note that radius is a relative ratio between 0 and 1, not a number of pixels!
radius will depend on your scene and the total area covered by the RSM: for a given texture size, if the area is large, you'll want to use smaller values for radius, because a texel in the texture will represent a larger area than if the area were smaller, and we want radius to represent the near vicinity of the shaded point.
| radius = 0.2 | radius = 0.6 |
|---|---|
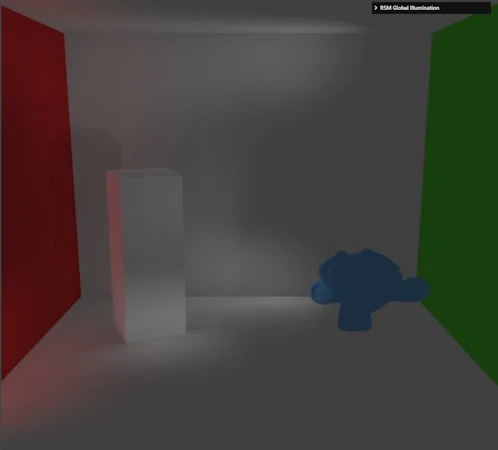 | 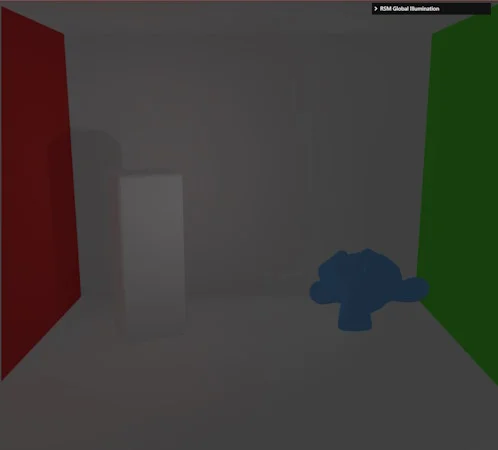 |
The intensity and number of samples are the same in both cases. As you can see, because we've increased the radius, the lighting is more evenly distributed across the scene (you can barely see the red light bleeding from the wall toward the pillar). We'd have to increase the number of samples to regain some brightness, which would come at a performance cost.
Edge artifact correction
The technique used can exhibit problems that appear along the common boundary of two walls / surfaces. See the second paragraph of section 3.2 in the reference documentation for explanations.
The GIRSM.edgeArtifactCorrection property can help alleviate these problems. The value to be used will depend on the scene, so there's no single value that's right for every situation; you'll need to adjust the value on a case-by-case basis.
For example, here are two images using the useFullTexture=true mode, with different values for this parameter:
| edgeArtifact = 0.004 | edgeArtifact = 0.420 |
|---|---|
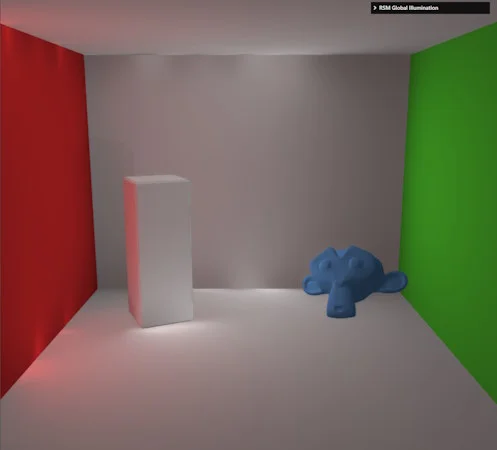 | 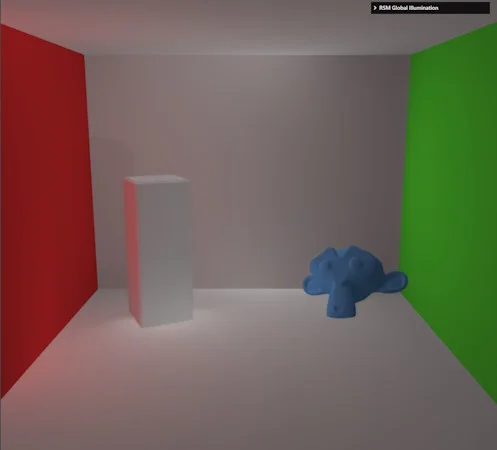 |
As you can see, the artifacts are reduced in the second screenshot (but not completely removed).
Rotate samples and Noise factor
As we only take a limited number of samples to calculate the GI contribution for a pixel, you get some artifacts due to undersampling (the intensity has been increased and the blur disabled for illustrative purposes):
| Final image | GI only |
|---|---|
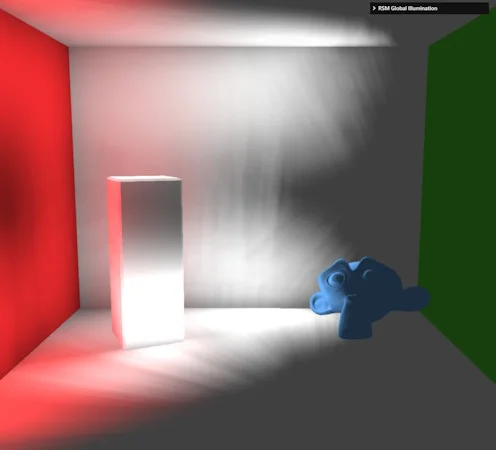 | 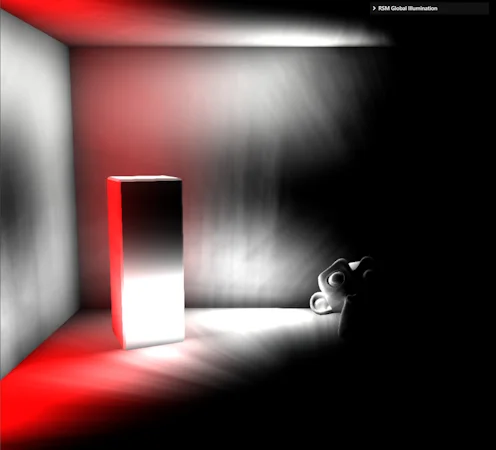 |
You can trade banding for noise by setting GIRSM.rotateSample = true. You'll also need to set GIRSM.noiseFactor to a value large enough to make the noise pattern small enough:
| noiseFactor=6 | noiseFactor=500 |
|---|---|
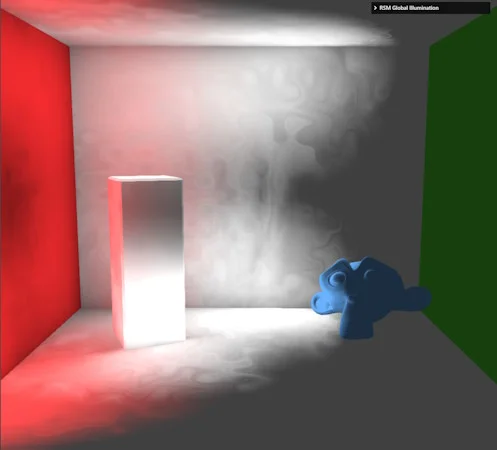 | 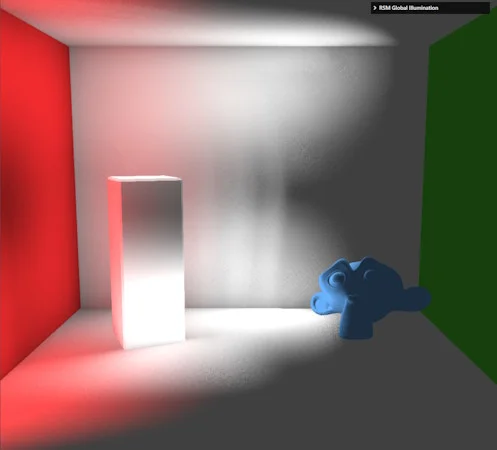 |
The right value depends on the scale of your scene. Noise is less objectionable than banding and can be more easily treated by a blur pass (see below) than banding.
GI Parameter description
This section describes the parameters you can set at the GIRSMManager level to adapt the GI contribution to your needs (in terms of quality and performance). These parameters are part of the BABYLON.GIRSMManager class.
These parameters mainly concern the blur pass, the only other parameters being texture sizes (output and GI textures), which will be examined in the next section.
Generalities
As you can see in Improving result, we need a blur pass to smooth the output of GI generation. However, a simple Gaussian blur would not work as expected, as the edges of the geometry would also be blurred:
| Without blur | Simple blur |
|---|---|
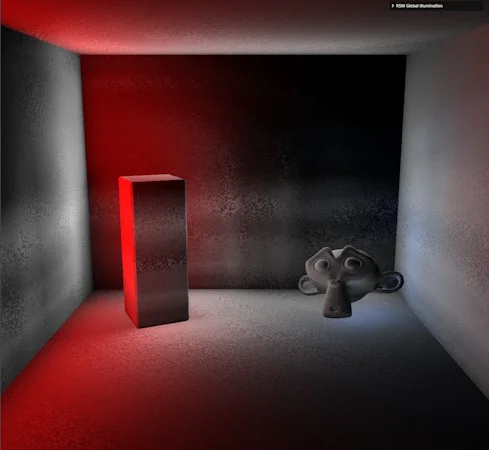 | 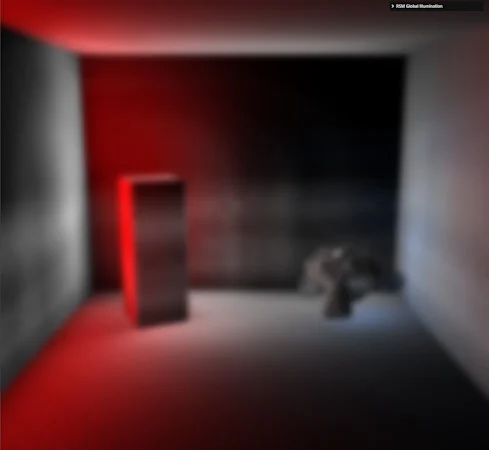 |
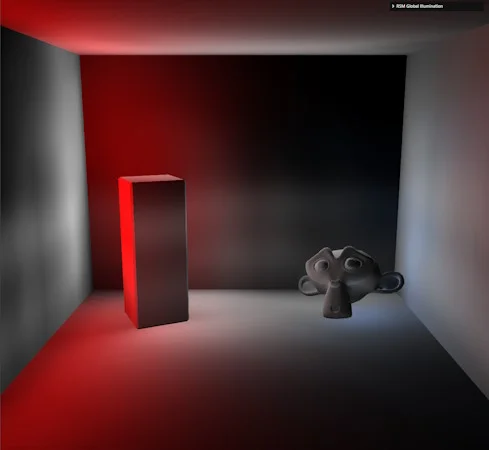
What we need is called bilateral blur, because it preserves the characteristics of an image. Here, we want to take into account the normal and depth of each pixel to decide whether to blur or not: if the normal or depth from one pixel to another is too different, we won't blur the pixel. This means we need the normal and depth for every pixel in the scene: the geometry buffer renderer is used internally to generate the normal and depth textures.
You can see the difference between a simple blur and a bilateral blur in these images:
| Simple blur | Bilateral blur |
|---|---|
|  |
Also, it should be noted that if you use the full texture mode, you may not need the blur pass: you should perform some tests and disable this pass if you don't need it, as you will save performance by doing so.
Depth and Normal threshold
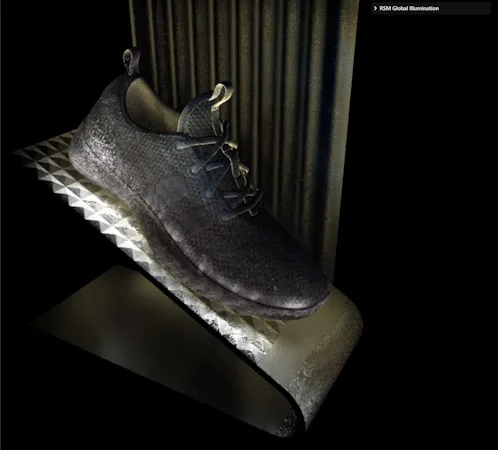
GIRSMManager.blurDepthThreshold and GIRSMManager.blurNormalThreshold are the depth and normal thresholds used by bilateral blur to decide whether a pixel should be blurred with the next one or not: the pixel will not be blurred if the difference between the depth or normal of the two pixels is greater than the thresholds.
Values depend on the scale of your scene. For example:
| Normal threshold=0.01 | Normal threshold=0.15 |
|---|---|
 |  |
| Normal threshold=0.35 | Normal threshold=0.8 |
|---|---|
 |  |
As you can see, values between 0.15 and 0.35 are correct, but 0.01 is too low (not enough pixels are blurred), and 0.8 is too high (too many pixels are blurred).
Blur kernel and quality blur
GIRSMManager.blurKernel controls blur strength:
| Blur kernel=4 | blur kernel=14 |
|---|---|
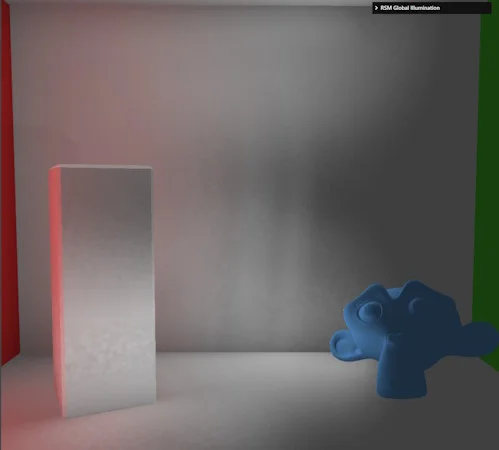 | 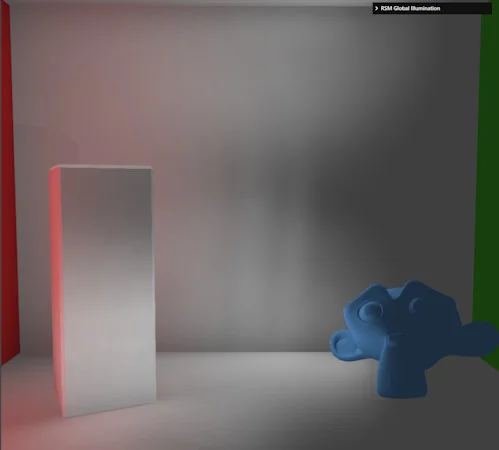 |
Try to use the lowest possible value, as higher values mean greater consumption of GPU resources.
GIRSMManager.useQualityBlur is a parameter that improves blur quality, but is very GPU-intensive! You should therefore use it wisely, and if possible, try to tweak the other parameters and leave this parameter deactivated:
| useQualityBlur=false | useQualityBlur=true |
|---|---|
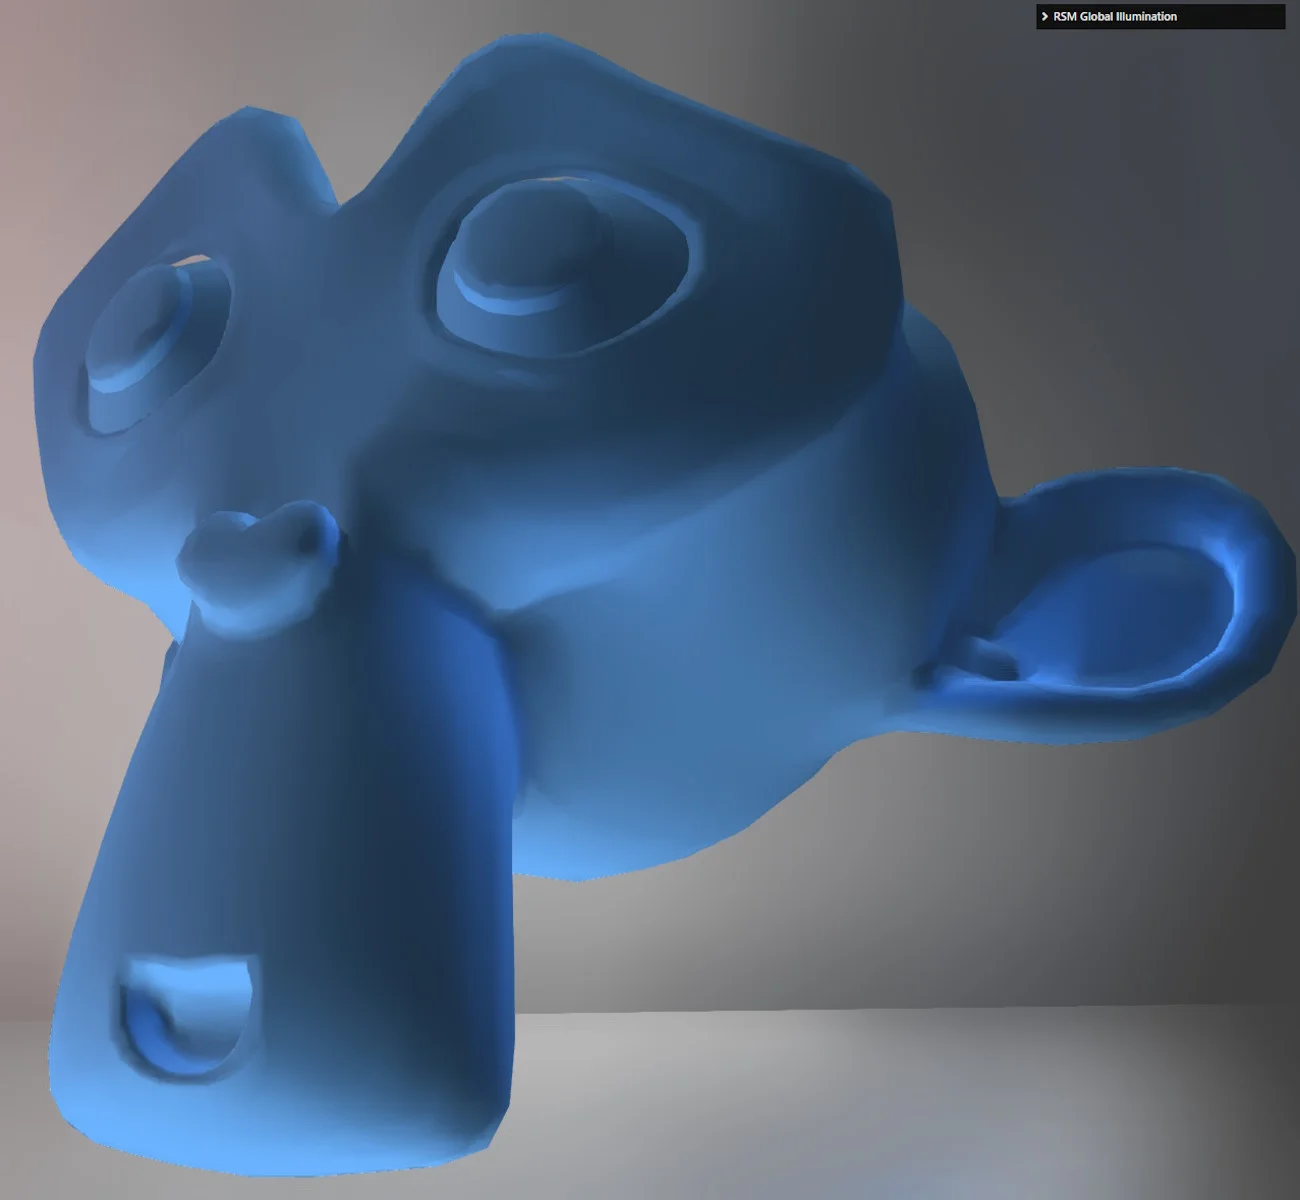 | 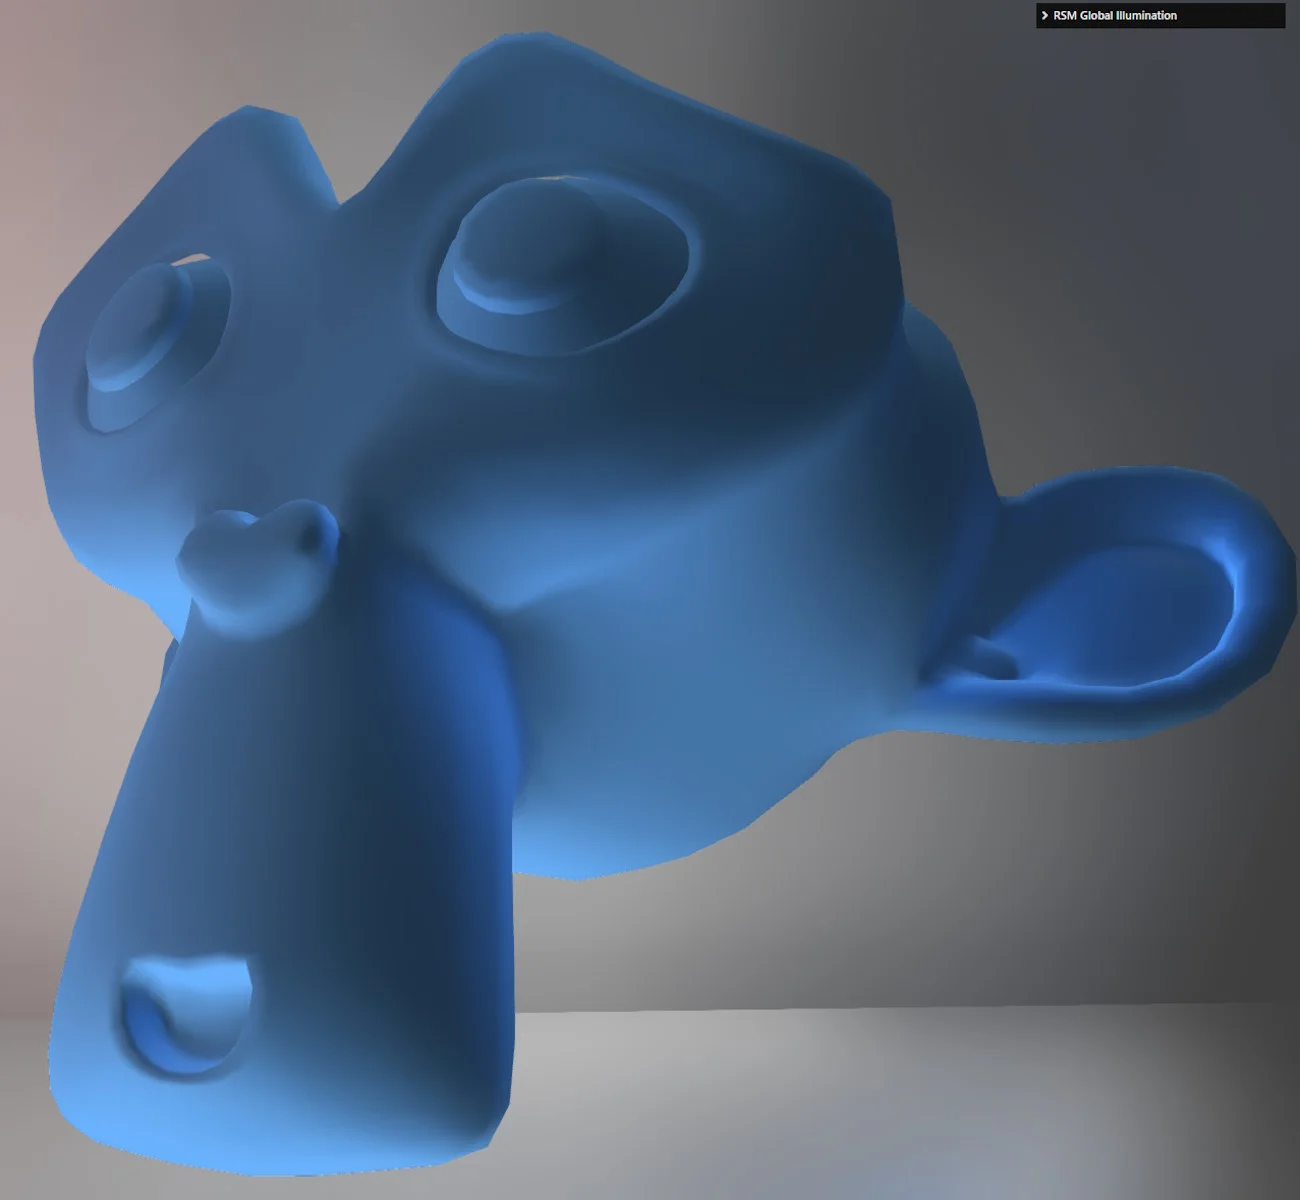 |
Click on the images to enlarge and see the differences (look at the eyes, nose, ear, mouth).
Upsampling kernel and quality upsampling
When the GI texture is smaller than the output texture, an upsampling pass is performed to bring the texture to the final size. This pass also uses a bilateral filter, and GIRSMManager.upsamplingKernel / GIRSMManager.useQualityUpsampling play the same role as GIRSMManager.blurKernel / GIRSMManager.useQualityBlur for blurring.
| upsamplingKernel=1 | upsamplingKernel=6 |
|---|---|
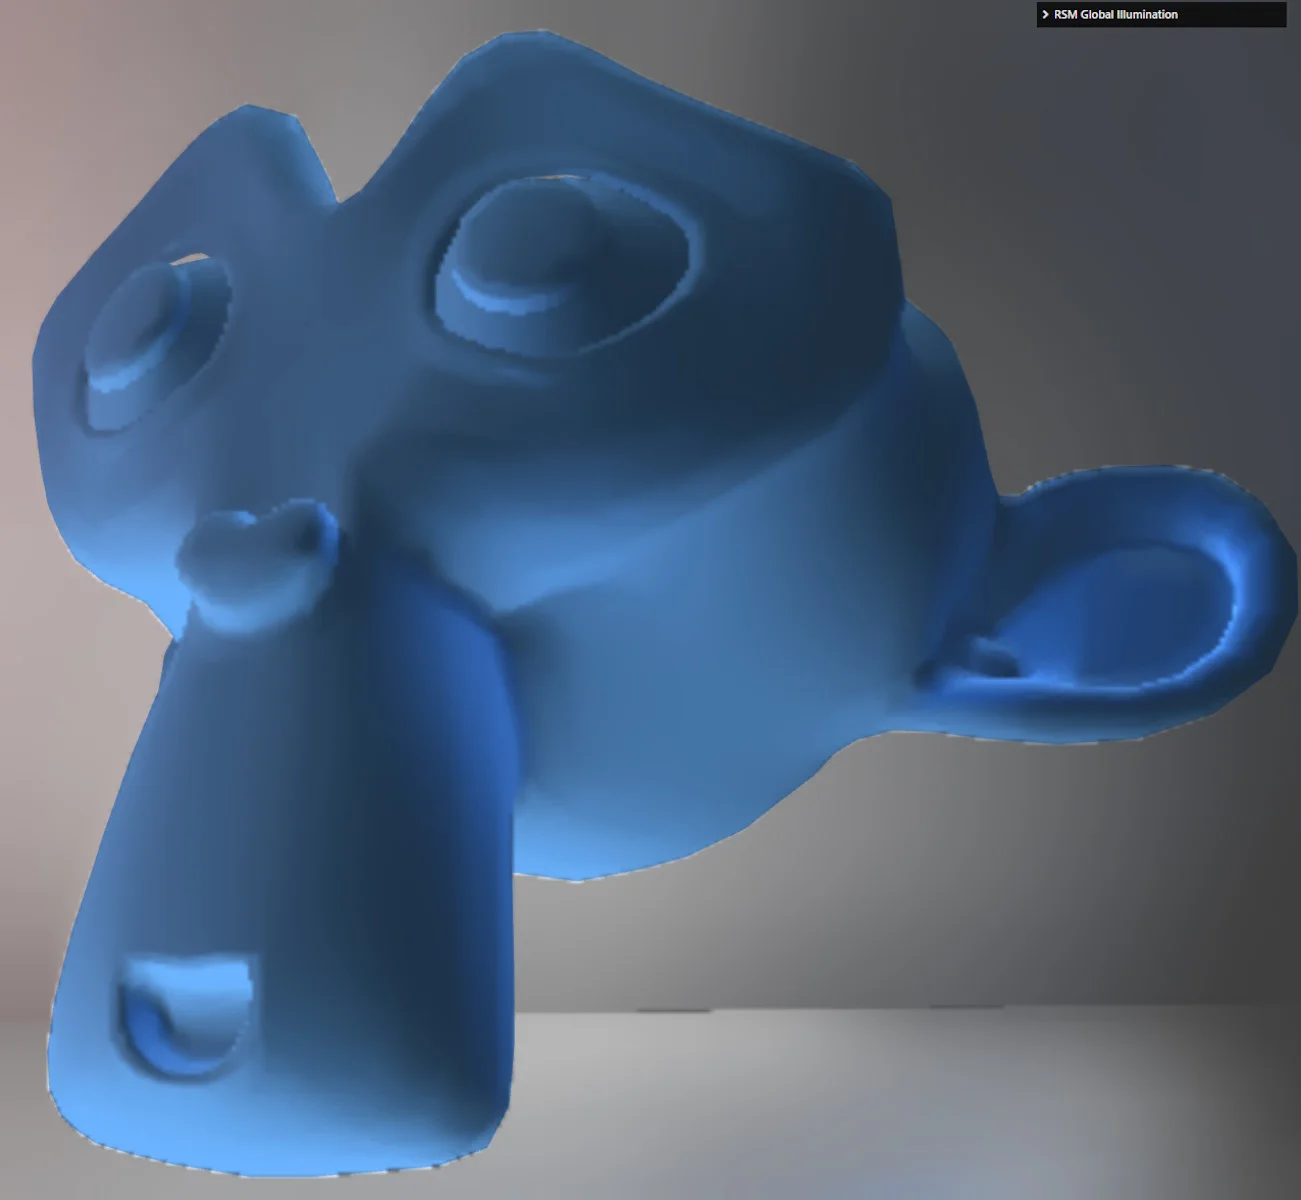 | 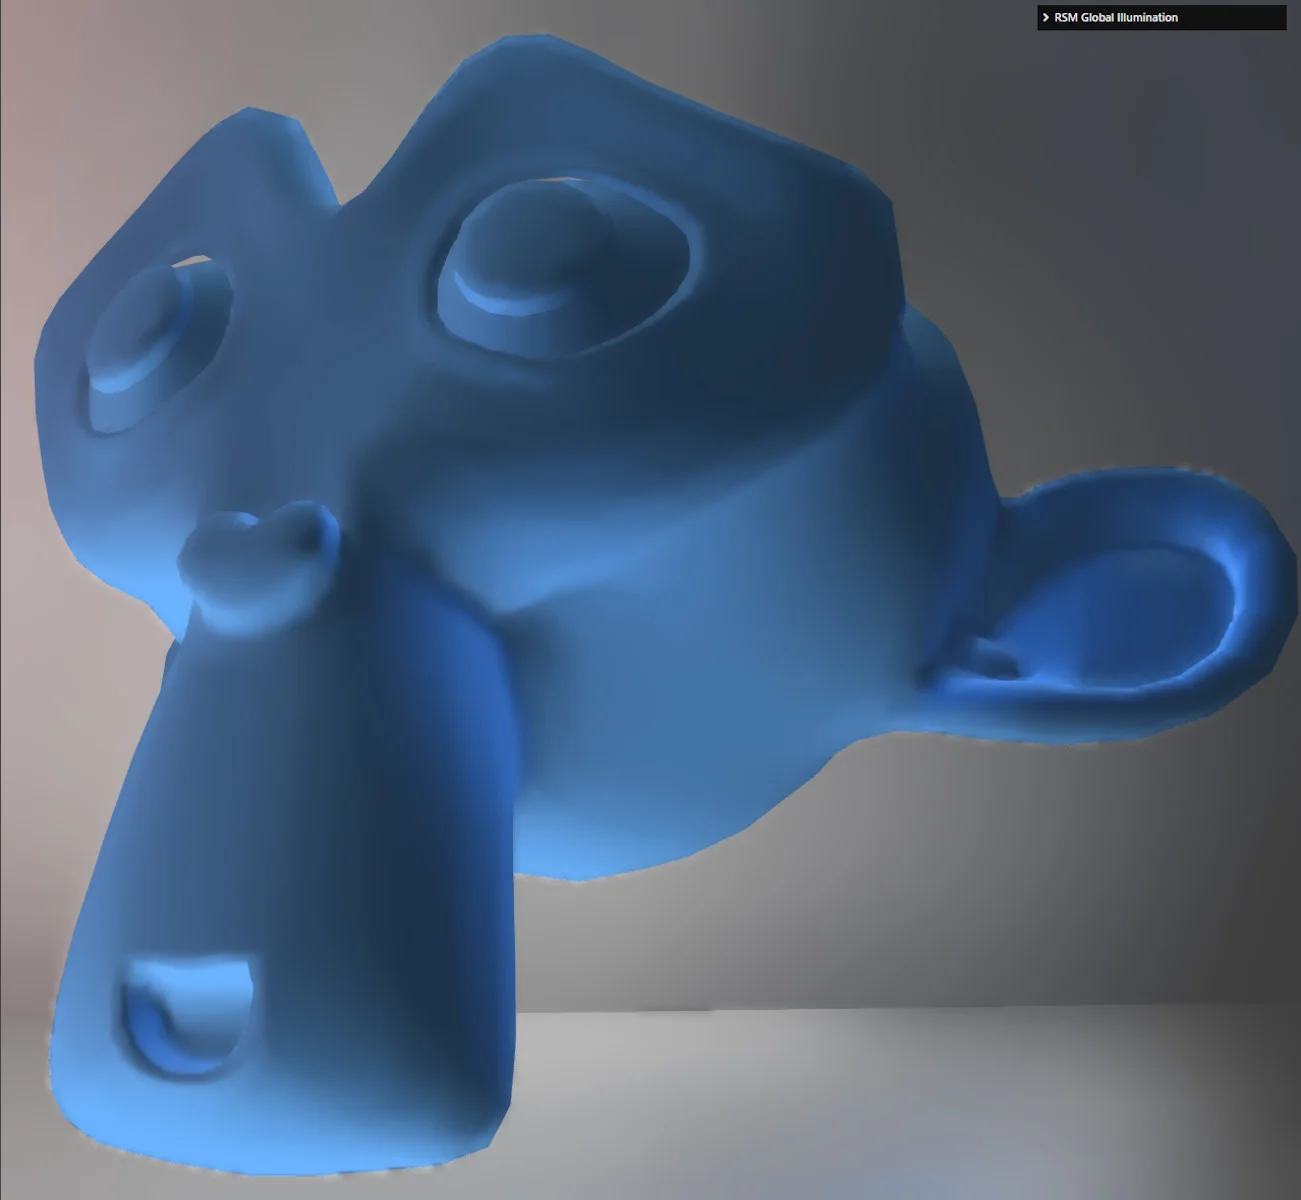 |
Click on the images to enlarge and see the differences.
In these images, the GI texture is 16 times smaller than the output texture (width and height are 4 times smaller).
Full size blur
If GIRSMManager.fullSizeBlur is true, blur post-processing will be performed at the final output resolution and not at the GI resolution. You can use this parameter to improve rendering when the GI texture is smaller than the output resolution (which you should try to do!), but it is obviously more demanding on performance than blurring at lower resolution:
| fullSizeBlur=false | fullSizeBlur=true |
|---|---|
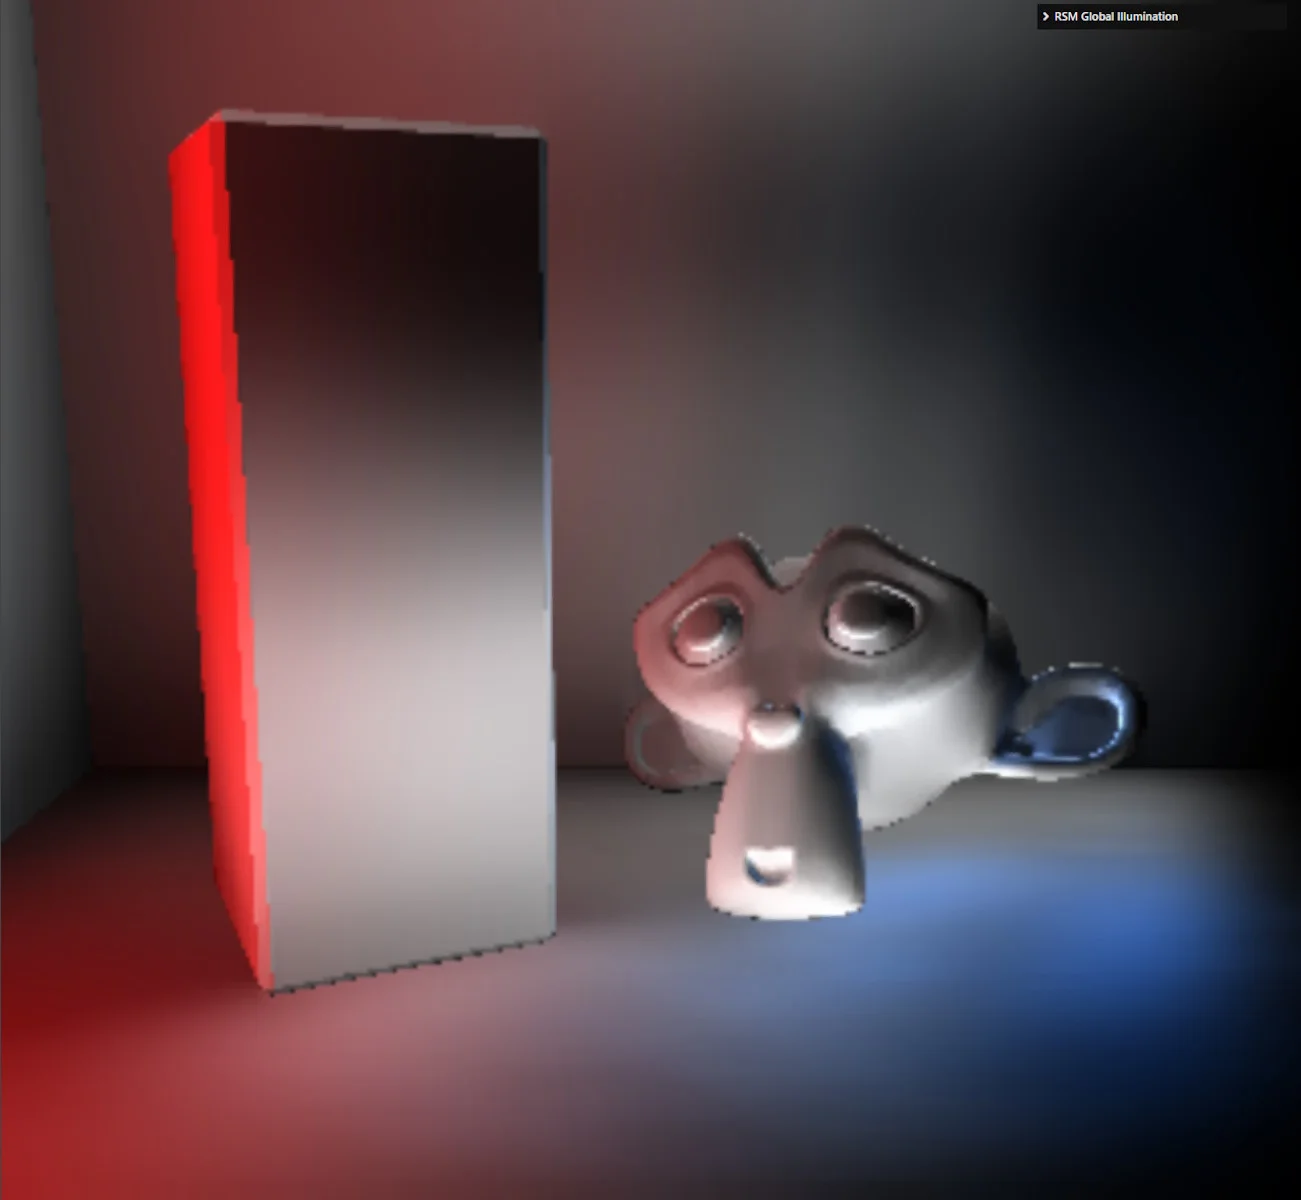 | 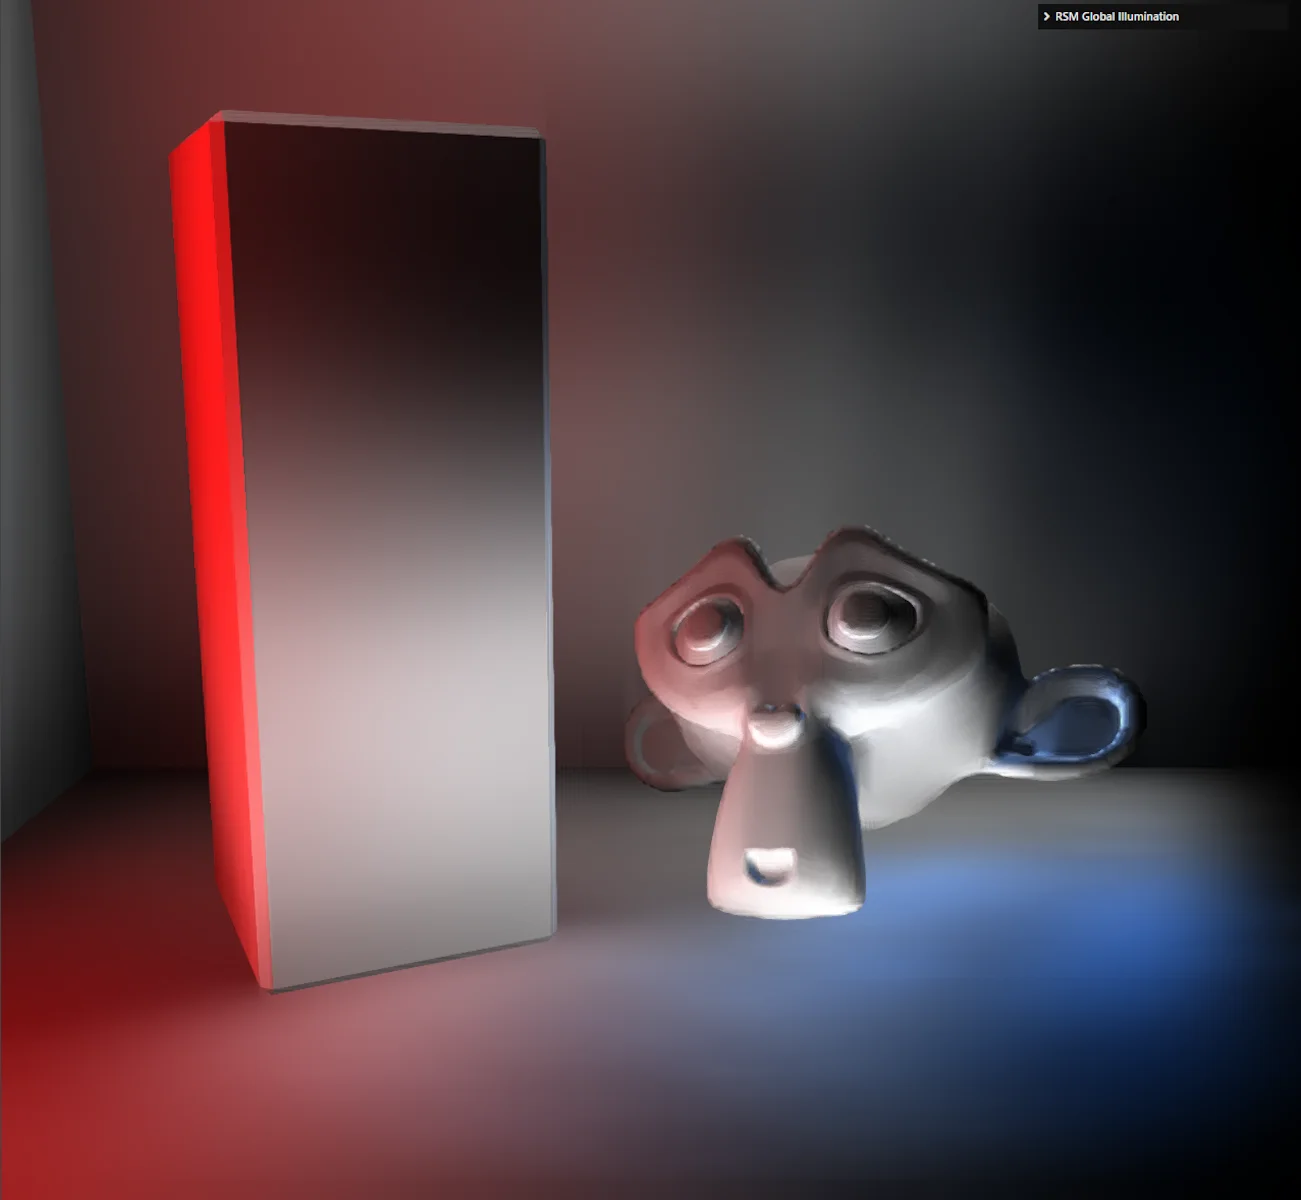 |
The upsamplingKernel parameter has been set to 1 in the first screenshot to better see the difference. In addition, the GI texture is 16 times smaller than the output texture (width and height are 4 times smaller) in both screenshots.
Using higher values for the upsamplingKernel parameter may also help in this case, so you'll need to do some comparison (quality / performance) to choose the best settings for your needs.
Texture sizes
You can freely choose the size of the RSM and GI textures. The former is a parameter of the ReflectiveShadowMap constructor (which you can change later by calling ReflectiveShadowMap.setTextureDimensions) and the latter is a parameter of the GIRSMManager constructor (which you can change later by calling GIRSMManager.setGITextureDimensions).
However, the larger the textures, the more GPU time will be consumed by RSM / GI generation!
RSM texture size
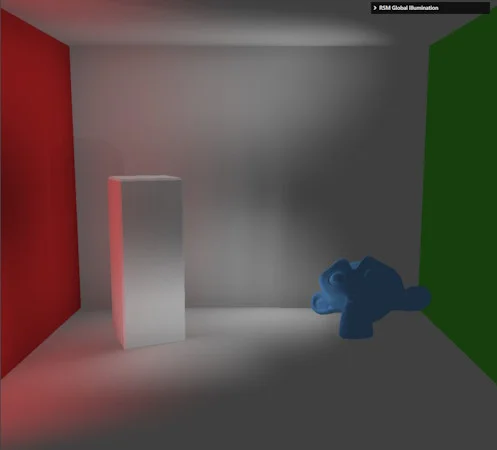
As far as the size of the RSM texture is concerned, it's possible to take fairly low values, as the GI contribution is a low-intensity/low-pass signal: the Cornell images on this page were taken with an RSM texture 8 times smaller in width/height than the output dimension, and the difference with a full-size texture would not be visible. Again, the size to use depends on your scene and you should test smaller and smaller sizes until you get it right.
For example, here are two screenshots taken with an RSM texture the size of the output, and another 38 times smaller in each dimension:
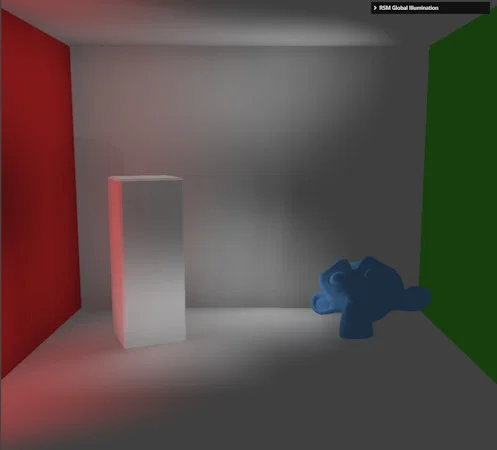
| RSM size: 1022x927 | RSM size: 26x24 |
|---|---|
 |  |
 |  |
The difference is barely noticeable in the screenshots. However, be aware that you will see differences if certain objects or lights move around in the scene (lighting will flicker if the texture size is too small)! So, once again, use the right dimensions to suit your needs.
GI texture size
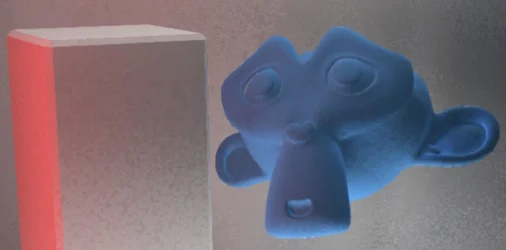
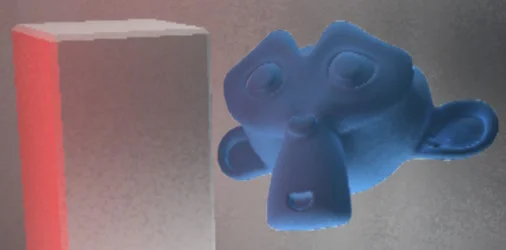
As far as GI texture size is concerned, you won't be able to use such extreme values (even in still images), due to artefacts on the edges of the geometries (blur has been disabled to better see the differences):
| GI size: 1022x927 | GI size: 511x463 |
|---|---|
 |  |
| GI size: 255x231 | GI size: 128x116 |
|---|---|
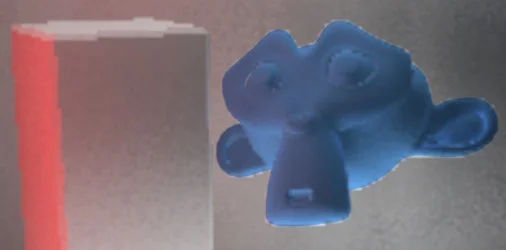 | 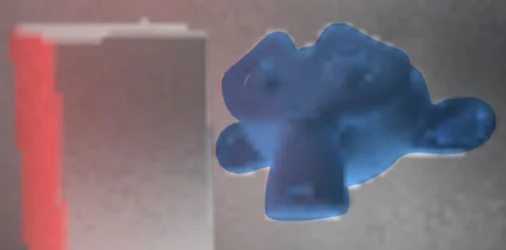 |
Blur will help improve the end result (as you could see in the section above), but you still won't be able to use values as low as in the RSM case. In any case, you should try to use the lowest possible values to limit the GPU time spent generating the texture.
Shortcomings
The biggest flaw of this algorithm is that it doesn't manage occlusion / shadows, so even if a VPL shouldn't illuminate a given pixel because there's a solid object in between, the pixel will still be illuminated. It's called a "light leak" and there's nothing you can do about it. That's the price to pay for such a simple algorithm.
Another problem is computation time, which you can mitigate by modifying the many parameters described in the previous sections.
Furthermore, as described in the introduction, the algorithm is best suited to small scenes, so it probably won't work well if you want to use it in a large level within your game.
Finally, this feature is not compatible with the pre-pass renderer, so if you want to use SSAO or SSR with global illumination, you need to force the geometry buffer renderer for these post-processings (there's a parameter in the constructor of these classes that lets you do this).