Clustered Lighting
Introduction
When a scene has a lot of lights, per-pixel lighting calculations can get quite slow. This is because every single pixel needs to compute the lighting contribution from every single light, even if those lights might not really be affecting that pixel at all. One way to dramatically speed up these calculations is for the engine to have a rough idea of which lights affect the current pixel. This is the basis of clustered lighting, also referred to as Forward+.
In Babylon, clustered lighting is implemented as its own light type, to which other point or spot lights can be added:
import { ClusteredLightContainer } from "@babylonjs/core/Lights/Clustered/clusteredLightContainer";const lightContainer = new ClusteredLightContainer("clustered", [pointLight1, pointLight2], scene);// More lights can be added or removed laterlightContainer.removeLight(pointLight1);lightContainer.addLight(spotLight);Clustered lighting usually follows a three-step approach along the lines of:
- split the camera's view-space into 3D "clusters" (for example, AABB cubes)
- for each cluster, figure out what lights affect it (within a certain range such that their contribution is significant)
- at render time, find the cluster a pixel belongs to (using its screen position and depth value), and then only calculate lighting contribution from the lights for that cluster
Babylon takes a slightly different approach to clustered lighting, mainly inspired by this SIGGRAPH talk for Call of Duty: Infinite Warfare. The main takeaway is that rather than grouping lights into 3D clusters, we instead group lights into both a 2D tile (ignoring depth) and a depth slice (ignoring screen position). At render time, we then find the intersection of lights within the current screen tile AND within the current depth slice. This lets us take advantage of traditional rendering hardware and fragment shaders for tiled clustering, while keeping depth clustering simple enough to run on the CPU.
This solution works on both WebGPU and WebGL 2 (if float color buffers are supported and blendable).
Sponza scene with 1000 lights ClusteredLights corridorImportant:
- For best performance, when creating a light intended for use in a clustered light container, do not add it to the scene! To do this, pass the value true for the dontAddToScene parameter of the light constructor.
- This can make a huge difference when you create all the lights in advance and pass them all at once to the clustered light container constructor (compared to creating the lights one by one and calling
ClusteredLightContainer.addLight()for each one)!
Tiled Clustering
By default, the screen is split into 64 tiles across and 64 tiles down, for a total of 4,096 tiles.
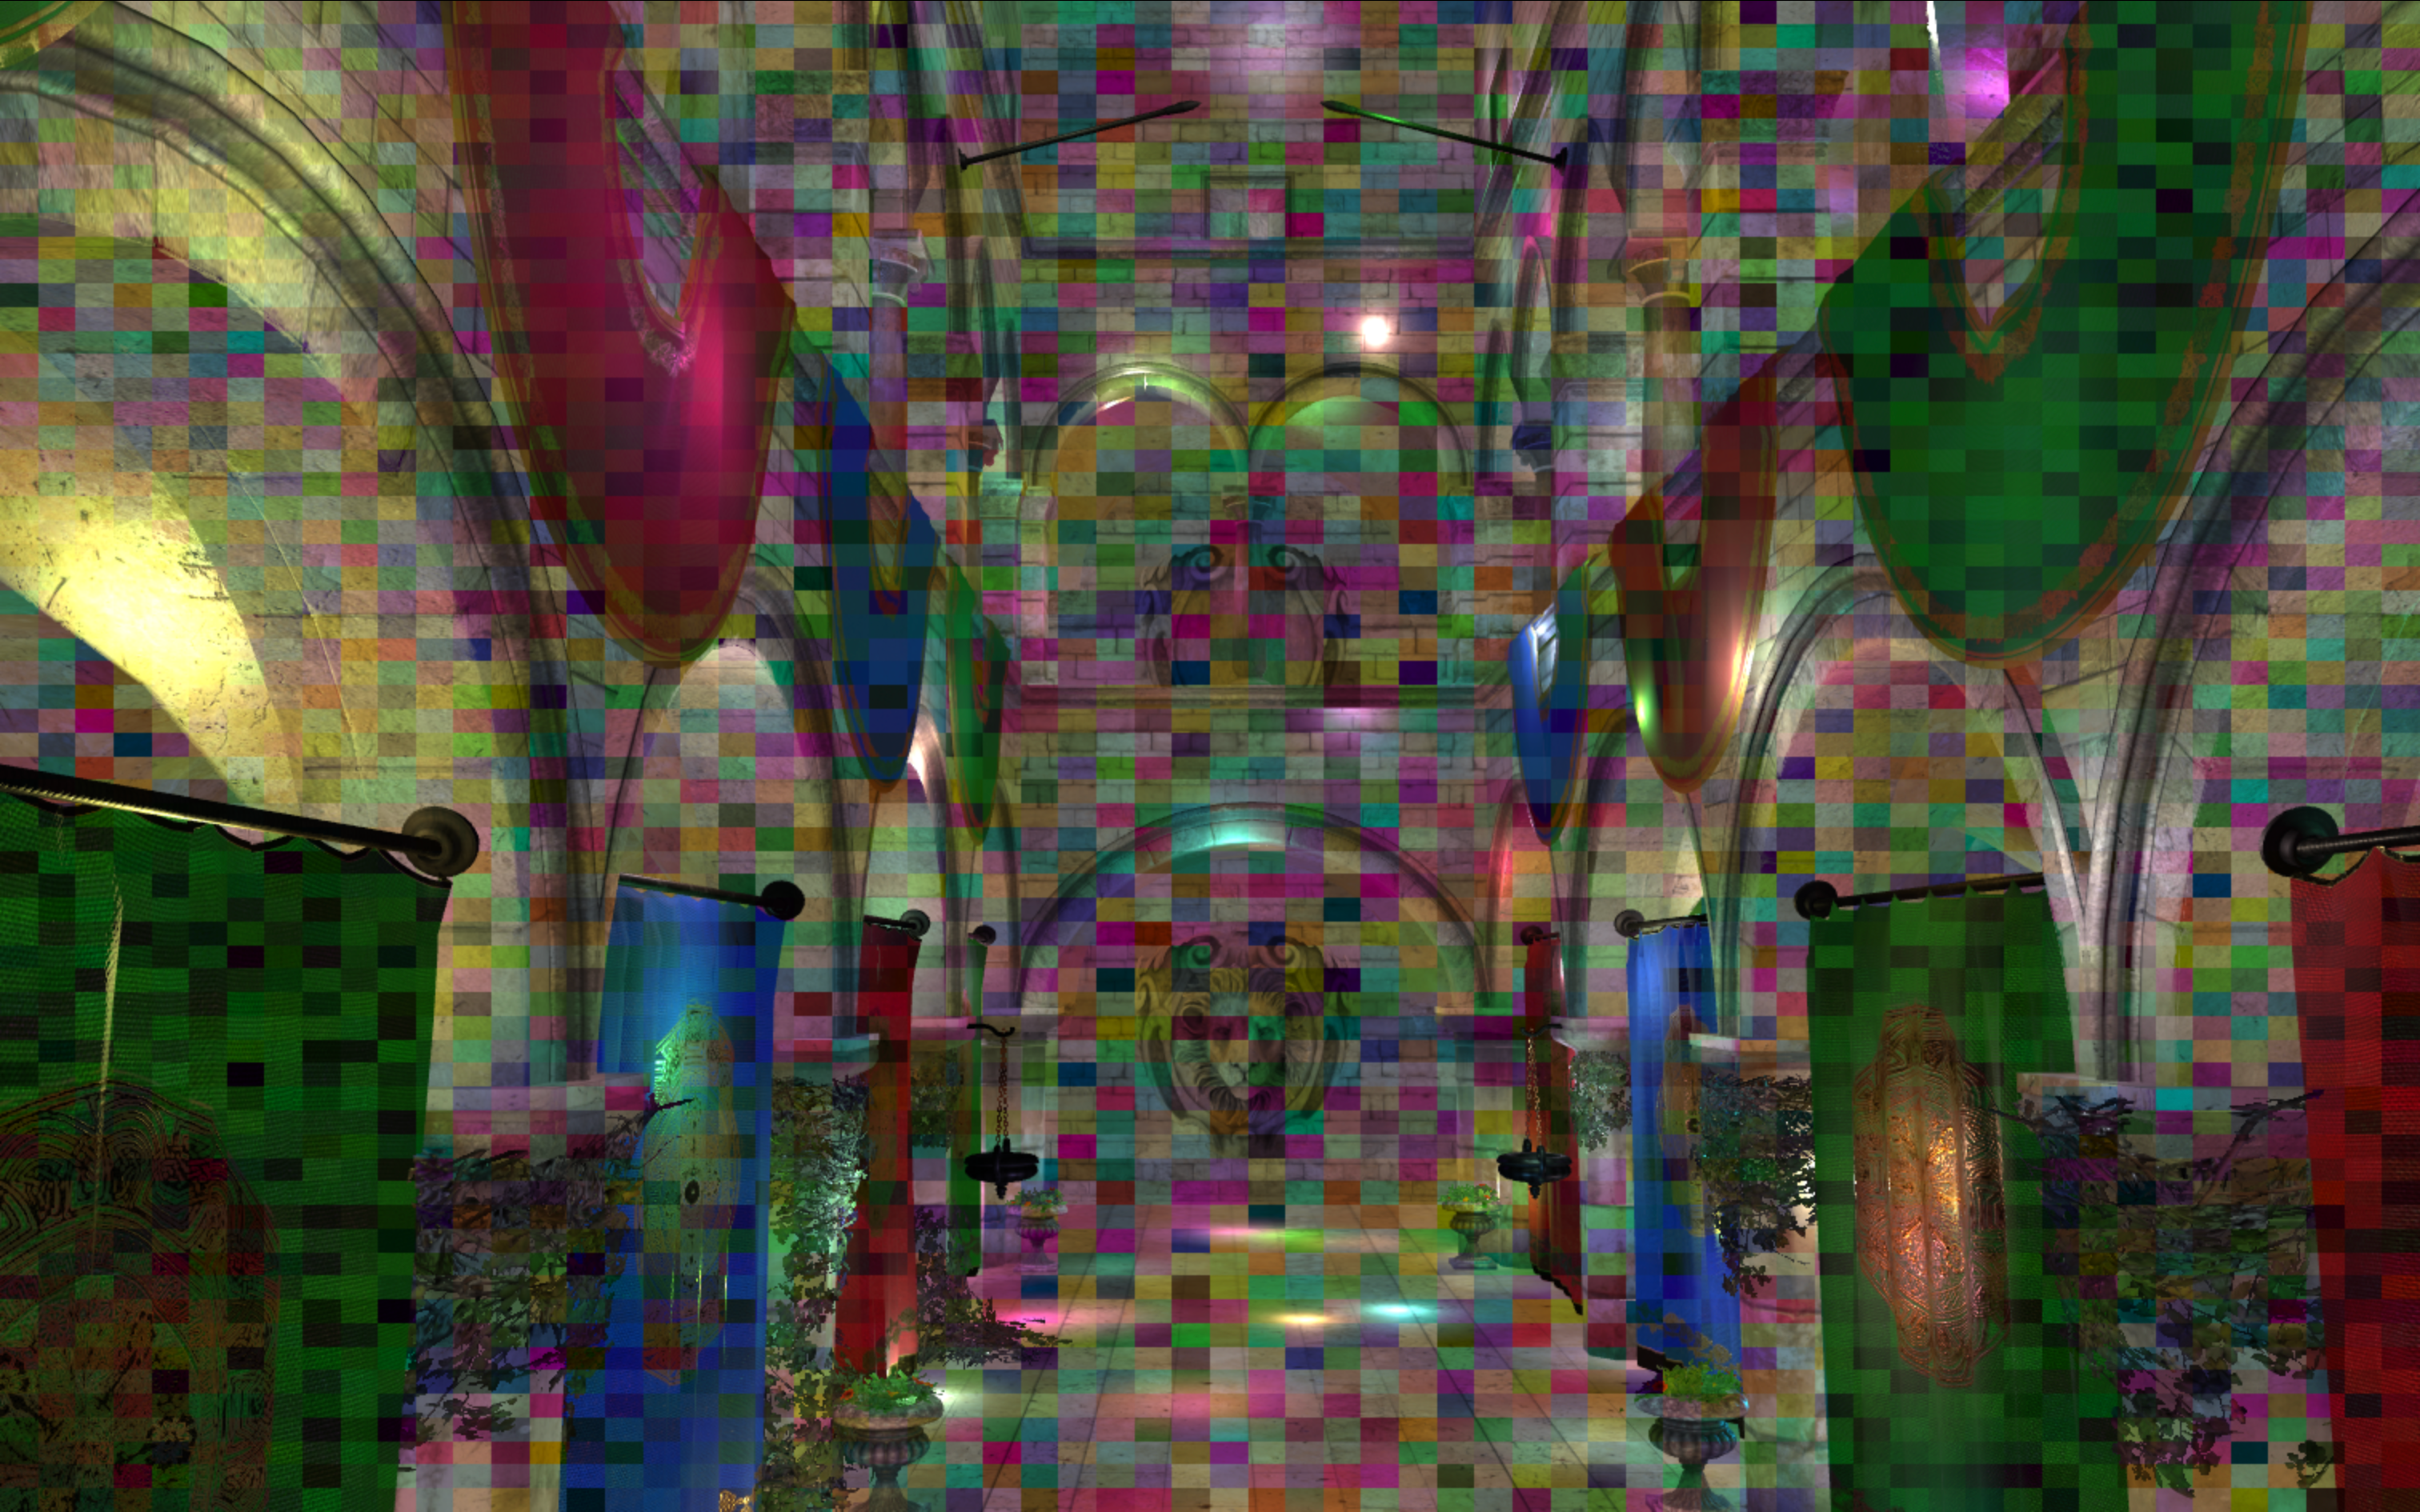 The Sponza scene with the default tiling options. Each tile is tinted a different color.
The amount of tiles can be changed using the verticalTiles and horizontalTiles options:
lightContainer.verticalTiles = 16;lightContainer.horizontalTiles = 9;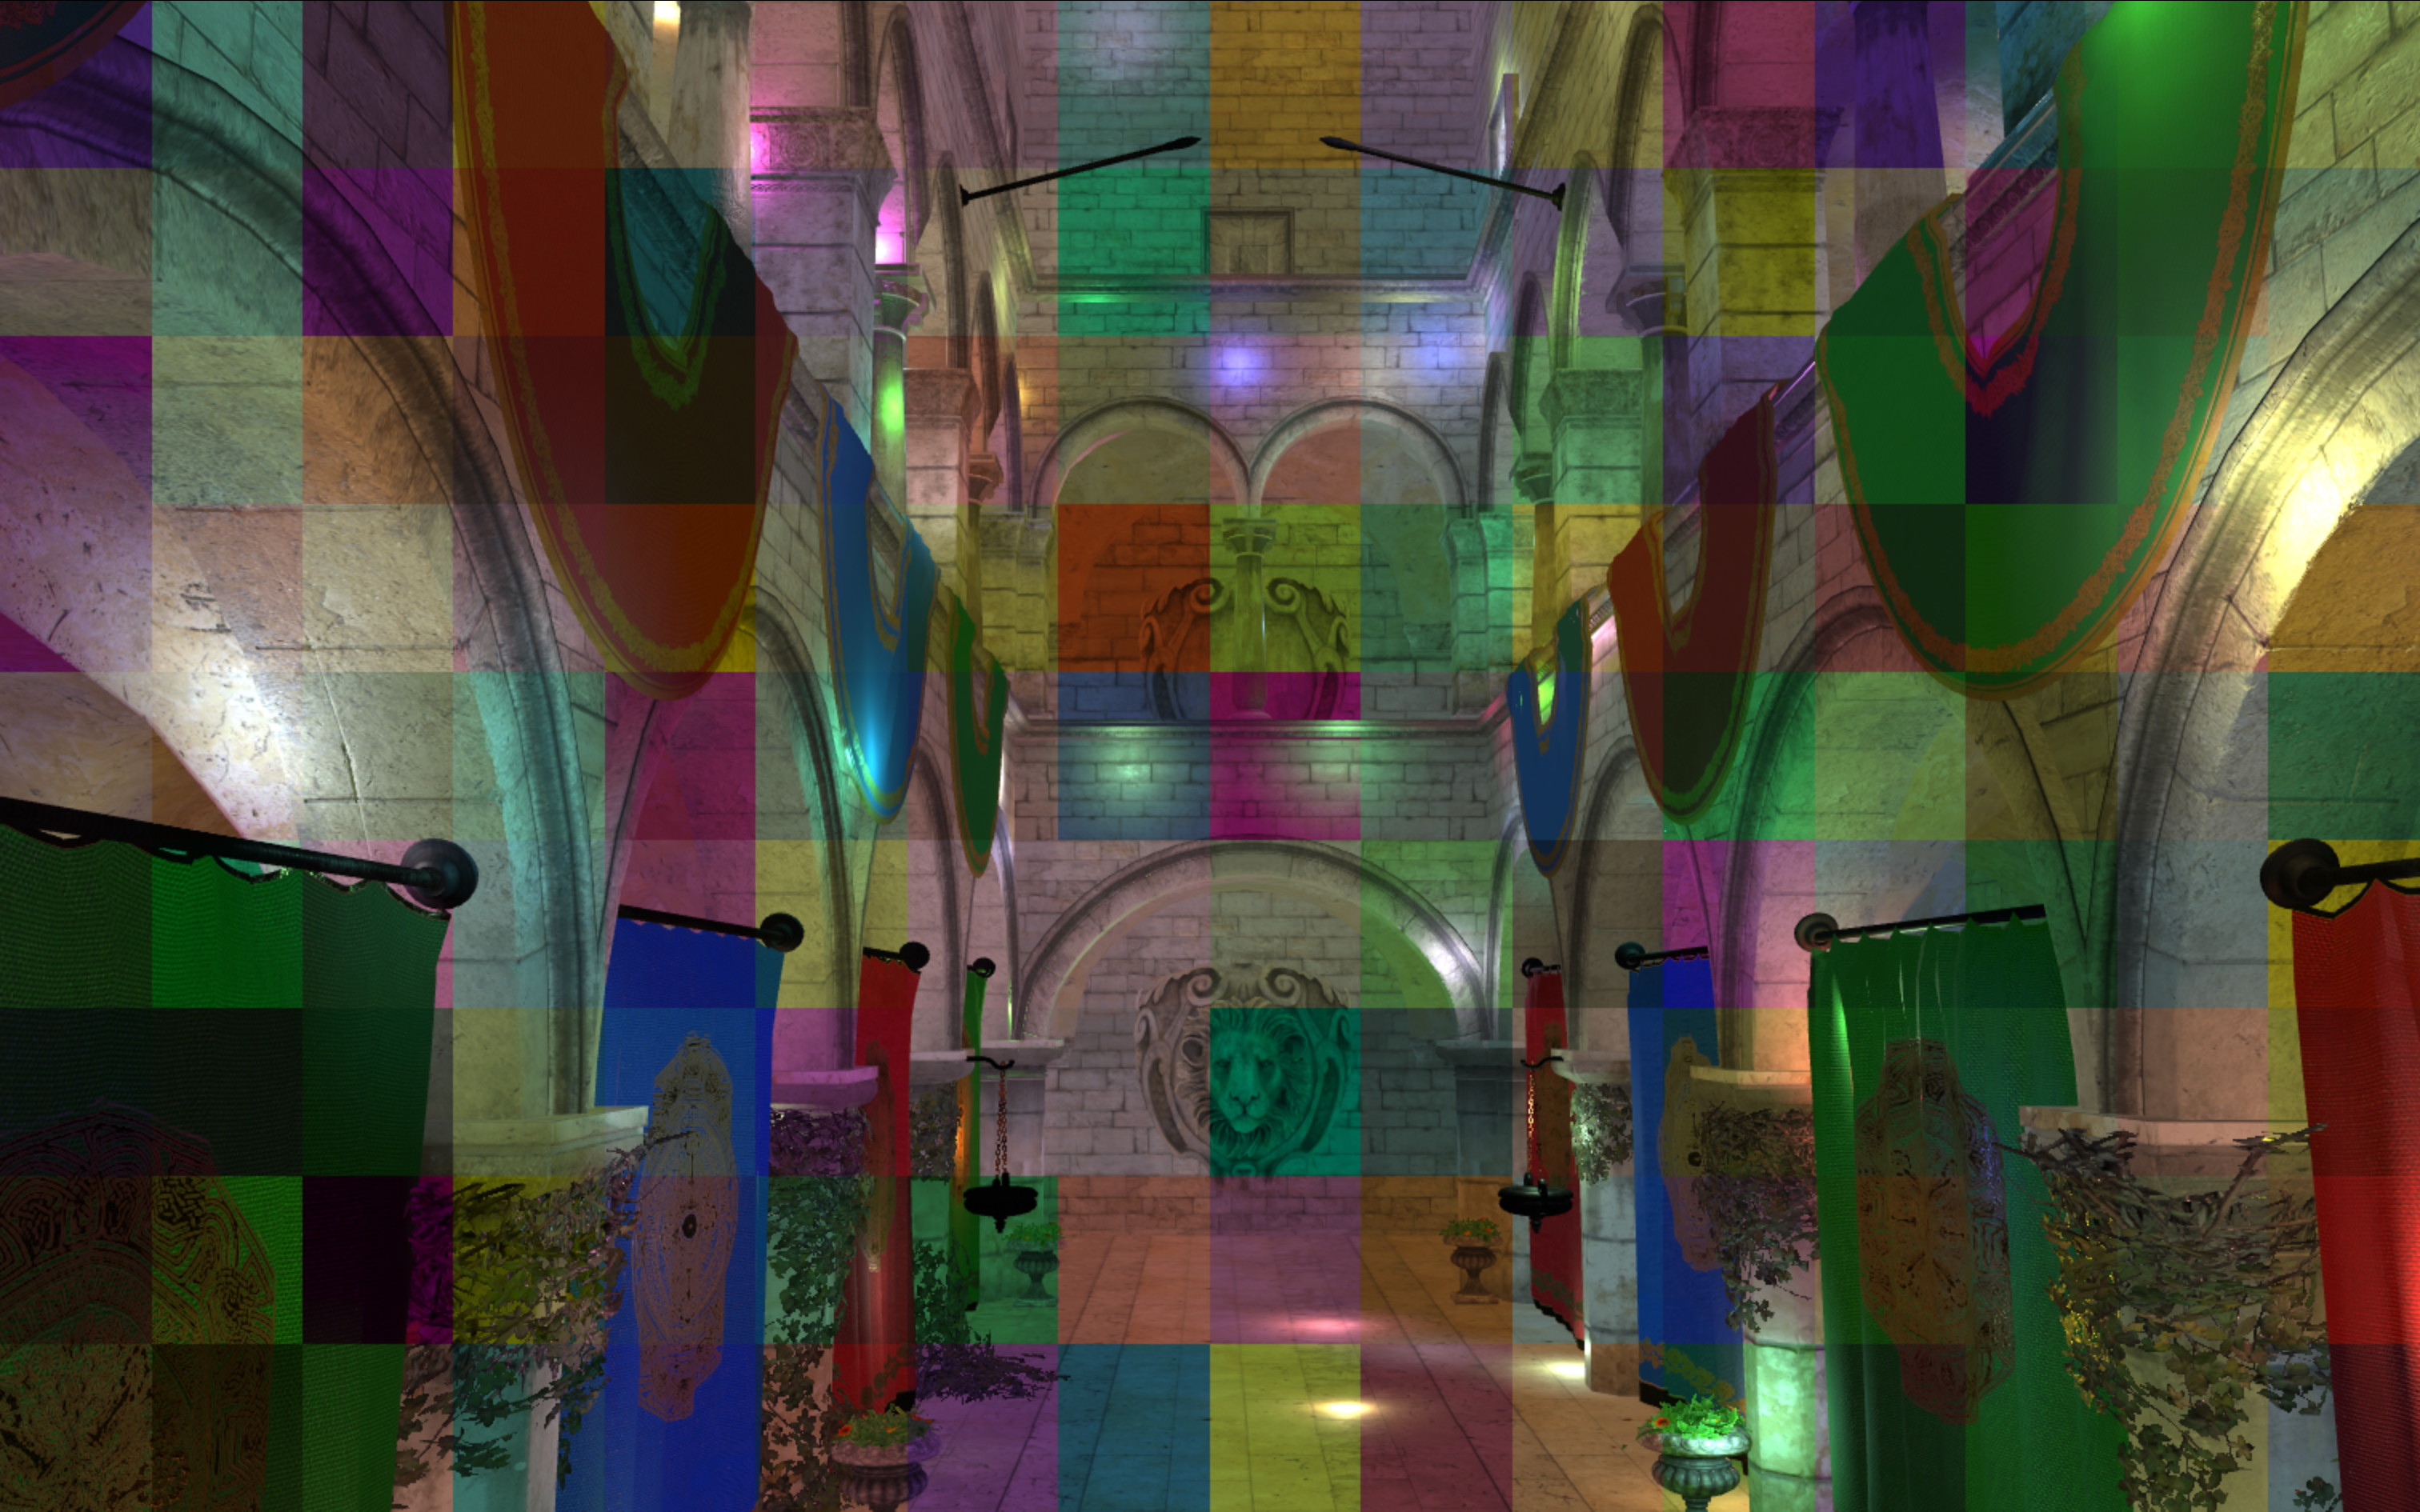 The Sponza scene with only 16 tiles across and 9 tiles down.
Configuring the total tile count is a balancing act between keeping the light clustering fast by reducing the amount of tiles, while keeping the per-pixel lighting fast by keeping the tiles small1, which makes the light list for that pixel more accurate. Increasing the tile count will also increase the GPU memory usage.
To cluster the lights into the tiles we render each light against the configured tile layout using a "light proxy" (or light mesh). In Babylon this light proxy is a simple square:
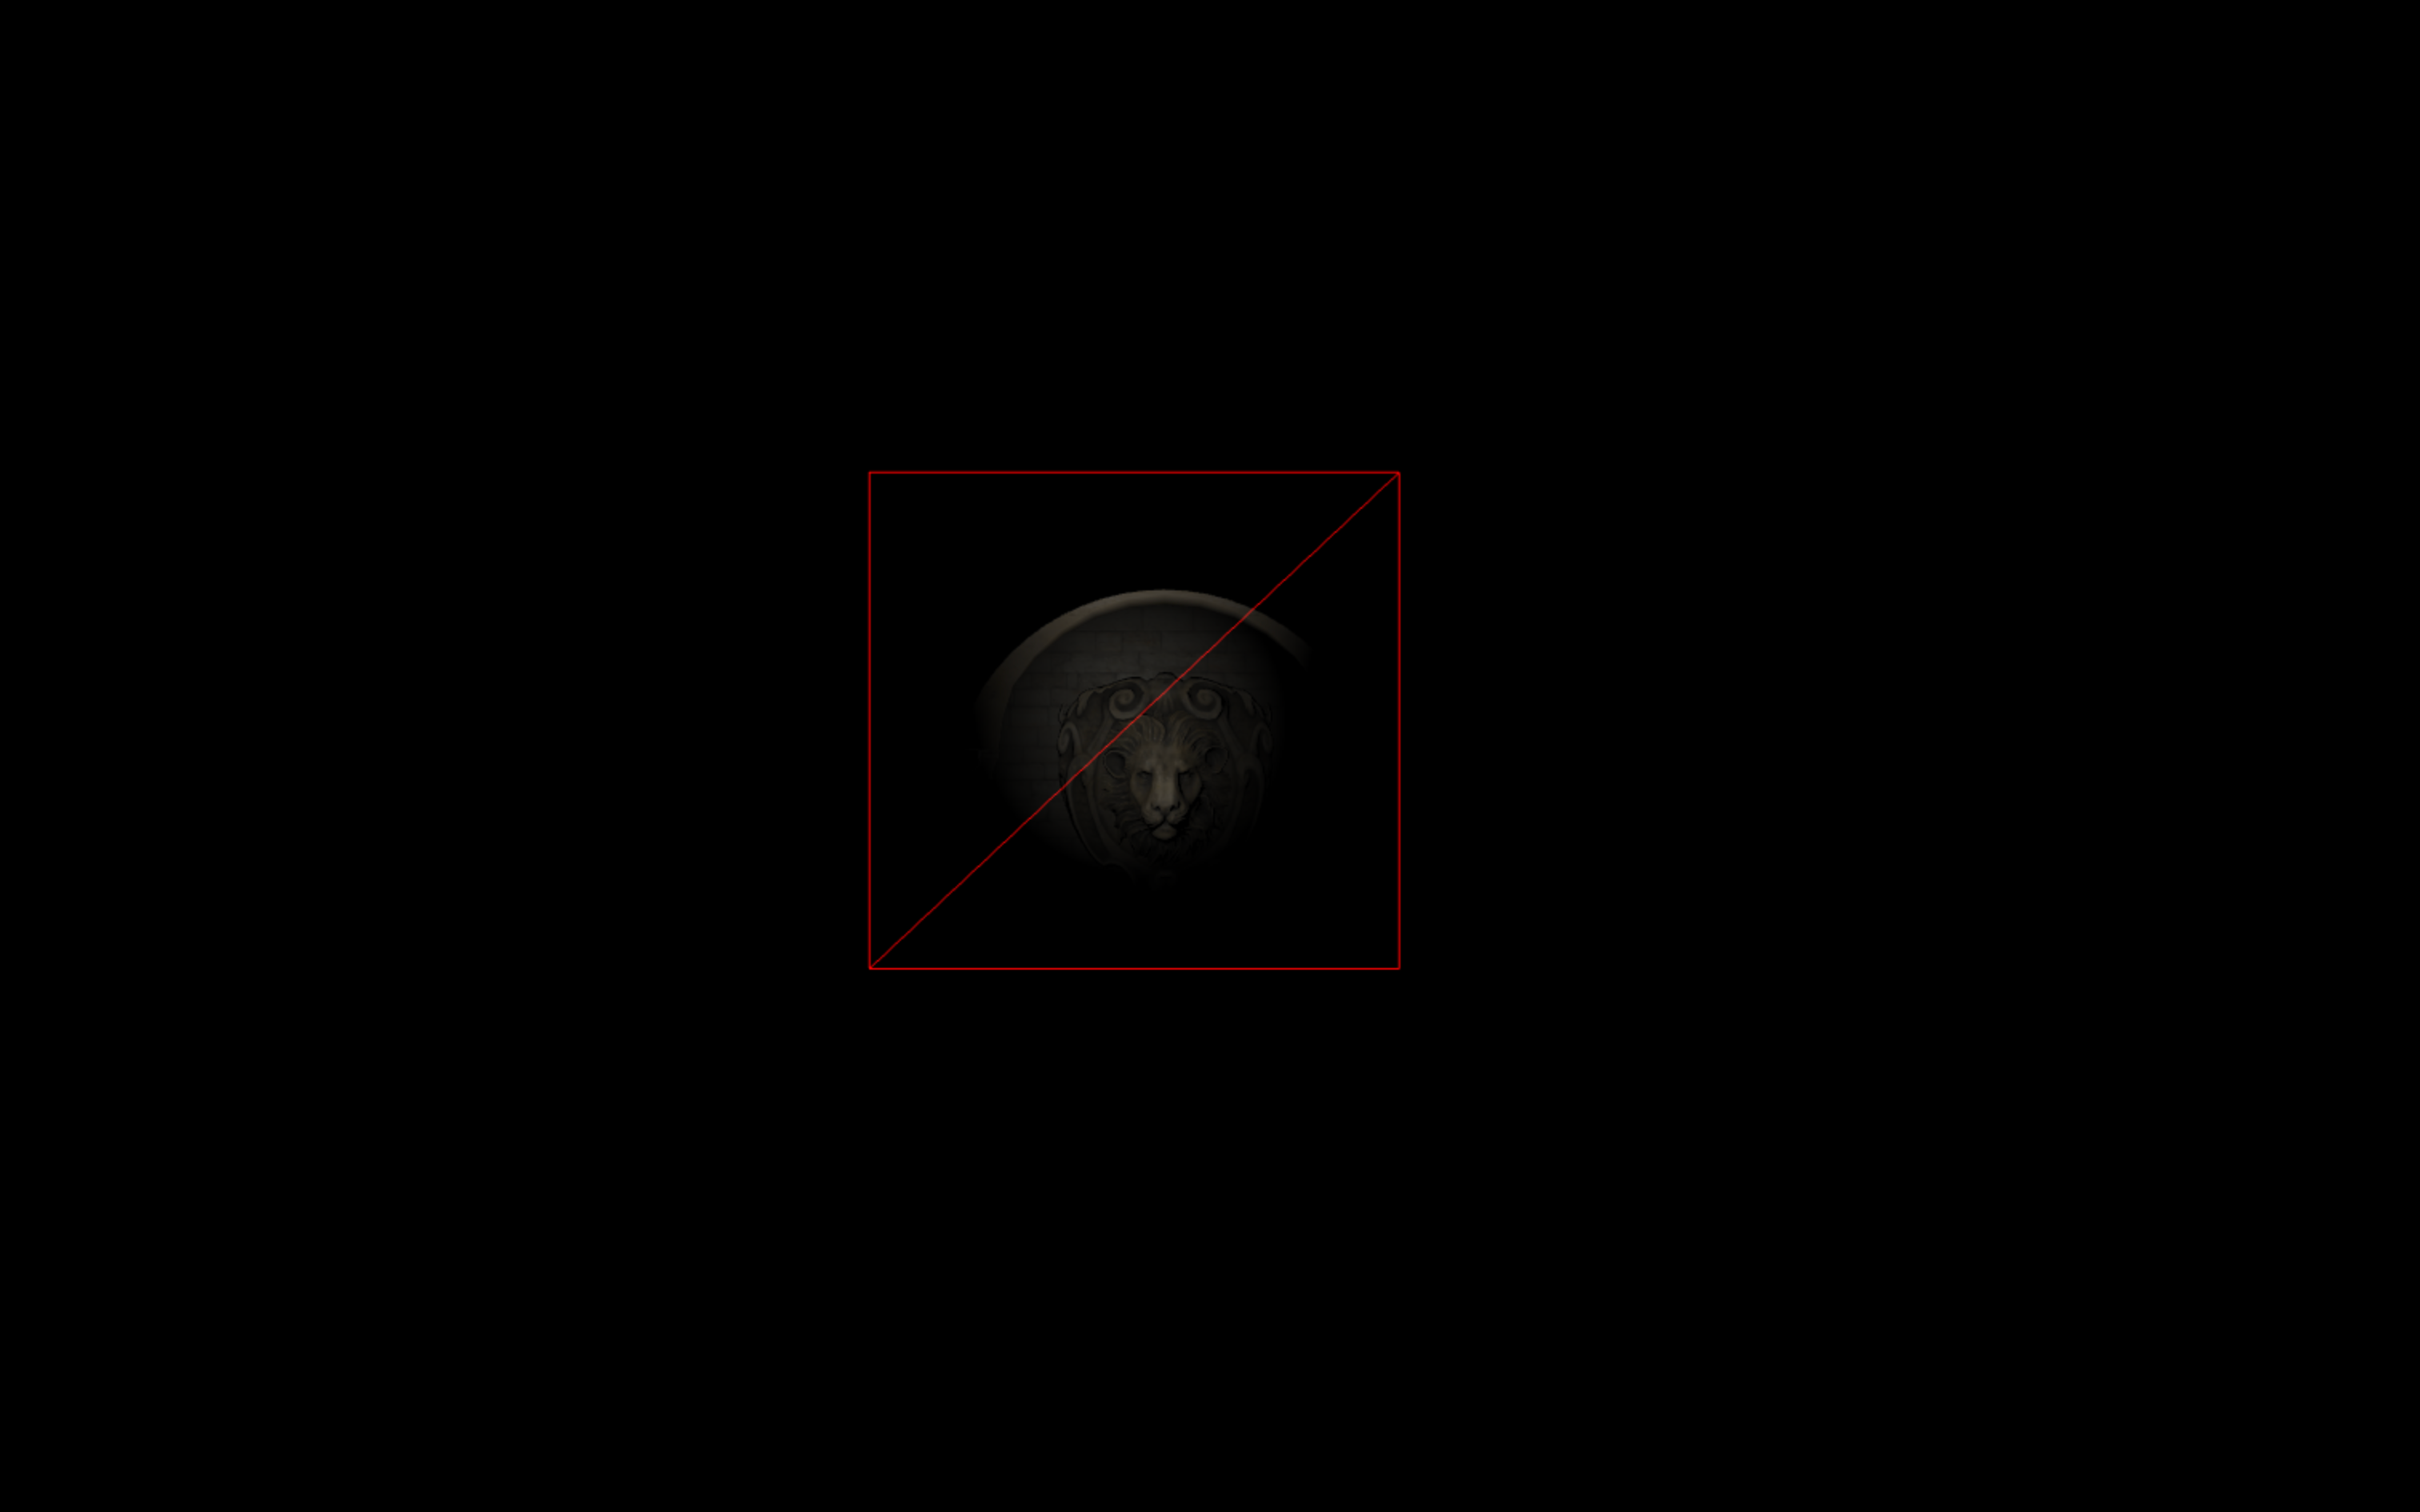 The light proxy square.
The light proxies are scaled by the range parameter of the light. By default, the range of lights is very large, so ClusteredLightContainer will clamp all lights to a smaller (yet still quite large) range. If you want lights with a larger range than the default max of 16383, this can be modified using the maxRange option:
lightContainer.maxRange = 30000;It is recommended to adjust the ranges of your lights so they don't all end up as the max range (which cancels out any clustering attempts).
When these light proxies are rendered they set a bit in a bitmask, which then gets iterated over during rendering. The way this bit is set differs between WebGL and WebGPU.
WebGPU
WebGPU uses the simpler method of the two because it supports more advanced features than WebGL. The bitmasks in WebGPU are stored in an I32 storage buffer with the size horizontalTiles x verticalTiles x numBatches, where numBatches is the number of lights divided by 32. When rendering a light proxy, it finds the relevant bitmask for its screen position and batch number, and then sets the bit representing the light using an atomic OR operation. Notably, the light proxy does not render any color, and its fragment shader is used only for its side effects (writing to a storage buffer).
WebGL 2
WebGL does not support storage buffers nor does it support any form of atomic writes. Instead WebGL takes advantage of the blending stage of the rendering pipeline by writing out the bit values and additively blending them together. A floating-point render target is used to ensure the blended values exactly match the fragment outputs, but sadly floating point values cannot accurately represent all 32 distinct bit values that a 32-bit int could. For this reason, the number of lights per batch in WebGL is equal to the number of fraction bits the hardware supports, which on most systems is 23.
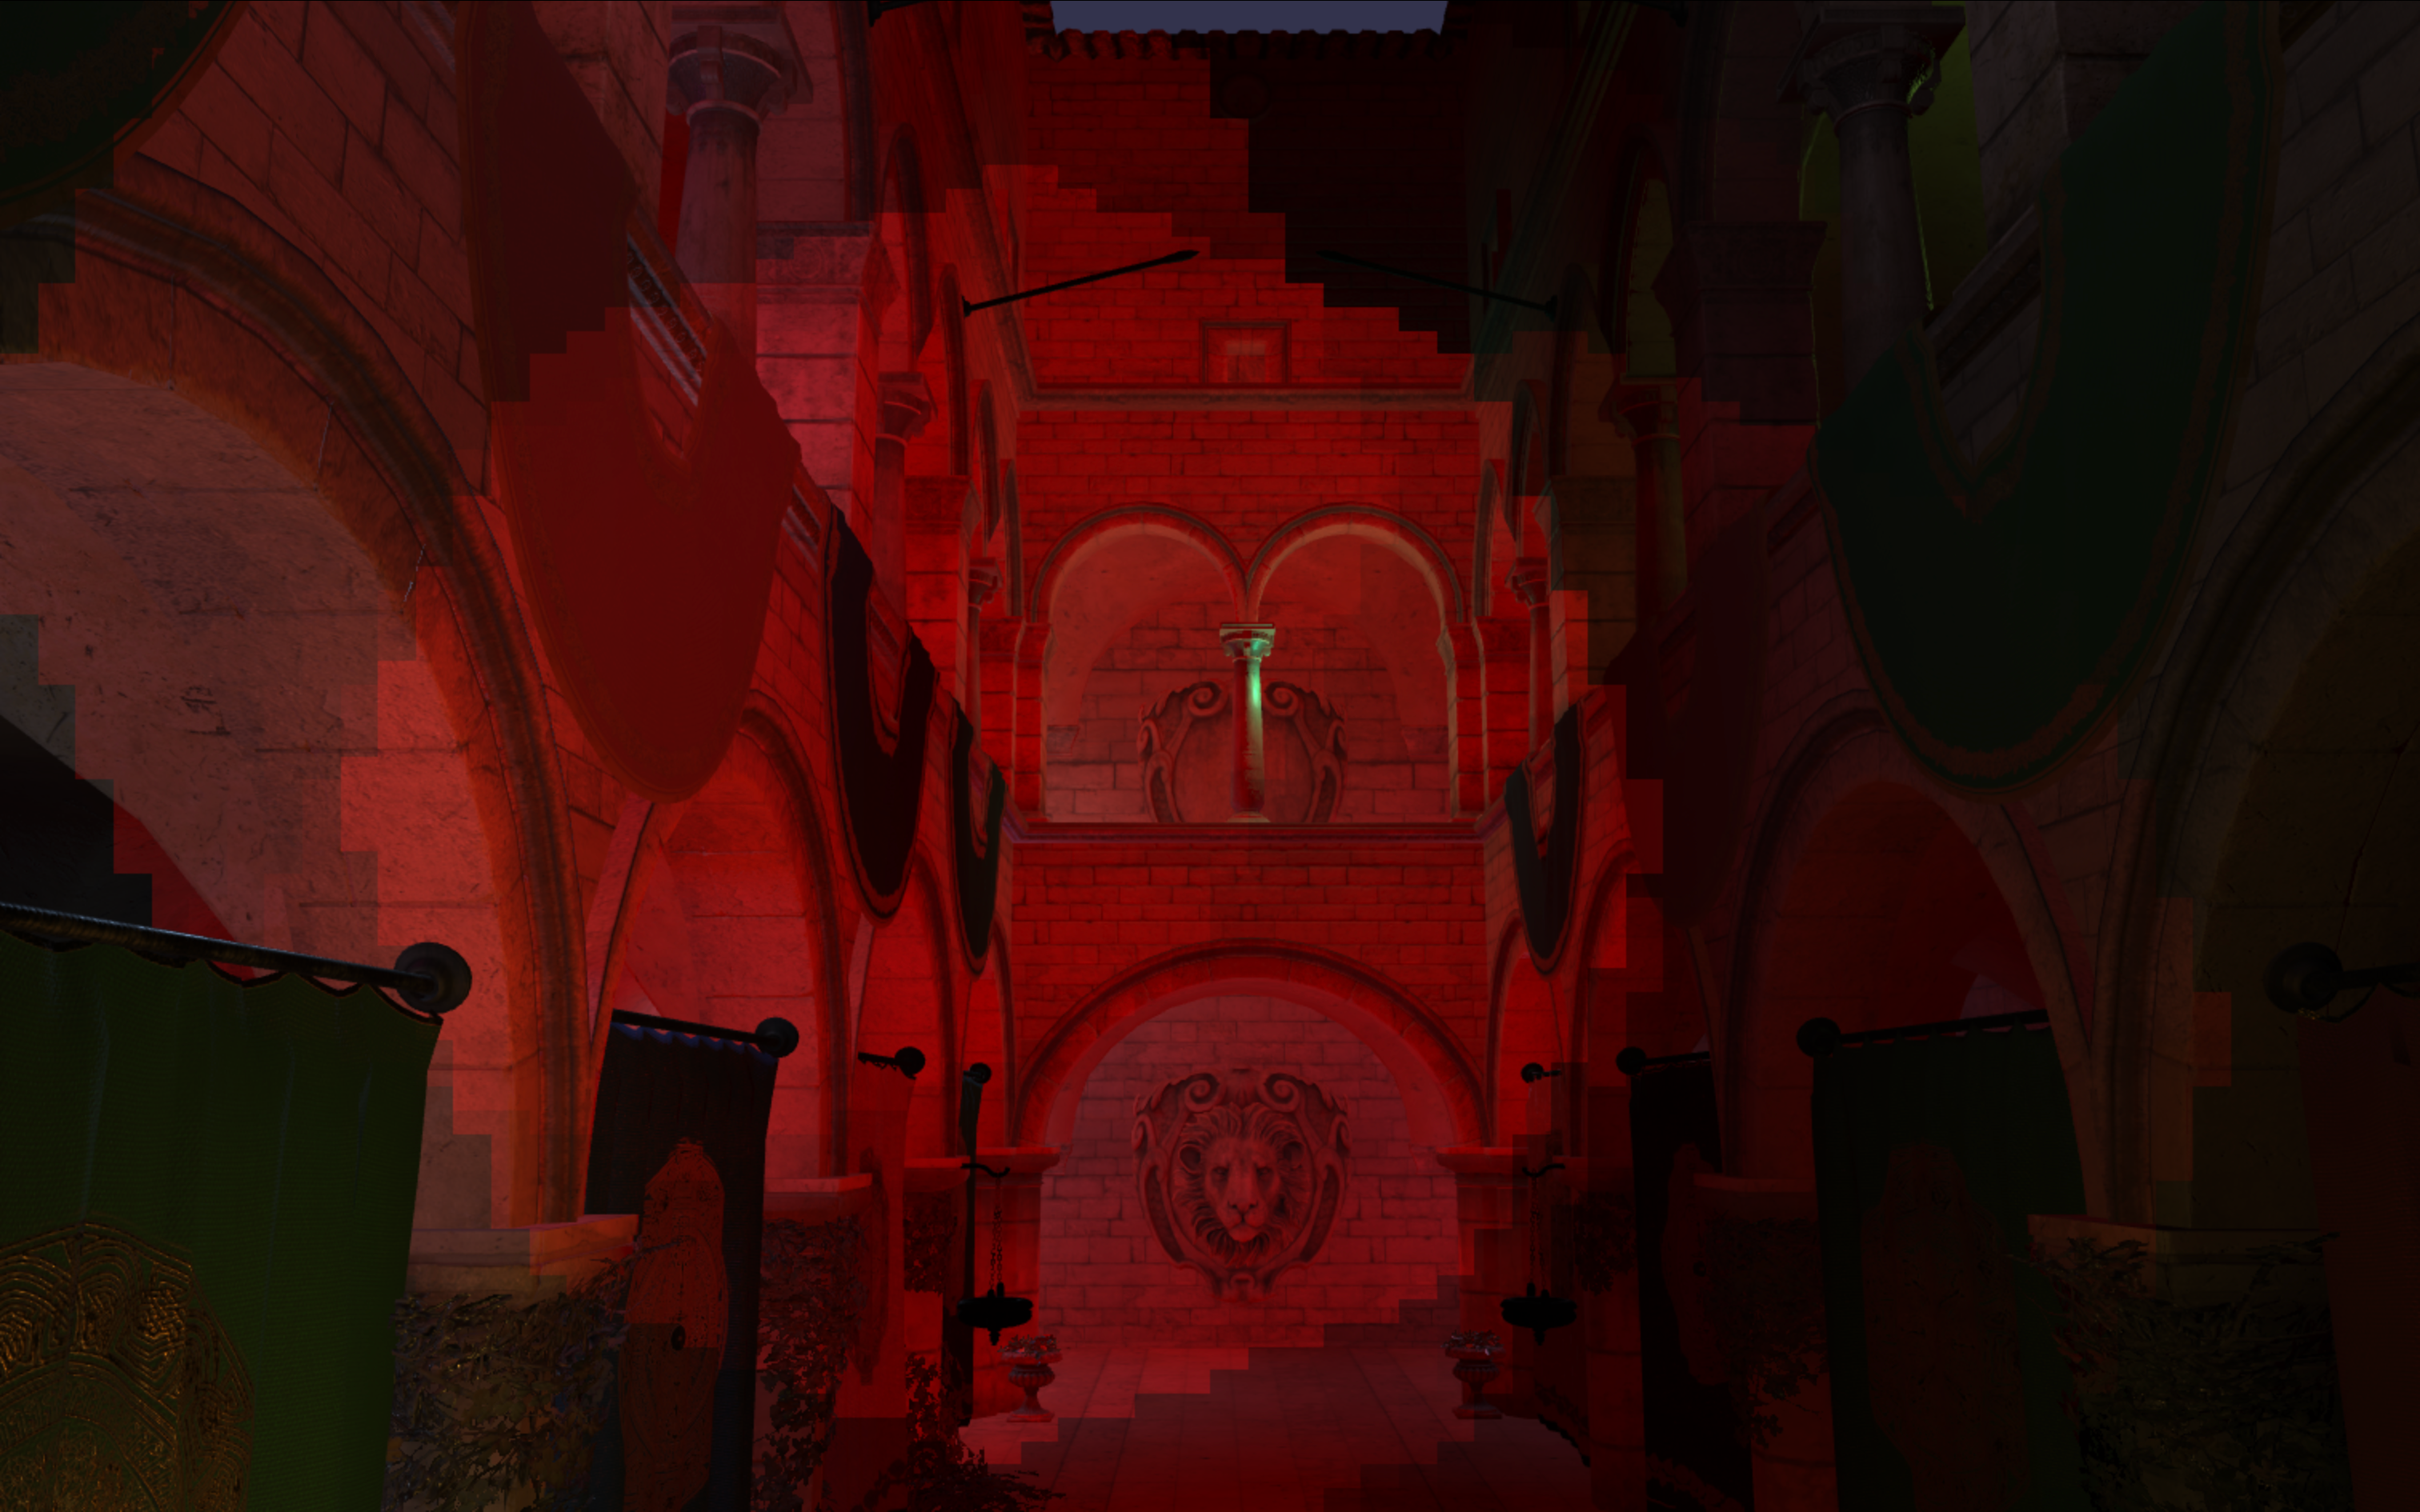 The result of additively blending light proxies with different bit values.
To support multiple batches (when more than 23 lights are rendered) the floating-point render target is expanded vertically by the number of batches, and the light proxy is shifted based on its batch number in the vertex shader.
Conservative Rendering (or the lack thereof)
As one final note before going on to depth clustering, it's worth talking about a GPU feature called conservative rendering. Traditionally, fragment shaders are run only for pixels whose centers are covered by the triangle. However, this causes issues with our light proxies because we want fragment shaders to run for every pixel (which represents a tile) that the proxy intersects, regardless of how much it intersects it. The good news is that this feature exists and is called "conservative rendering"; the bad news is that not much hardware supports it, and neither WebGL nor WebGPU expose the functionality at the time of writing.
Infinity Ward also faced this issue with Call of Duty, and their solution presented in the slides is to render the light proxies at screen resolution. This works fine when writing out bits using atomic OR since multiple fragment shaders can set the same bit without issue2. For this to work in WebGL we'd have to post-process the results by reducing the full resolution down to a single pixel per tile.
Our solution to this problem, partly inspired by this GitHub project, is to round the mesh vertices to the nearest corner away from the center (round down for vertices left of the center, round up for vertices right of the center). This means that no matter how far away from a light you are, its proxy will always render to at least one tile on the screen.
Depth Clustering
Depth clustering is much simpler and can easily be done on the CPU, since we're dealing with only a single dimension (depth) instead of two (screen X and Y). The depth range of the camera (from minZ to maxZ) is split into 16 slices by default, with each slice containing the minimum and maximum light indices that intersect it. This provides a range of bitmasks (from the tiled clustering step) that the fragment shader needs to check. For these minimum and maximum indices to efficiently represent the lights within the slice, the lights are sorted by distance from the camera. Sorting is fast enough to be done each frame.
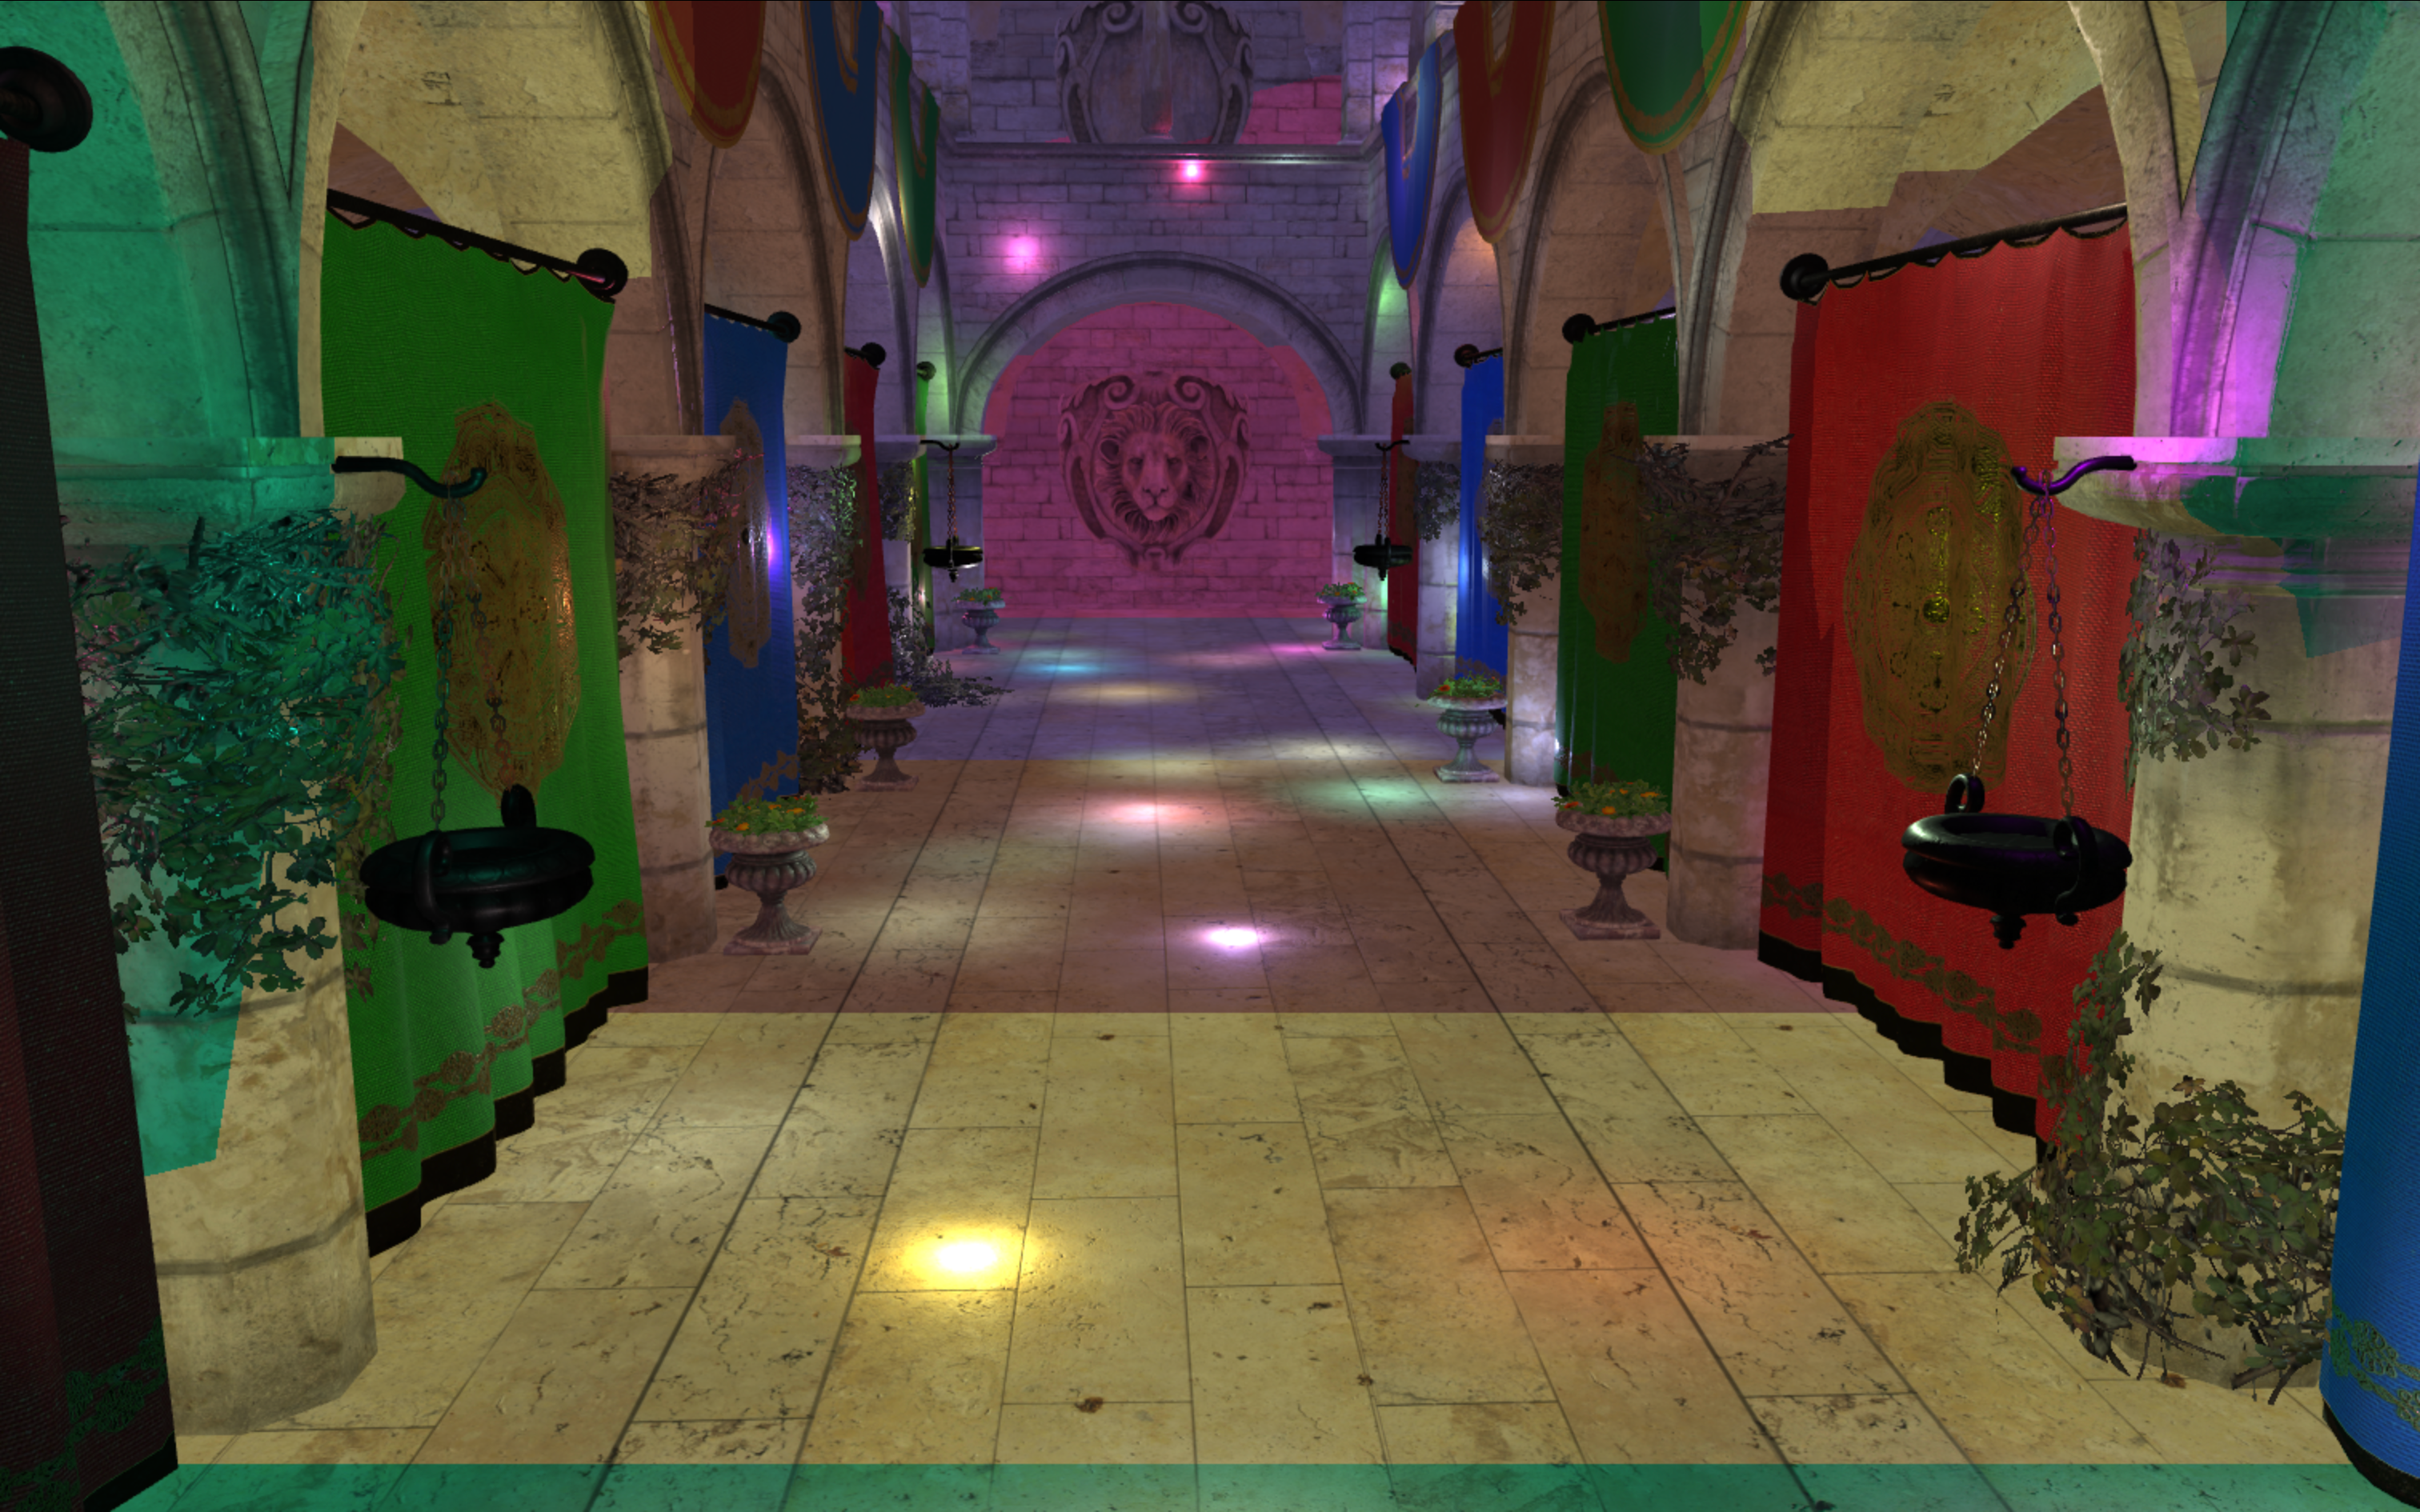 The Sponza scene with the default depth slicing options. Each slice is tinted a different color.
The number of slices can be tweaked using the depthSlices option. Additionally, the camera's maxZ property can be adjusted to bring the slices closer, which is recommended for smaller scenes:
camera.maxZ = 100;lightContainer.depthSlices = 64;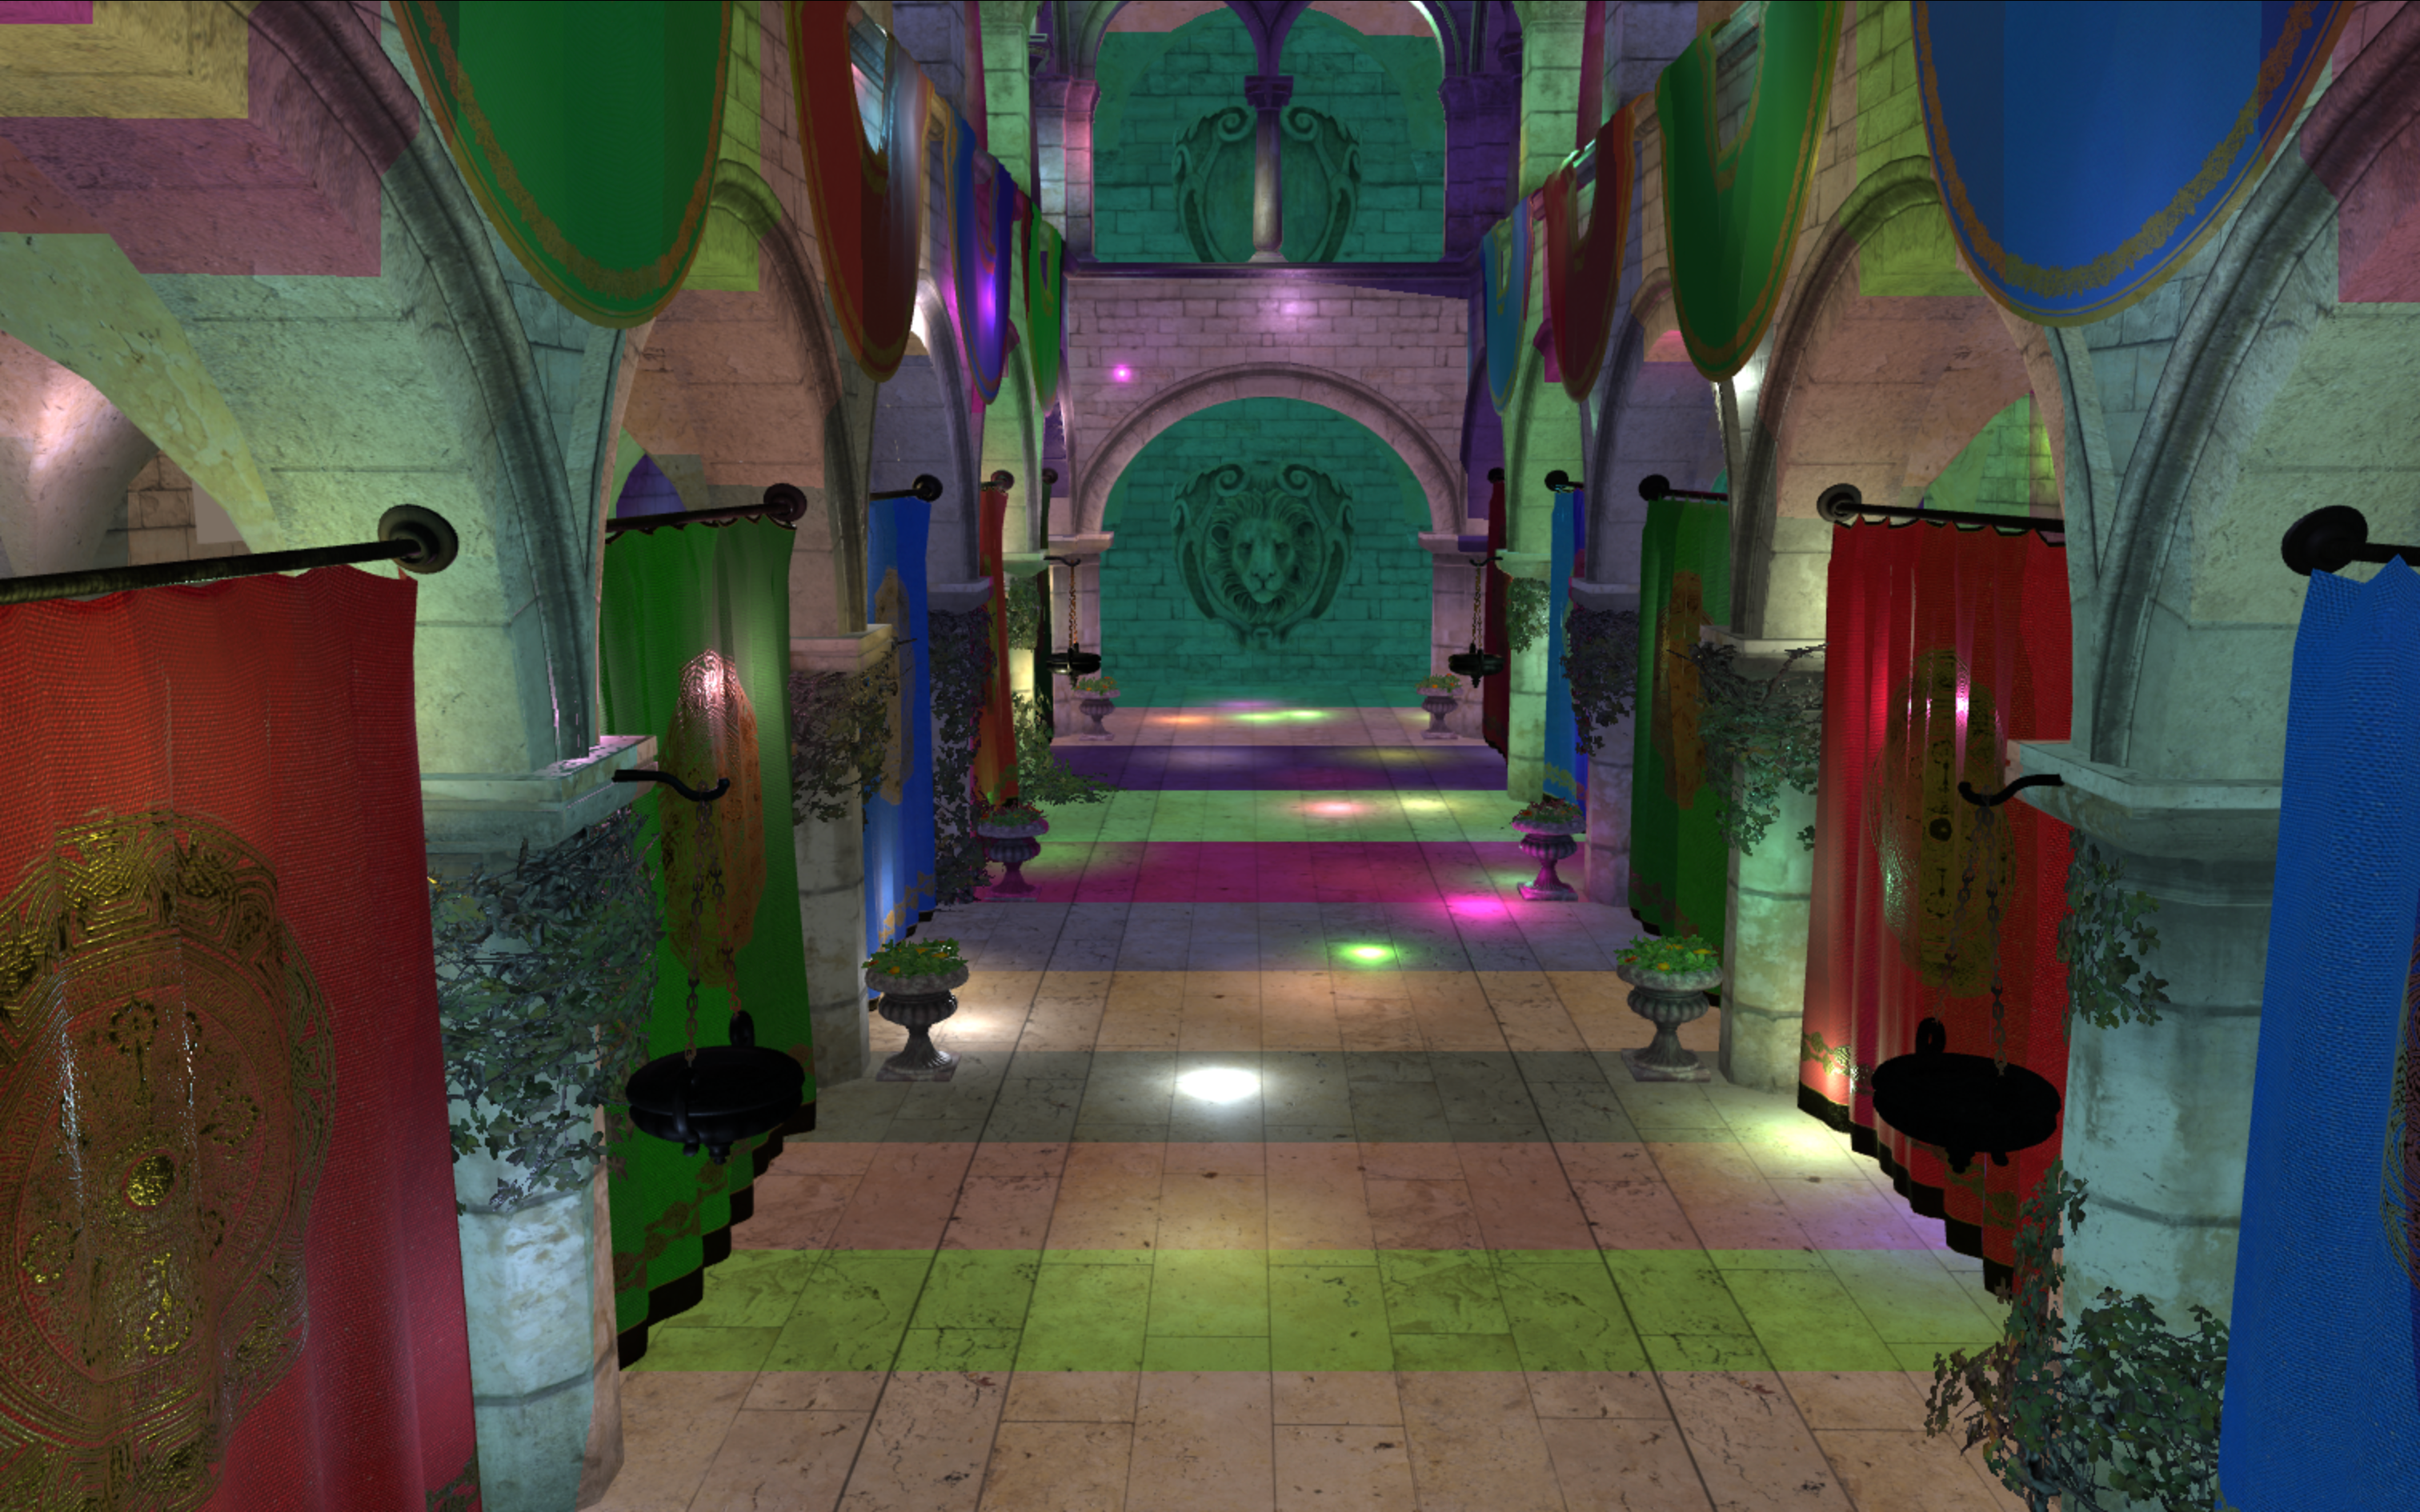 The Sponza scene with a max depth of 100 split into 64 slices.
To find the intersection between tiled clustering and depth clustering, the lighting code in the fragment shader ends up looking something like this (overly simplified for the sake of demonstration):
for (int i = firstBatch; i <= lastBatch; i += 1) {    uint mask = getBatchMask(i);    if (i == firstBatch) {        // clear starting bits depending on first light index    }    if (i == lastBatch) {        // clear ending bits depending on last light index    }
    while (mask != 0u) {        int trailing = firstTrailingBit(mask);        // Clear the bit we found        mask ^= 1u << trailing;
        SpotLight light = getClusteredSpotLight(            i * batchSize + trailing);        // Compute lighting contribution    }}
Limitations / Additional remarks
In its current form, there are some limits to the clustered lighting implementation.
Only spot and point lights are supported
Currently only spot and point lights are supported. Other lights will still need to be rendered separately using a non-clustered approach.
Lights with extra textures are not supported
Some lights require binding extra textures per light. These include:
- shadow-generating lights
- spot lights with projection or IES textures
Because we don't know which lights we need until render time, we'd effectively need to bind every single texture and dynamically index them too. This is usually done with a generated texture atlas, but that's quite a bit of complex work. So for now, we simply don't support clustering these lights.
Lights with a falloff other than FALLOFF_DEFAULT are not supported
To reduce branching in the shader, all lights are assumed to use the default falloff method (which makes it dependent on the material).
Materials with a physical falloff may cause artefacts
The physical falloff is the only falloff method that ignores the range parameter on lights. This means that the range at which the light proxy is rendered might be shorter than the light's actual range of influence. This falloff is still supported; just be sure to adjust the range of your lights accordingly so they reach a point where the physical falloff is no longer very noticeable.
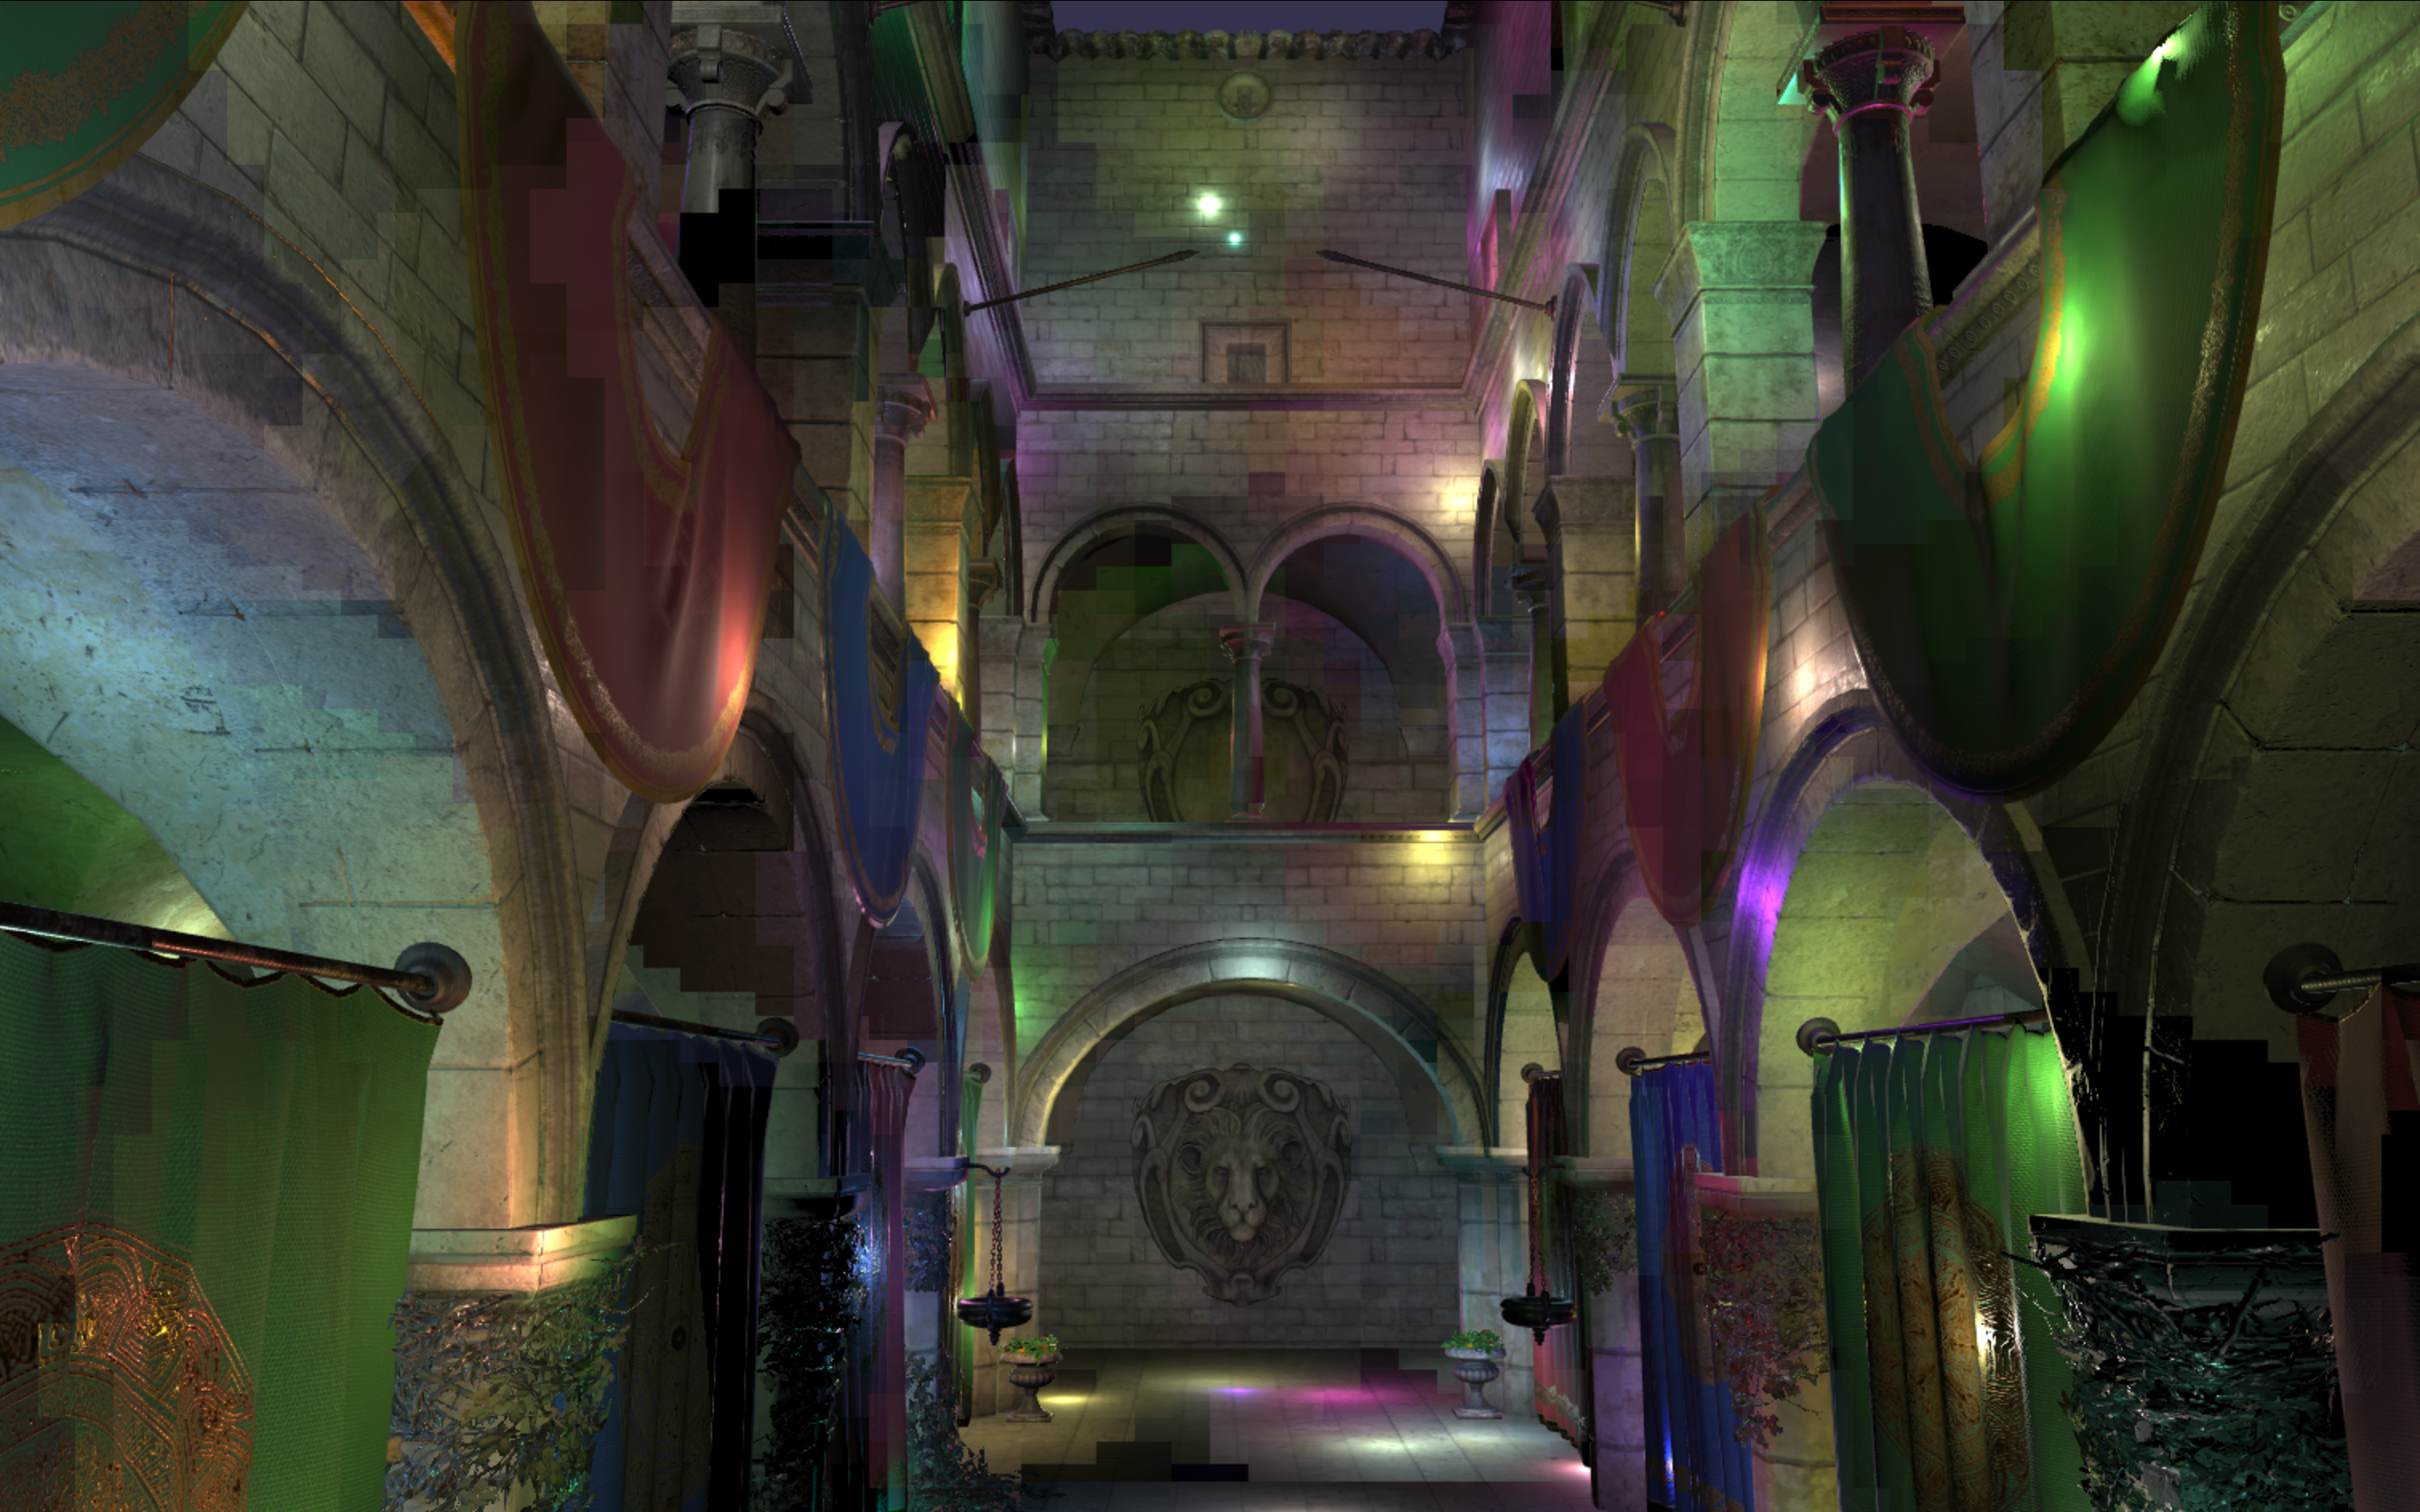 The artefacts that can occur from incorrect range parameters when using a physical falloff.
The physical falloff can be disabled on all PBR materials using:
import { PBRMaterial } from "@babylonjs/core/Materials/PBR/pbrMaterial";for (const material of scene.materials) { if (material instanceof PBRMaterial) { material.usePhysicalLightFalloff = false; // ... or alternatively ... material.useGLTFLightFalloff = true; }}Support for clustered lights in node materials
In order for your node material to support clustered lights, you must connect the view matrix to the view input of LightBlock / PBRMetallicRoughnessBlock. This input is mandatory for the latter, so you cannot miss it. However, it is optional for LightBlock. If you leave the view input unconnected and your scene has clustered lights, you will get an error such as “vViewDepth”: undeclared identifier (WebGL) or error: structure member vViewDepth not found (WebGPU).
If the engine is WebGPU and you are using a node material with clustered lights, the node material must be created with the shaderLanguage: BABYLON.ShaderLanguage.WGSL option to force native WGSL code generation. This is because converting the GLSL code used by WebGL to WGSL will not work, as the WebGPU implementation uses a storage buffer, which is not supported by WebGL. If you do not set this option, you will get an error such as Sampler ‘tileMaskTexture0Sampler’ not found in the material context and Texture ‘tileMaskTexture0’ not found in the material context.
When using ParseFromSnippetAsync to load your node material, you can pass the shader language via the 8th parameter:
import { NodeMaterial } from "@babylonjs/core/Materials/Node/nodeMaterial";import { ShaderLanguage } from "@babylonjs/core/Materials/shaderLanguage";const mat = await NodeMaterial.ParseFromSnippetAsync("D7OZ4C#5", scene, undefined, undefined, undefined, undefined, undefined, { shaderLanguage: engine.isWebGPU ? ShaderLanguage.WGSL : ShaderLanguage.GLSL});Footnotes
- Making the tiles too small can actually hurt lighting performance, since it will cause nearby pixels to branch more frequently, which dramatically hurts performance on modern GPUs. Additionally, it will require more memory fetches from the GPU to get the results for all the tiles.
- Actually, having so many fragment shaders attempting to perform the same atomic operation makes for some really really bad performance, but they use some wavefront ✨black magic✨ to work around that.