Advanced Physics Features
The Heightmap
One of the best ways to interact with a ground object is the Heightmap impostor (currently supported only with the CannonJS plugin).
A heightmap is not a mesh impostor. It is possible that objects coming from the side will not collide with it. The heightmap impostor takes the height Y value at a certain point in a mesh and sets a collision point. To understand what a heightmap impostor is, think of a regular house with a triangle roof. If we set the heightmap impostor to the house, the only part that will have collision detection is the roof. Anything below the roof will be ignored, including the walls.
On the positive side, a heightmap can collide with most other objects, as opposed to the mesh impostor which only collides against spheres. Performance is also much better with a heightmap than with a mesh impostor.
There are certain conditions in which a heightmap can be initialized:
- It must be square (x === z). The most important values are the y values in each point of the heightmap.
- It cannot contain holes or missing textures
- It is recommended that the heightmap be generated from a GroundMesh, generated from a heightmap image
To create a ground from an image-based ground mesh:
import { MeshBuilder } from "@babylonjs/core/Meshes/meshBuilder";import { PhysicsImpostor } from "@babylonjs/core/Physics/v1/physicsImpostor";var ground = MeshBuilder.CreateGroundFromHeightMap("ground", "textures/worldHeightMap.jpg", { width: 200, height: 200, subdivisions: 50, minHeight: 0, maxHeight: 30, onReady: function () { ground.physicsImpostor = new PhysicsImpostor(ground, PhysicsImpostor.HeightmapImpostor, { mass: 0 }); } }, scene);To create a heightmap from a square ribbon:
import { Vector3 } from "@babylonjs/core/Maths/math.vector";import { MeshBuilder } from "@babylonjs/core/Meshes/meshBuilder";import { PhysicsImpostor } from "@babylonjs/core/Physics/v1/physicsImpostor";var exponentialPath = function (p) { var path = []; for (let i = -50; i <= 50; i++) { path.push(new Vector3(p - 50, (Math.sin(p / 3) * 10 * Math.exp((i - p) / 100) + i / 3), i)); } return path;};// let's populate arrayOfPaths with all these different pathsvar arrayOfPaths = [];for (let p = 0; p <= 100; p++) { arrayOfPaths[p] = exponentialPath(p);}var mesh = MeshBuilder.CreateRibbon("ribbon", { pathArray: arrayOfPaths, closeArray: false, closePath: false, offset: 0 }, scene);mesh.physicsImpostor = new PhysicsImpostor(mesh, PhysicsImpostor.HeightmapImpostor, { mass: 0, friction: 1, restitution: 0.5 });A demo for both of these examples can be found here:
Creating Ground From An Image-Based Ground Mesh Creating A Heightmap From A Square RibbonMesh Impostor
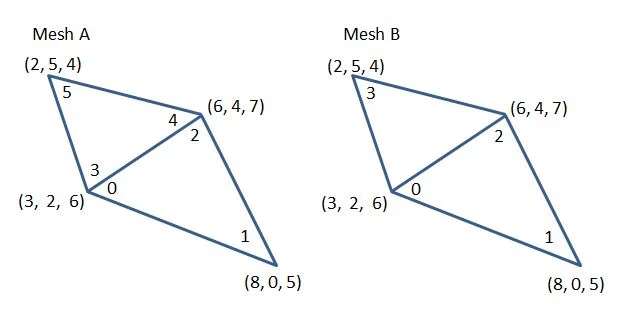
A mesh impostor wraps a complex mesh with a physics body, allowing exact collision detection with the object. As opposed to the heightmap impostor, a mesh impostor has the entire mesh covered.
A mesh impostor is only available with cannon.js, and only collides against spheres.
Regarding performance - you will notice that the mesh impostor doesn't influence performance too much, until an object collides against it. Then the calculations are rather complex and can lower your FPS significantly, depending on the mesh's complexity.
A simple example of the mesh impostor can be found here - Mesh Impostor Example
To generate a mesh impostor, simply set the MeshImpostor type when creating the physics impostor of the mesh:
import { PhysicsImpostor } from "@babylonjs/core/Physics/v1/physicsImpostor";mesh.physicsImpostor = new PhysicsImpostor(mesh, PhysicsImpostor.MeshImpostor, { mass: 0 });The rest will be done by Babylon and the physics engine.
A wonderful example of the abilities of the mesh impostor can be found here - https://ajna4taiga.tk/PerplexusShadowOpen/Home.html
Motors
Certain joint types, like the wheel (hinge) joint, can run a motor that moves the impostor connected to the joint in the direction set by the user.
Motors can be used to move a car wheel, simulate an elevator, or create a gear system. The motor is responsible for enabling the circular movement in those simulations.
A simple example can be seen here: Simple Motor Example
Motor.enabled joints are using the IMotorEnabledJoint :
interface IMotorEnabledJoint { physicsJoint: any; //the native physics joint object. Coming from the selected engine. setMotor(force?: number, maxForce?: number, motorIndex?: number): void; // provide force to the motor setLimit(upperLimit: number, lowerLimit?: number, motorIndex?: number): void; // set limits to the motor}Setting a motor on a hinge joint (assuming impostors are already set):
import { Vector3 } from "@babylonjs/core/Maths/math.vector";import { HingeJoint } from "@babylonjs/core/Physics/v1/physicsJoint";var joint1 = new HingeJoint({ mainPivot: new Vector3(0, 0, 0), // Pivot on the main mesh connectedPivot: new Vector3(0, 0, 0), // pivot (connecting point) on the connected pivot mainAxis: new Vector3(0, 0, -1), // the hinge will turn on the Z axis connectedAxis: new Vector3(0, 0, -1) // Same as above - Z axis on the connected mesh});holder.physicsImpostor.addJoint(wheel.physicsImpostor, joint1); // attach holder (main) and wheel using the defined hinge jointjoint1.setMotor(3, 20); // start turning!Compounds and Babylon's parenting system
Babylon.js supports creating physics compounds. A compound is a collection of physics bodies connected together to create a single physics body with the combined geometry of all the connected meshes.
To create a compound, use Babylon's parenting system. A single object should be the parent of the rest of the compound shapes:
import { MeshBuilder } from "@babylonjs/core/Meshes/meshBuilder";// Create a 2-sphere compoundvar sphere = MeshBuilder.CreateSphere("sphere1", { segments: 16, diameter: 2 }, scene);sphere.position.y = 10;var sphere2 = MeshBuilder.CreateSphere("sphere2", { segments: 16, diameter: 2 }, scene);sphere2.position.x = 2;sphere.position.y = 1;sphere2.parent = sphere;After creating the meshes, we need to initialize the impostors. It is important to first initialize the child impostors and initialize the parent impostor at the end:
import { PhysicsImpostor } from "@babylonjs/core/Physics/v1/physicsImpostor";sphere2.physicsImpostor = new PhysicsImpostor(sphere2, PhysicsImpostor.SphereImpostor, { mass: 2, restitution: 0.8 });sphere.physicsImpostor = new PhysicsImpostor(sphere, PhysicsImpostor.SphereImpostor, { mass: 2, restitution: 0.8 });The mass will be accumulated. So this single physics body's mass will be 4. sphere2's physics impostor will be "disabled" and joined to sphere's impostor, which is the main impostor. To apply impulses, set the linear velocity, etc., use sphere.physicsImpostor.
An advanced example of compounds can be seen here: Advanced Physics Compounds Example 2. The boxes connected to the disc use Babylon's parenting system.
ignoreParent
You can disable Babylon's compound behavior by setting the ignoreParent flag when creating the impostor.
It is important to note that this will only work if your parent has no impostor attached to it. Otherwise the results can vary from weird physics calculations to missing collisions.
To create an impostor for a child mesh using the ignoreParent flag:
import { PhysicsImpostor } from "@babylonjs/core/Physics/v1/physicsImpostor";sphere2.physicsImpostor = new PhysicsImpostor(sphere2, PhysicsImpostor.SphereImpostor, { ignoreParent: true, mass: 2, restitution: 0.8 });A simple example can be found here - Ignore Parent Example
Substeps
It is possible to run the physics ticks at a different frequency than the frame rate while keeping the display consistent. This means you can display at 60 frames per second while updating the physics 1000 times a second. With substeps, the physics will look like it's running at 60 frames per second but will perform smaller steps. This is useful when the physics update needs more precision. For example, simulating a bullet against a wall or more accurate physics for a car. Substeps can also be used to reduce the physics update frequency, for example by doing an update every 2 frames. In the following example, the physics is computed 10 times a second instead of 60.
var physicsEngine = scene.getPhysicsEngine();physicsEngine.setSubTimeStep(100);Cloth simulation
Raanan Weber wrote an article about cloth simulation in his blog: https://blog.raananweber.com/2016/04/03/cloth-physics-simulation-for-babylon-js/
An Oimo Demo
Further reading
Using A Physics Engine
Learn how to use one of the available physics engines in Babylon.js.
Forces
Learn all about applying physical forces in Babylon.js.
Joints
Learn all about using joints in physics engines within Babylon.js.
Pivots and Axes
Learn all about physics pivots and axes in Babylon.js.
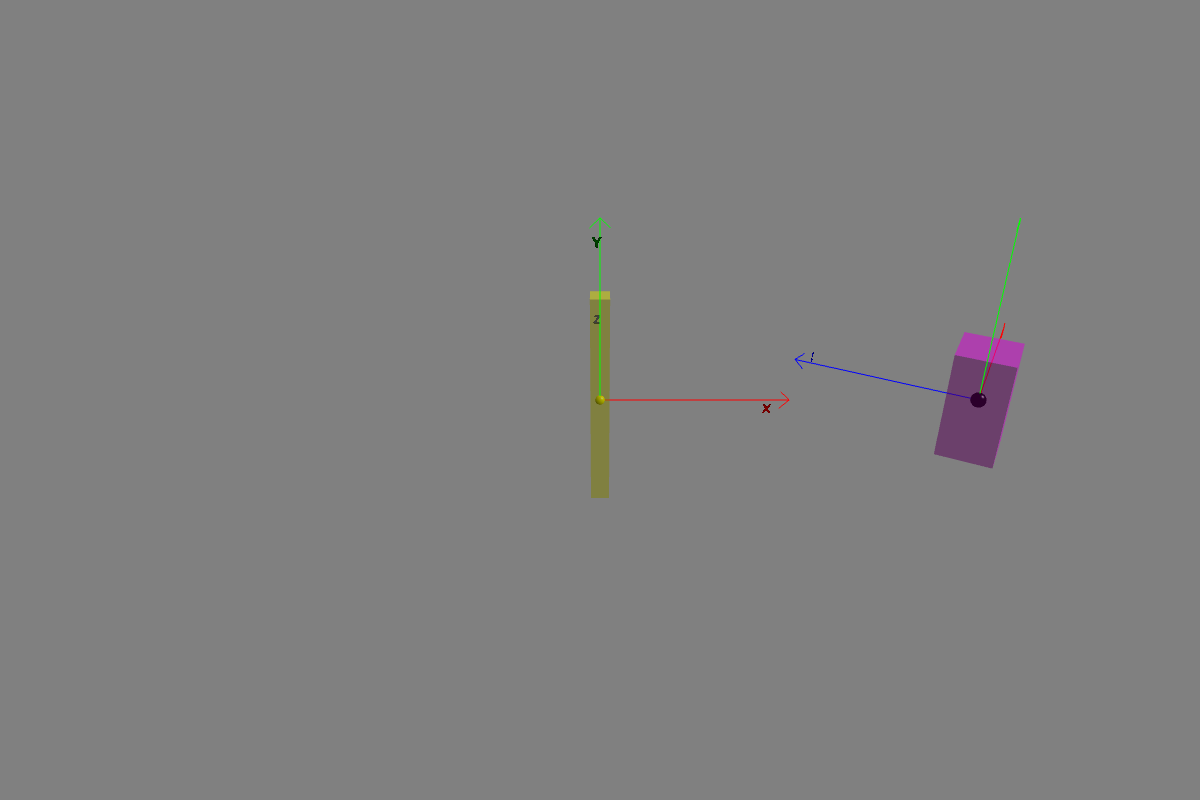
Compound Bodies
Learn all about physics compound bodies in Babylon.js.
Soft Bodies
Learn all about physics soft bodies in Babylon.js.