Extra Features
Summary
This section goes over some additional features and visual effects that you can use to enhance your game!
IBL (Image-Based Lighting)
Image-based lighting is great if you want to give your scene ambient light without using an actual light source. Since my implementation of the lanterns took up all of the actual light sources I could use, I needed to figure out a way to add some ambient light to my scene to make the background behind the player a little brighter.
Image-based lighting uses an HDRI image to provide light to a scene, which is particularly useful for PBR materials. Image-Based Lighting: The Easy Way was super helpful in explaining how IBL works and how to actually create the .env that is needed.
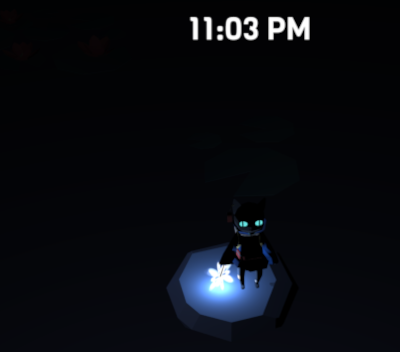
This is what the game scene looks like before using IBL:
This is what it looks like after we add IBL:
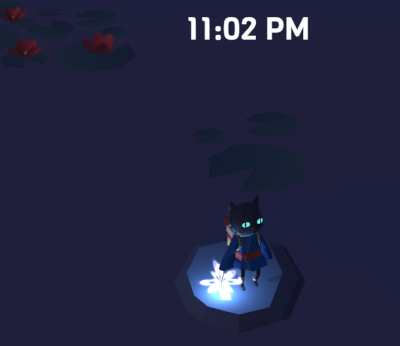
const envHdri = CubeTexture.CreateFromPrefilteredData("textures/envtext.env", scene);envHdri.name = "env";envHdri.gammaSpace = false;scene.environmentTexture = envHdri;scene.environmentIntensity = 0.04;It's especially helpful when you need the player to be able to see areas they can get to in the distance as well as providing light once the player's sparkler runs out.
Glow Layer
Another thing I've added for an extra visual boost is a glow layer. The glow layer is super easy to set up and can add a lot to a dark scene. I used it primarily with the lanterns since I wanted their light to be emphasized.
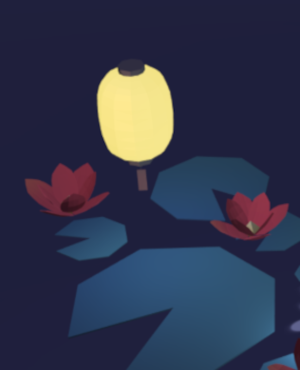
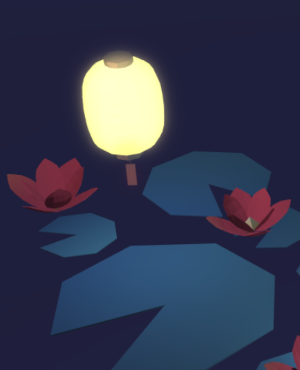
It really only takes 2 lines!
const gl = new GlowLayer("glow", scene);gl.intensity = 0.4;Transition Effect
When switching scenes, I wanted there to be a smooth transition, and I ended up finding a playground that used a post-process effect to fade the screen to black: here
We modified the effect to use RegisterShader instead of ShadersStore so that it made a bit more sense at first glance: here
I set this up in my project by:
- Setting up the post process in the goTo functions.
Effect.RegisterShader("fade", "precision highp float;" + "varying vec2 vUV;" + "uniform sampler2D textureSampler; " + "uniform float fadeLevel; " + "void main(void){" + "vec4 baseColor = texture2D(textureSampler, vUV) * fadeLevel;" + "baseColor.a = 1.0;" + "gl_FragColor = baseColor;" + "}");let fadeLevel = 1.0;const postProcess = new PostProcess("Fade", "fade", ["fadeLevel"], null, 1.0, camera);postProcess.onApply = (effect) => { effect.setFloat("fadeLevel", fadeLevel);};- Adding a variable to keep track of when we want the transition to happen.
this._transition = false;- Having the function for the scene change be called once the transition has finished rather than on button click.
scene.registerBeforeRender(() => { if (this._transition) { fadeLevel -= 0.05; if (fadeLevel <= 0) { this._goToCutScene(); this._transition = false; } }});In our button's onPointerDownObservable this._transition would be set to true.
The differences between this and the playground come from the fact that we want to go from no post-process effect to a full black screen, so our fadeLevel decreases to darken the screen. In addition, I set the fade length by using a fixed decrement value, whereas the playground cycles between fading in and out.
Custom Fonts
Adding custom fonts is really simple. I brought in some Google Fonts that I thought matched the game's style well by just modifying the index.html file. In the head of your index.html, just add the link you get from Google Fonts!
<head>    <meta charset="UTF-8">    <title>Hanabi</title>
    <link href="https://fonts.googleapis.com/css2?family=Ceviche+One&family=Viga&display=swap" rel="stylesheet"></head>
Resources
Files Used: