Using the Standard Rendering Pipeline (deprecated)
The standard pipeline is no longer maintained.
Default pipeline should be used going forward, but the standard pipeline will be kept for backward compatibility.
Introduction
This rendering pipeline simulates a chain of well-known post-process effects such as:
- Lens imperfections (overexposed surfaces are highlighted)
- Dirty lens effect
- Depth of field
- Motion Blur
- Volumetric Lights
Simple playground: Standard Rendering Pipeline Example Full playground: Standard Rendering Pipeline Example (full example)
Creating the rendering pipeline
Just create an instance of BABYLON.StandardRenderingPipeline
import { StandardRenderingPipeline } from "@babylonjs/core/PostProcesses/RenderPipeline/Pipelines/standardRenderingPipeline";var pipeline = new StandardRenderingPipeline("standard", // The name of the pipelinescene, // The scene instance1.0, // The rendering pipeline rationull, // The original post-process that the pipeline will be based on[camera] // The list of cameras to be attached to);Customizing
Bright threshold
Highlighted surfaces follow a configured numeric threshold. Each pixel whose intensity is above the given threshold creates lens imperfections. Just set the ".brightThreshold" property:
pipeline.brightThreshold = 0.8;Change exposure
To globally intensify the highlighted surfaces result before it is merged with the final scene color, you can change the .exposure property:
pipeline.exposure = 1.0; // which multiplies the final scene color with the highlighted surfaces resultBlur width
The blur width (or kernel size) can be customized and is equal to 512 by default.
pipeline.exposure = 128; // Blur is less expansive and is less spreadedSetting up the dirty lens effect
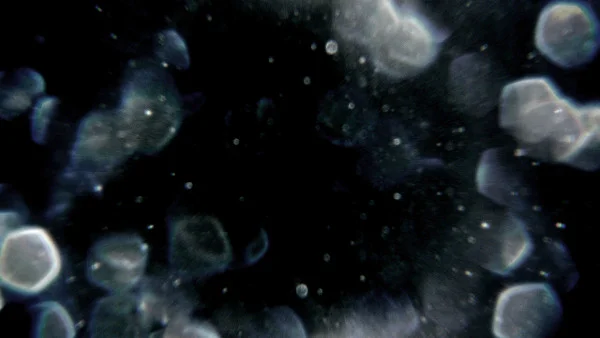
To add a dirty lens effect, you can set the ".lensTexture" mask texture (background must be black) which will be applied on the screen following the highlighted surfaces:
import { Texture } from "@babylonjs/core/Materials/Textures/texture";// Just create a new BABYLON.Texture containing the dirty lens maskpipeline.lensTexture = new Texture("lensdirt.jpg", scene);A dirty lens mask should look like:
Setting up the pseudo lens flare
Setting up textures
First, to activate the pseudo lens flare effect, just set the ".LensFlareEnabled" to true:
// Activating pseudo lens flare effectpipeline.LensFlareEnabled = true;Now, in order to work properly with the dirty lens effect (above), you can set your own dirt texture, which can be the same as the dirty lens effect. For example:
pipeline.lensTexture = pipeline.lensFlareDirtTexture = new Texture("lensdirt.jpg", scene);
// or
pipeline.lensFlareDirtTexture = new Texture("lens_flare_dirt.jpg", scene);
Now, you can add a "starbust" texture. This will disturb the final result and make it more realistic:
pipeline.lensStarTexture = new Texture("lensstar.jpg", scene);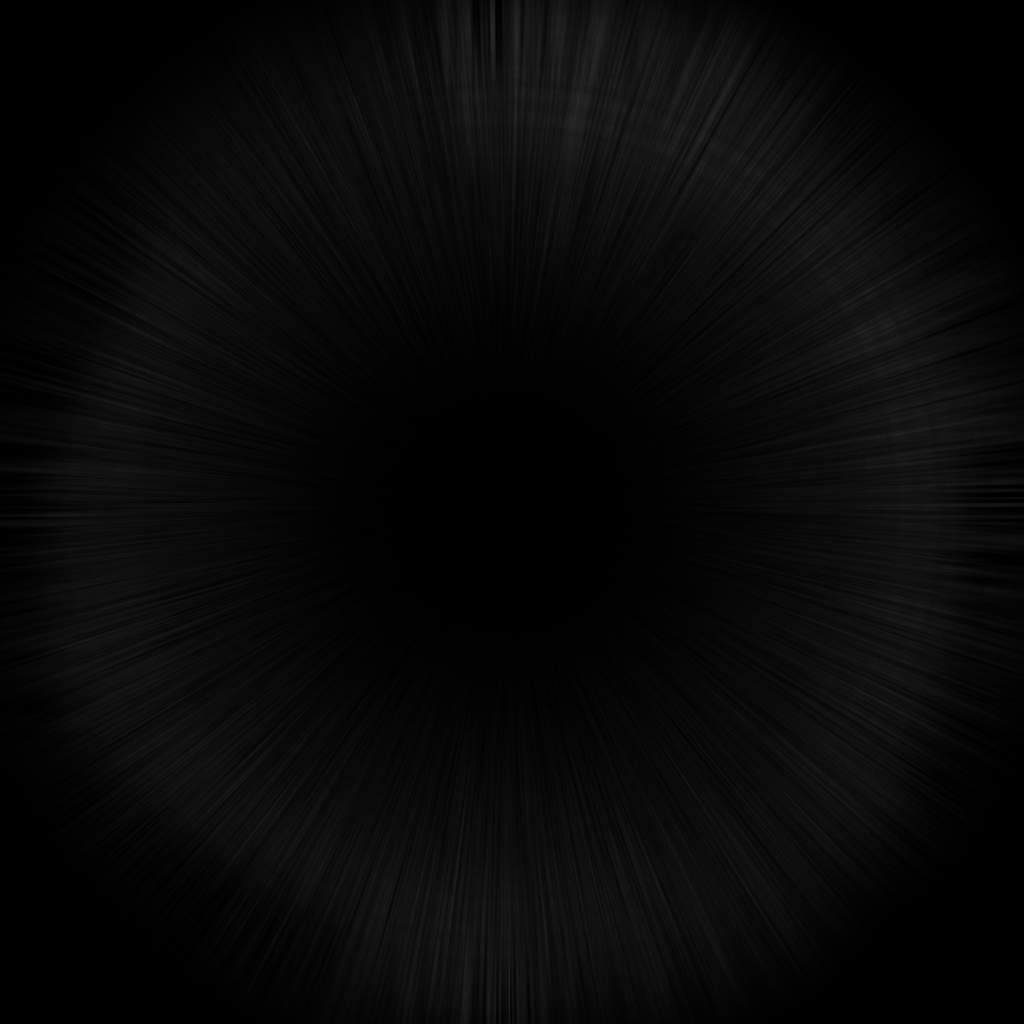
which gives:
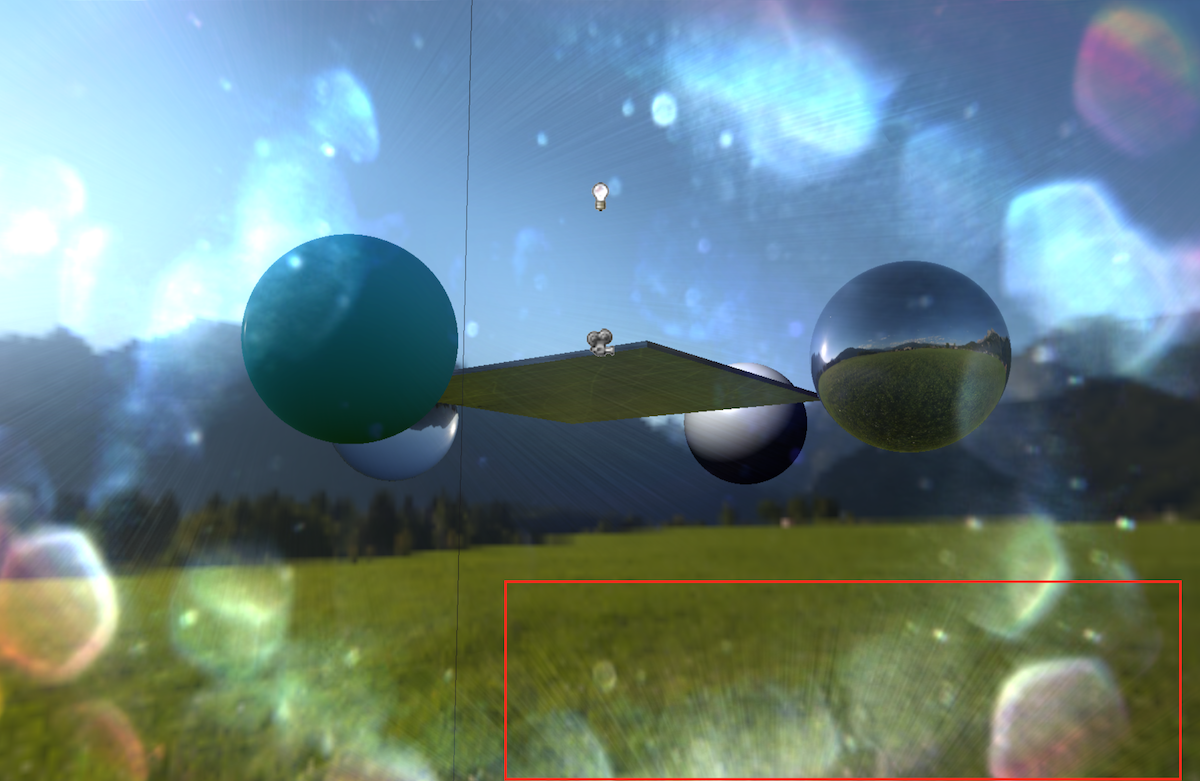
Finally, you can apply a palette of colors which will be used by the post-processes to disturb the lens flare colors:
pipeline.lensColorTexture = new Texture("lenscolor.png", scene);A color texture should look like:

Setting up parameters
Once you added the textures, you can customize some parameters that will allow you to customize the final result:
The strength:
// The strength of the final result of the pseudo lens flare effectpipeline.lensFlareStrength = 5; // By default 1.0The halo width:
// Sets the width of the halo used to render the pseudo lens flare effectpipeline.lensFlareHaloWidth = 1; // By default 0.4;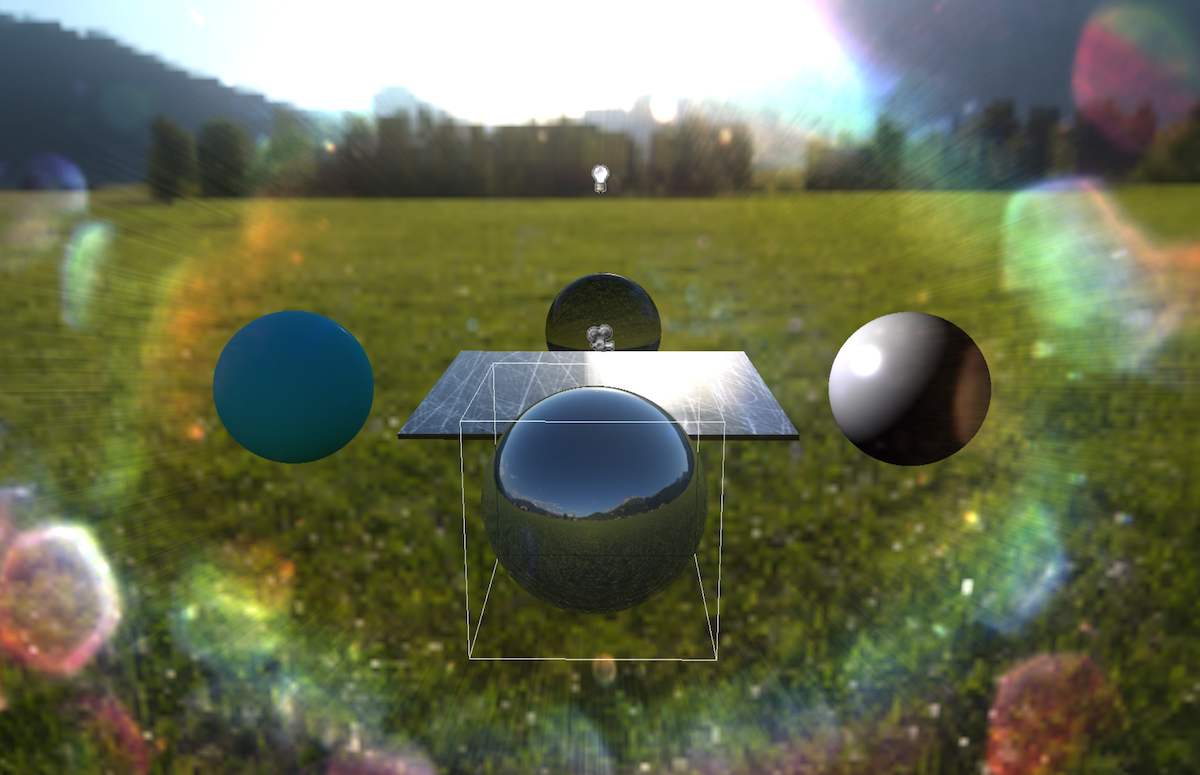
The distortion strength:
// The strength related to the lens color texturepipeline.lensFlareDistortionStrength = 35; // Default 4.0Setting up Luminance Adaptation
The standard rendering pipeline now allows you to compute luminance adaptation. This process simulates real-life behavior: if you focus on a highly bright zone, the camera will adapt itself. In other words, this technique allows you to create glare effects, and it is also linked to what we call "HDR".
Customizing luminance adaptation
First, let's activate the luminance adaptation:
pipeline.HDREnabled = true;That's all! Now, let's customize some properties:
// 1.0 is the default value. In dark zones, the camera will tend to adapt luminance// and get the global image less dark. More the value is near 0.0, more the image will be brightpipeline.hdrMinimumLuminance = 1.0;
// 0.5 is the default value. This simply sets the speed when the camera adapts the luminosity// in bright zonespipeline.hdrDecreaseRate = 0.5;
// 0.5 is the default value. This simply sets the speed when the camera adapts the luminosity// in dark zonespipeline.hdrIncreaseRate = 0.5;
Setting up the depth of field
Activating the depth of field
To activate the depth of field, simply set the property ".DepthOfFieldEnabled" to true:
// Active depth of fieldpipeline.DepthOfFieldEnabled = true;Customizing depth of field distance
To manipulate depth of field, you can set the distance to blur by setting the ".depthOfFieldDistance" property. This property represents the distance to focus on:
// Focus on 20 unitspipeline.depthOfFieldDistance = 20;Playground example: Custom Depth of Field Example
note: Activating the depth of field will activate the depth renderer of Babylon.js, which can have an impact on performances
Setting up the Motion Blur
As a demo, have a look at this video:
Motion Blur simply tries to blur the overall image when the camera moves fast.
Customizing Motion Blur
// Enable motion blur in the pipelinepipeline.MotionBlurEnabled = true;
// Default value is 1.0. More the motion strength is high, more the blur will be highpipeline.motionStrength = 0.5;
// Default value is 64.0. This property represents the quality of the effect. More the value is high// more the blur will be high quality. 64.0 is enough to have a beautiful resultpipeline.motionBlurSamples = 32.0;
note: Activating the Motion Blur will activate the depth renderer of Babylon.js, which can have an impact on performances
Setting up volumetric lights
Volumetric Lights, as seen in the playground available in the introduction, can be computed with a post-process.
note: Volumetric Lights require to have the multiple render targets support, basically WebGL 2 support
Customizing volumetric lights
// Enable Volumetric Lights computation in the pipelinepipeline.VLSEnabled = true;
// First, give the source light to the pipeline which must be a spot light or a directional light// The volumetric lights post-process needs a shadow map in order to work: it is used to test obstacles for the light rays// Then, the source light mush have a shadows generator:pipeline.sourceLight = <SpotLight> scene.getLightByName("spotLight");
// This represents the intensity of fog in the air. In other words, the light rays intensity in the shadowpipeline.volumetricLightPower = 4;
// This represents the overall quality of the volumetric lights post-process in interval [0, 100].// The default value is 50.0 and is enough for a good resultpipeline.volumetricLightStepsCount = 50;