More Materials
A range of effects can be achieved with textures using a few extra lines of code.
Bump Map
Bump mapping is a technique used to simulate bumps and dents on a rendered surface. These are created by making a normal map from an image. The means to do this can be found on the web; a search for 'normal map generator' will bring up free and paid methods of doing this.
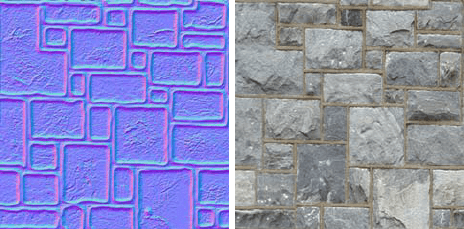
Normal Map from Image Original Image
A bump map can be used with a color, with its original image, or with another image, as shown below.
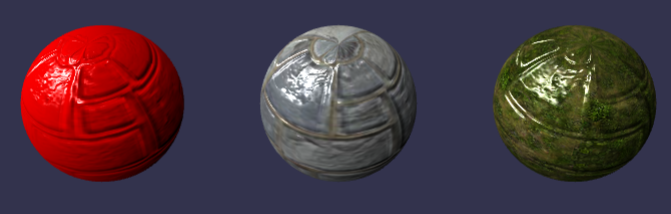
Creating a Bump Map Example
Just add a bumpTexture to an existing material.
import { StandardMaterial } from "@babylonjs/core/Materials/standardMaterial";import { Texture } from "@babylonjs/core/Materials/Textures/texture";const myMaterial = new StandardMaterial("myMaterial", scene);myMaterial.bumpTexture = new Texture("PATH TO NORMAL MAP", scene);Inverting Bumps and Dents
Use invertNormalMapX and/or invertNormalMapY on the material.
import { StandardMaterial } from "@babylonjs/core/Materials/standardMaterial";import { Texture } from "@babylonjs/core/Materials/Textures/texture";const myMaterial = new StandardMaterial("myMaterial", scene);myMaterial.bumpTexture = new Texture("PATH TO NORMAL MAP", scene);myMaterial.invertNormalMapX = true;myMaterial.invertNormalMapY = true;Opacity
The opacity of a material can be graded using an image with varying transparency. The following PNG image with a transparency gradient can be applied to a material using opacityTexture.
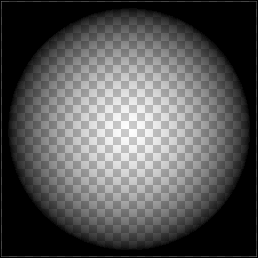
The same gradient is then applied to the material, as shown in the image below.
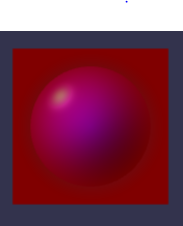
Applying Opacity
Add an opacityTexture to an existing material.
import { StandardMaterial } from "@babylonjs/core/Materials/standardMaterial";import { Texture } from "@babylonjs/core/Materials/Textures/texture";const myMaterial = new StandardMaterial("myMaterial", scene);myMaterial.opacityTexture = new Texture("PATH TO OPACITY MAP", scene);Tiling
When a material is applied to a mesh, the image used for a texture is positioned according to coordinates. Rather than x and y, which are already in use for the 3D axes, the letters u and v are used for the coordinates.
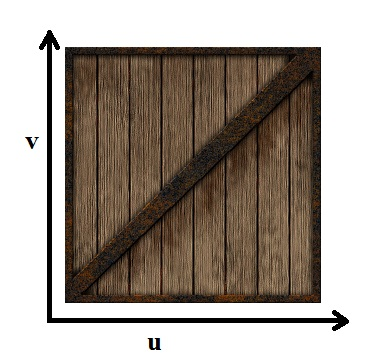
To tile an image, use the uScale and/or vScale properties of the texture to set the number of tiles in each direction.
myMaterial.diffuseTexture.uScale = 5.0;myMaterial.diffuseTexture.vScale = 5.0;Offsetting
To offset your texture on your mesh, you use the uOffset and vOffset properties, of the texture, to set the offset in each direction.
myMaterial.diffuseTexture.uOffset = 1.5;myMaterial.diffuseTexture.vOffset = 0.5;Details maps
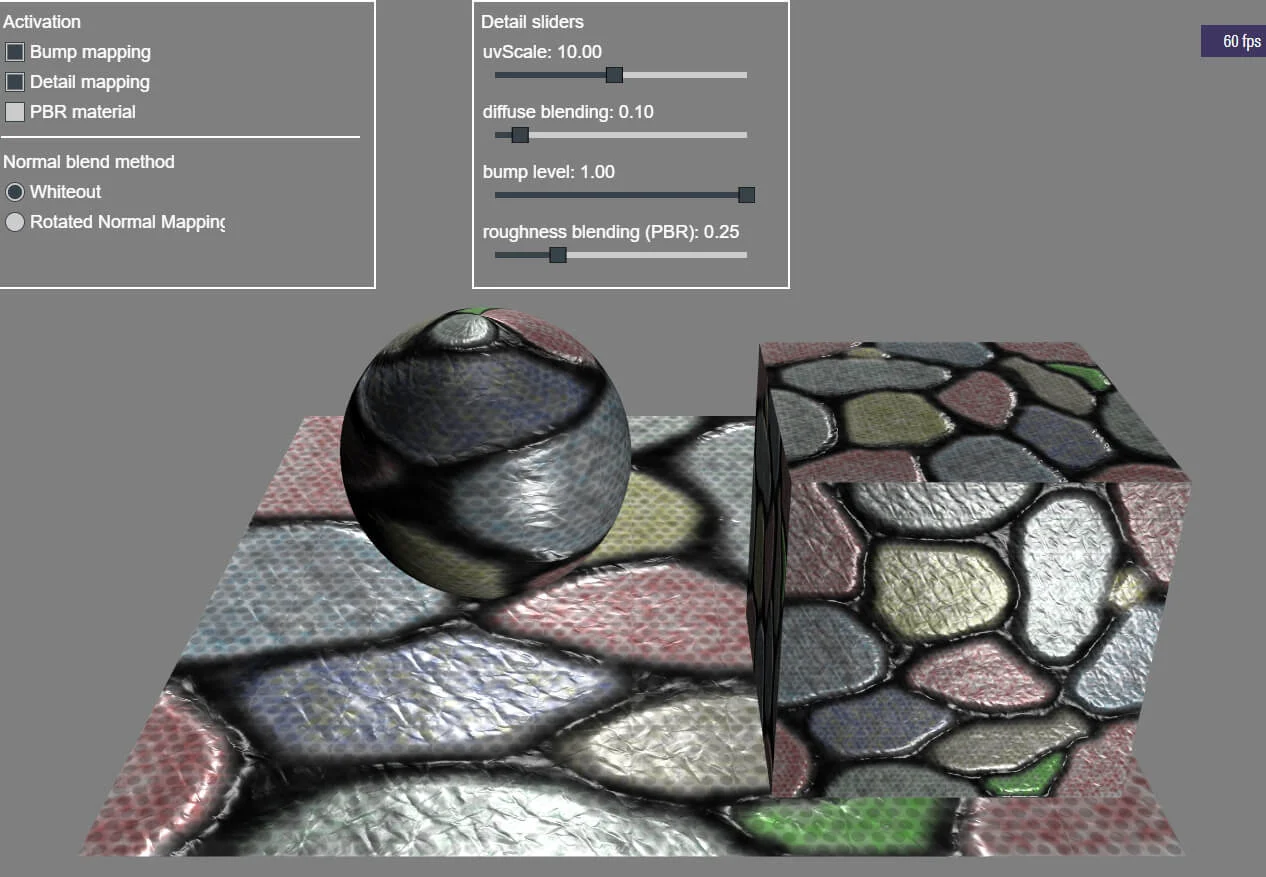
A detail map (also called secondary map) is generally used to add extra details to the regular main texture when viewed up close.
See for eg this marble texture without detail map:
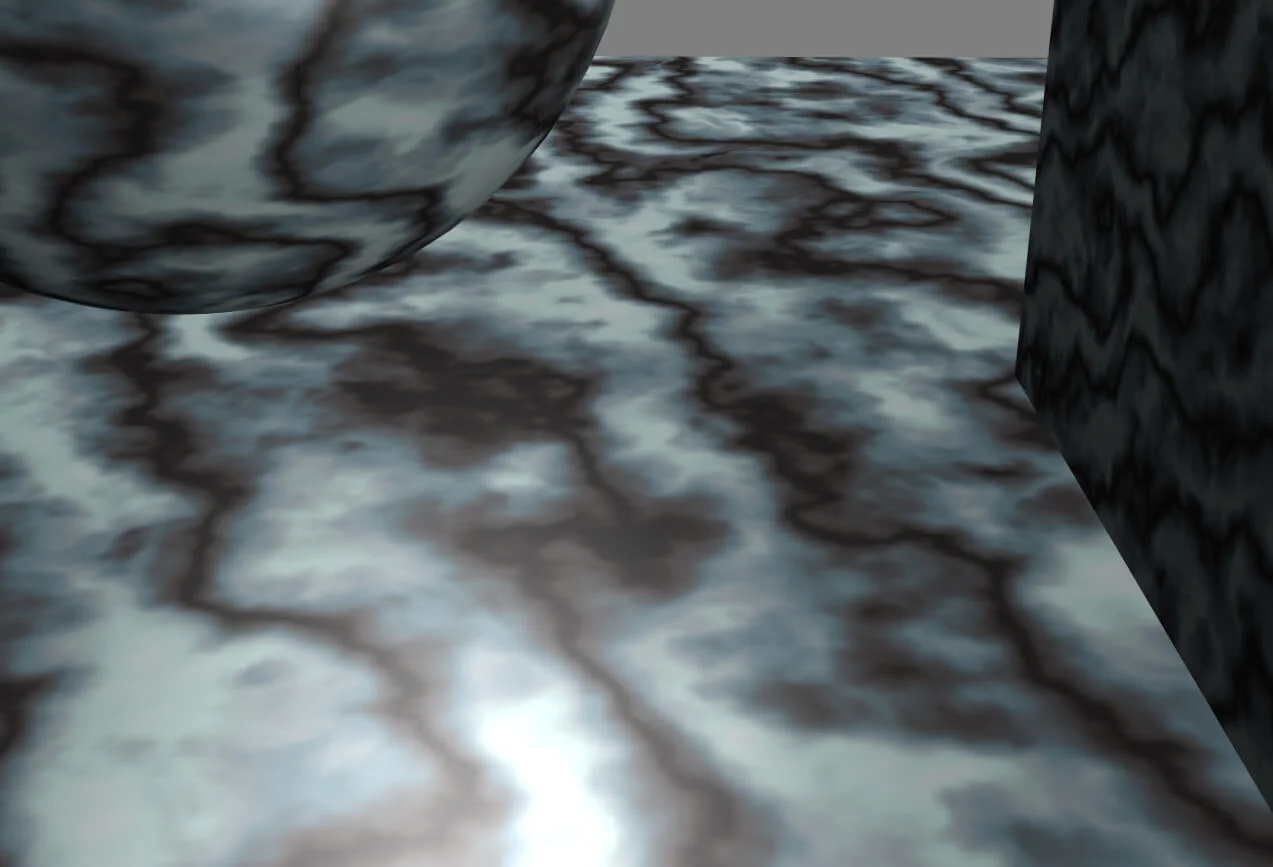
You can see fairly big areas with uniform colors because the texture is zoomed in.
You can use a detail map to improve on this:
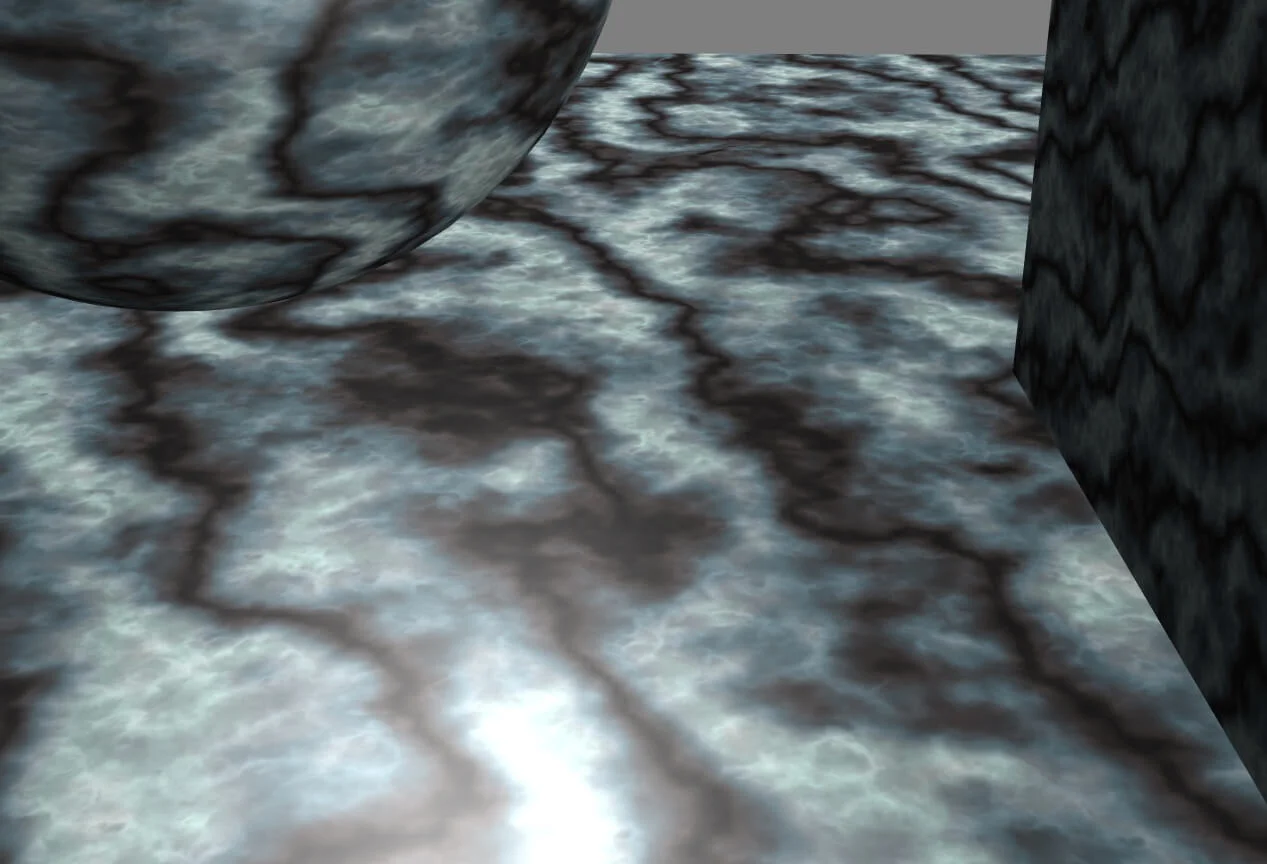
The detail map used in the picture above only contains an albedo (diffuse) channel which is tiled ten times over the main texture.
You can also add a normal channel in the detail map:
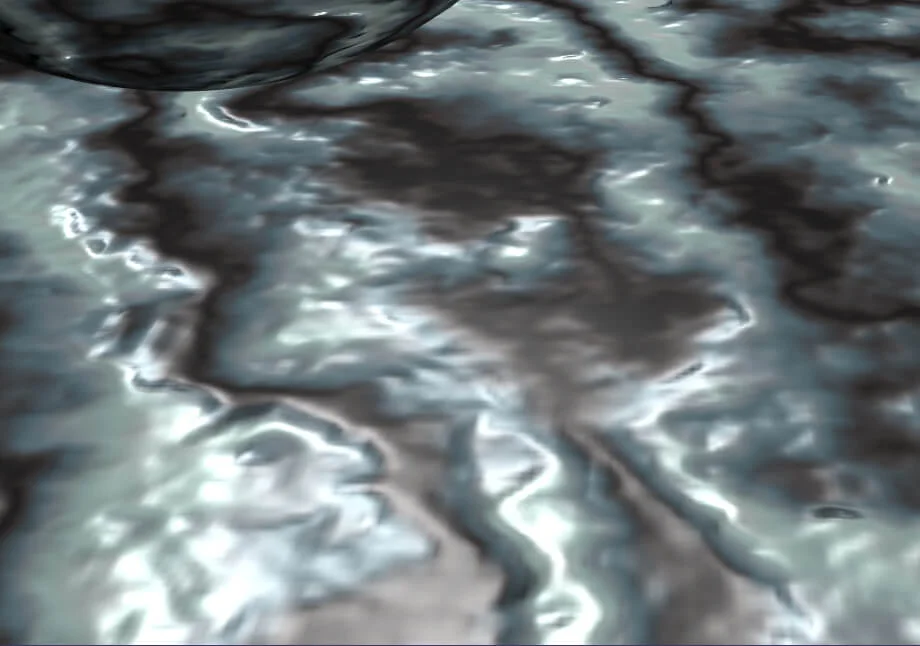
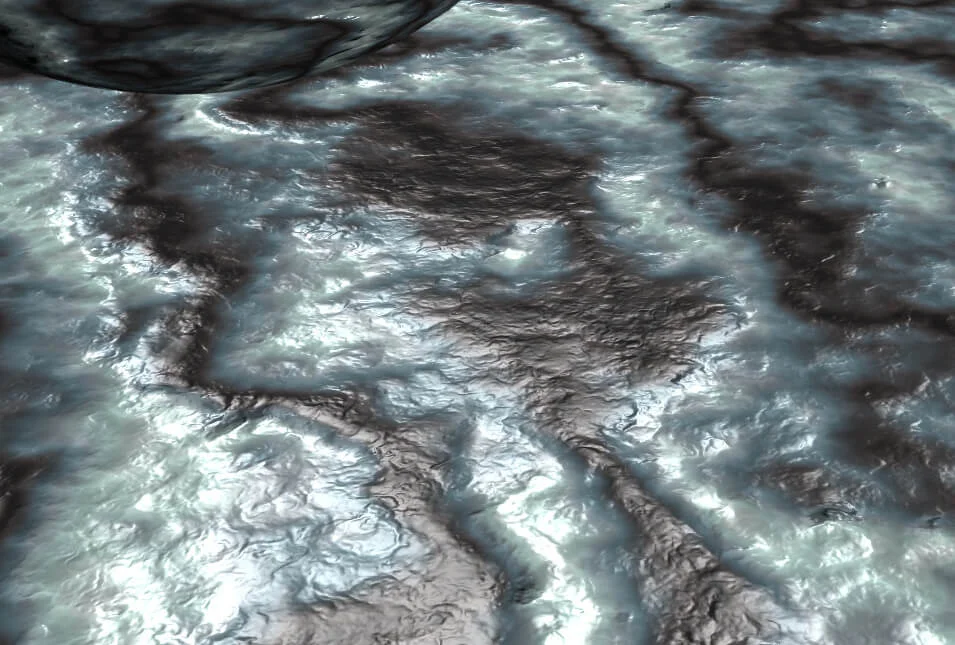
The first picture is the main + bump textures without detail map, the second picture is the main + bump textures + detail map with albedo and normal channels.
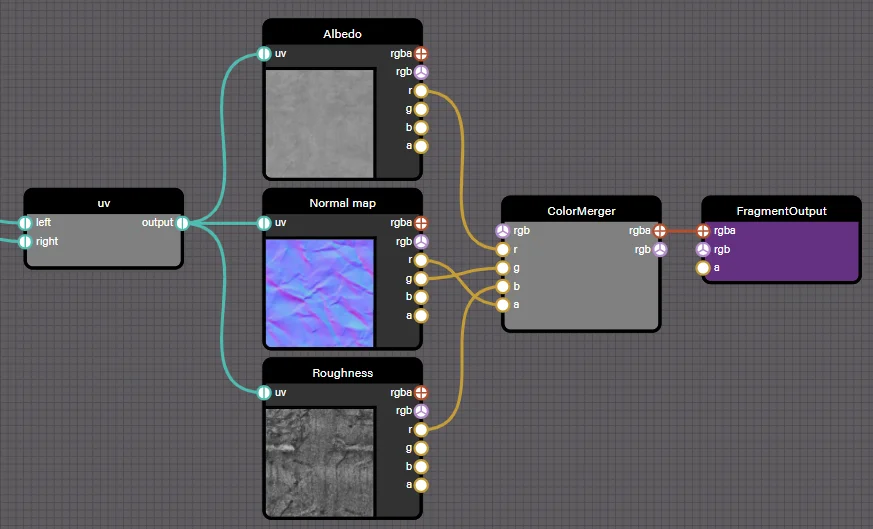
The detail map can contain albedo (diffuse), normal, and roughness (for PBR materials only) channels, arranged this way (following the Unity convention):
- Red channel: greyscale albedo
- Green channel: green component of the normal map
- Blue channel: roughness
- Alpha channel: red component of the normal map
A picture can help to better visualize the channels:
Note that a mid-gray value (0.5 on a 0..1 scale) for the channels will disable the effect: setting 0.5 in the Green and Alpha channels will disable the detail bump map, for example.
You can take advantage of this to make the detail map effects fade when the texture gets minimized on screen: you simply need to create mip maps that fade to the 0.5 value after a given level.
For eg, you can decide that the fading effect begins at mip level 3, and is fully achieved at level 5, meaning that from level 3 to 5 the R/G/B/A values are interpolated from their initial values to the 0.5 value, then at level 5 and onward all values are set to 0.5, disabling the detail map effects completely. If you use the mip map levels this way, don't forget to activate trilinear interpolation!
You can enable detail mapping this way:
import { Texture } from "@babylonjs/core/Materials/Textures/texture";myMaterial.detailMap.texture = new Texture("textures/detailmap.png", scene);myMaterial.detailMap.isEnabled = true;You can control the strength of the albedo/normal/roughness detail effects this way:
myMaterial.detailMap.diffuseBlendLevel = 0.1; // between 0 and 1myMaterial.detailMap.bumpLevel = 1; // between 0 and 1myMaterial.detailMap.roughnessBlendLevel = 0.25; // between 0 and 1You can use this PG to experiment with detail maps:
Using Detail Maps