Skyboxes
About Skyboxes
A simulated sky can be added to a scene using a "skybox" (wikipedia). A skybox is a large standard cube surrounding the scene, with a sky image painted on each face. (Images are a lot easier and faster to render than 3D objects, and just as good for far-distant scenery.)
In Babylon.js, skyboxes typically use CubeTexture as a pseudo-reflection texture on a large cube.
Creating a CubeTexture
The CubeTexture constructor takes a base URL and (by default) appends "_px.jpg", "_nx.jpg", "_py.jpg", "_ny.jpg", "_pz.jpg" and "_nz.jpg" to load the +x, -x, +y, -y, +z, and -z facing sides of the cube. (These suffixes may be customized if needed.)
CubeTexture images need to be .jpg format (unless the suffixes are customized) and square. For efficiency, use a power of 2 size, like 1024x1024.
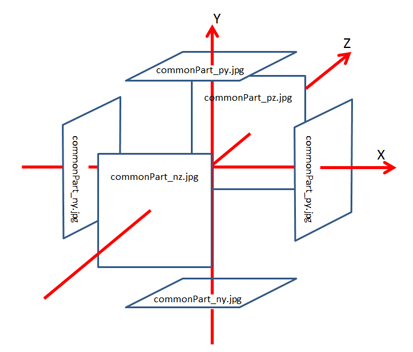
Note, despite being a "Texture", CubeTexture can ONLY be used with reflectionTexture and refractionTexture, NOT other Material properties like diffuseTexture. See below for the appropriate settings for a skybox.
Using Equirectangular Images
Normally, Babylon.js skyboxes require six separate cube faces. However, if you only have a single equirectangular image (like an HDR 360 panorama), you can convert it efficiently using GPU acceleration.
See the Single-Draw Equirectangular to Cubemap Converter community project for a demo and implementation details.
Making or Finding Skybox Images
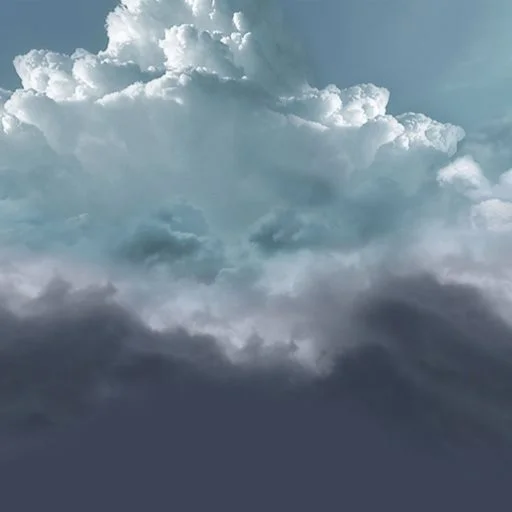
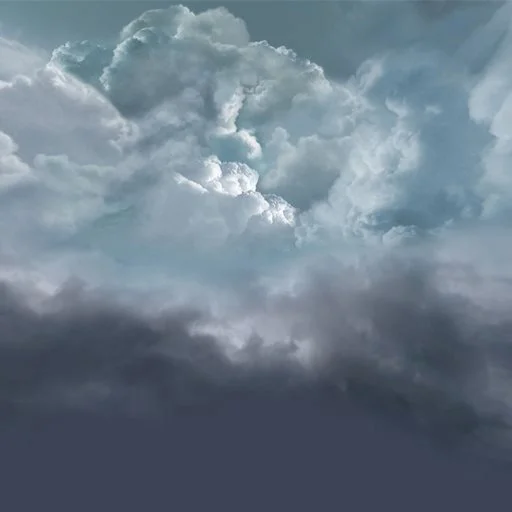
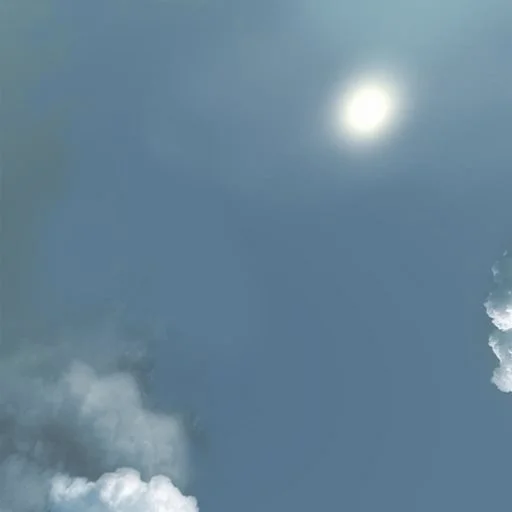
This is an example set of skybox images:
 |  |  |  | 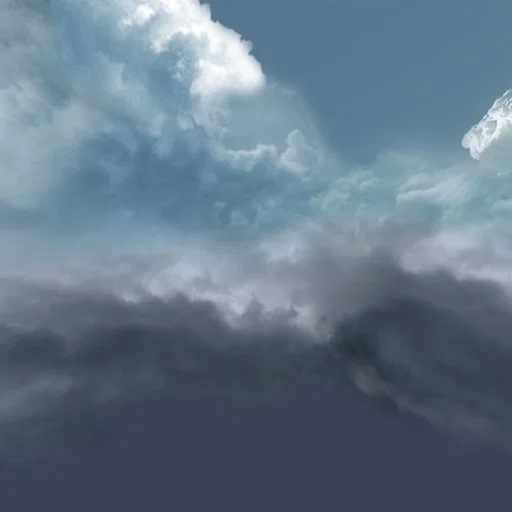 | 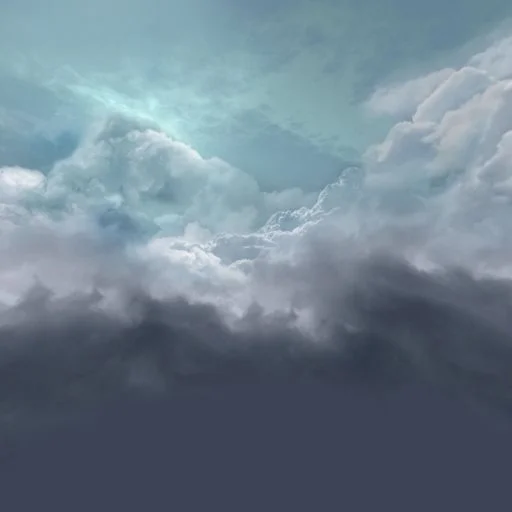 |
|---|---|---|---|---|---|
| skybox_px.jpg | skybox_nx.jpg | skybox_py.jpg | skybox_ny.jpg | skybox_pz.jpg | skybox_nz.jpg |
Notice that the images match seamlessly at the edges of the box:
| | | | |
|---|---|---|---|---|
| _nz | _nx | _pz | _px | _nz (again) |
You can search the web for "skybox images" to find many examples. These are often a single image of an unfolded cube, which you would need to slice into the six separate images for CubeTexture to load. The cube textures in the playground library may also be useful, and they are already in the appropriate format.
Making the Skybox
Cube textures must be applied using reflectionTexture even though skyboxes are not actually reflections; set coordinatesMode to SKYBOX_MODE to paint the texture directly on the cube rather than simulating reflection.
There are two ways to proceed. Let's start with a manual creation to understand how things work under the hood, and then we will be able to use an automatic one.
Manual creation
First, create our box. There is nothing new here; just note the disabled backface culling:
import { StandardMaterial } from "@babylonjs/core/Materials/standardMaterial";import { MeshBuilder } from "@babylonjs/core/Meshes/meshBuilder";const skybox = MeshBuilder.CreateBox("skyBox", { size: 100.0 }, scene);const skyboxMaterial = new StandardMaterial("skyBox", scene);skyboxMaterial.backFaceCulling = false;skyboxMaterial.disableLighting = true;skybox.material = skyboxMaterial;Next, we set the infiniteDistance property. This makes the skybox follow our camera's position.
skybox.infiniteDistance = true;Now we must remove all light reflections on our box (the sun doesn't reflect on the sky!):
skyboxMaterial.disableLighting = true;Next, we apply our special sky texture to it. This texture must have been prepared as a skybox, in a dedicated directory named “skybox” in our example:
import { CubeTexture } from "@babylonjs/core/Materials/Textures/cubeTexture";import { Texture } from "@babylonjs/core/Materials/Textures/texture";skyboxMaterial.reflectionTexture = new CubeTexture("textures/skybox", scene);skyboxMaterial.reflectionTexture.coordinatesMode = Texture.SKYBOX_MODE;(More about reflectionTextures can be found in our Unleash the Standard Material tutorial.)
In that /skybox directory, we must find 6 sky textures, one for each face of our box. Each image must be named per the corresponding face: “skybox_nx.jpg” (left), “skybox_ny.jpg” (down), “skybox_nz.jpg” (back), “skybox_px.jpg” (right), “skybox_py.jpg” (up), “skybox_pz.jpg” (front). The "_nx.jpg" is added to your path.
Skybox textures need not be textures of sky alone. You can search the internet for skyboxes and find buildings, hills, mountains, trees, lakes, planets, stars, and more as part of skybox textures, but some require payment.
You can also use dds files to specify your skybox. These special files can contain all information required to setup a cube texture:
import { CubeTexture } from "@babylonjs/core/Materials/Textures/cubeTexture";skyboxMaterial.reflectionTexture = new CubeTexture("/assets/textures/SpecularHDR.dds", scene);Final note: if you want your skybox to render behind everything else, set the skybox's renderingGroupId to 0, and every other renderable object's renderingGroupId to a value greater than zero, for example:
skybox.renderingGroupId = 0;
// Some other meshmyMesh.renderingGroupId = 1;
More info about rendering groups and rendering order can be found here.
Simple Skybox ExampleAutomatic creation
Now that we understand how a skybox can be created, let's move to a simpler way:
import { CubeTexture } from "@babylonjs/core/Materials/Textures/cubeTexture";envTexture = new CubeTexture("/assets/textures/SpecularHDR.dds", scene);scene.createDefaultSkybox(envTexture, true, 1000);Check out scene helpers for more information on this and other helpers.
Ground Projection
Introduced in version 6.27.0, ground projection lets you "fake" a ground from within your skybox. This can help a lot with grounding your models without requiring extra meshes or textures. It ensures a smooth transition from the "ground" to the environment. As this can be hard to understand, here is a Playground showing the same scene with and without ground projection.
Ground Projection PlaygroundEnabling ground projection requires a few steps similar to creating a skybox.
First, create a box right below your object. The bottom face position needs to be coplanar with the "fake ground" to support shadows and ensure they do not suffer from any distortions.
import { Mesh } from "@babylonjs/core/Meshes/mesh";import { MeshBuilder } from "@babylonjs/core/Meshes/meshBuilder";const size = 1000;const skydome = MeshBuilder.CreateBox("sky", { size, sideOrientation: Mesh.BACKSIDE }, scene);skydome.position.y = size / 2;skydome.receiveShadows = true;Notice that the side orientation is flipped so you can see the faces from within the box. This prevents the need to alter the backFaceCulling setup.
Next, let's create a BackgroundMaterial to support ground projection.
import { BackgroundMaterial } from "@babylonjs/core/Materials/Background/backgroundMaterial";const sky = new BackgroundMaterial("skyMaterial", scene);sky.enableGroundProjection = true;sky.projectedGroundRadius = 20;sky.projectedGroundHeight = 3;skydome.material = sky;The projectedGroundRadius and projectedGroundHeight respectively simulate the radius of the disc representing the ground and how high it should be within the skybox. The size of the box you picked in the first step should be at least equal to or larger than the selected radius.
Next, we apply our special sky texture to it. This texture must have been prepared to be a skybox, in a dedicated directory, named “skybox” in our example:
import { CubeTexture } from "@babylonjs/core/Materials/Textures/cubeTexture";sky.reflectionTexture = new CubeTexture("textures/skybox", scene);