Advanced Collisions
Setting Advanced Collisions
Checking collisions on complex objects can have a big impact on performance, even for cameras and meshes
using the .moveWithCollisions method. The editor provides a tool to easily set up collision shapes on any mesh object in the scene
in order to improve performance.
Introduction
Basic Collisions
By default, Babylon.JS checks for collisions using a complex algorithm that checks collisions per triangle for each mesh near the camera or the mesh being moved with collisions. Sometimes, checking collisions on the bounding box is more than sufficient.
The method would consist of:
- Create by code a new cube mesh or sphere mesh (named
collider) - Add the collider as a child of the mesh
- Apply the bounding box properties of the mesh to the collider
- Disable collisions on the mesh and enable collisions on the collider.
In that way, the collider will always follow the transform of the mesh, and the camera will only check collisions on the cube or sphere collider instead of checking collisions on the entire mesh per triangle.
Advanced Collisions
Let's imagine a more complex scenario where box and sphere collisions are not sufficient: the stairs. In that case, only "per triangle" collisions will allow you to go upstairs in a natural way.
If the stairs 3D model is too complex, and in order to save performance, the solution would be to provide (or generate on the fly) a less detailed 3D model for the stairs.
The method would consist of creating a lower level-of-detail object for the source mesh (instead of a cube or sphere), made by an
artist or using the Auto-LOD Simplification Tool of Babylon.JS
and perform the same next steps for Basic Collisions.
The problem here is that generating a lower level of detail takes time, and simplifying a mesh using the simplification method is asynchronous.
Editor To The Rescue
The editor provides a tool to generate these colliders for each mesh to save time and improve performance.
Editing Advanced Collisions
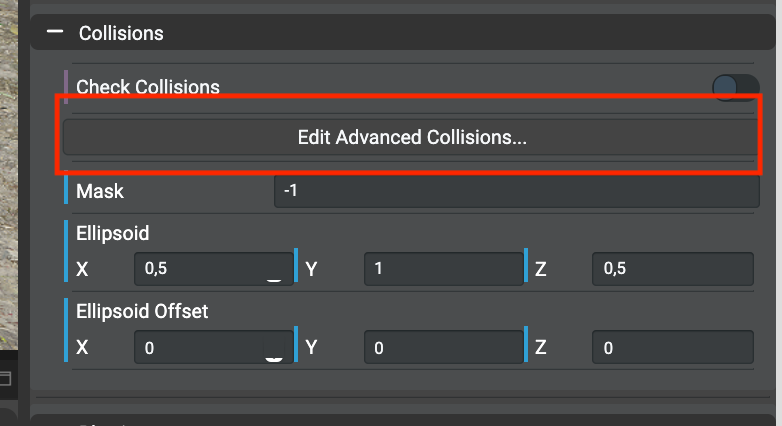
To edit advanced collisions, select a mesh in the graph, scroll in the inspector to find the Collisions section,
and click the Edit Advanced Collisions... button. When clicked, a new tool opens over the inspector showing the current
state of the object's collisions.
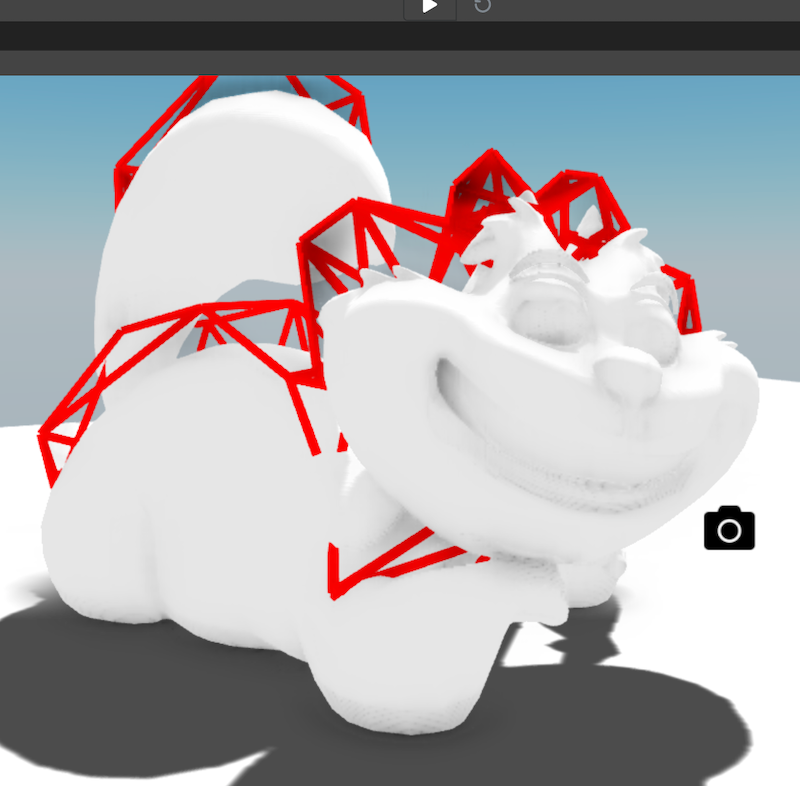
Understanding The Tool
Once opened, the tool shows the current collision state of the object (here None). To select a collider type,
just open the list box and select the desired collider type. Each time a collider type is changed, the mesh's collision component
is updated in the preview and shown in red.
Note: For meshes that have instances, each time a collider type is changed, all instances are updated to introduce the new collider component.
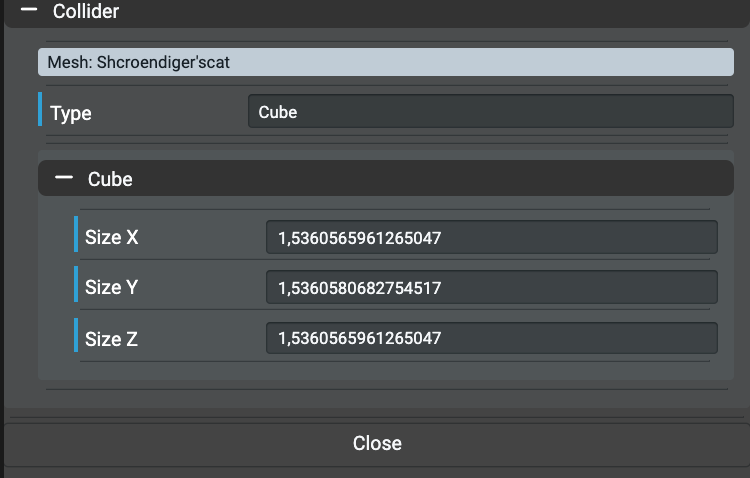
Cube Collider
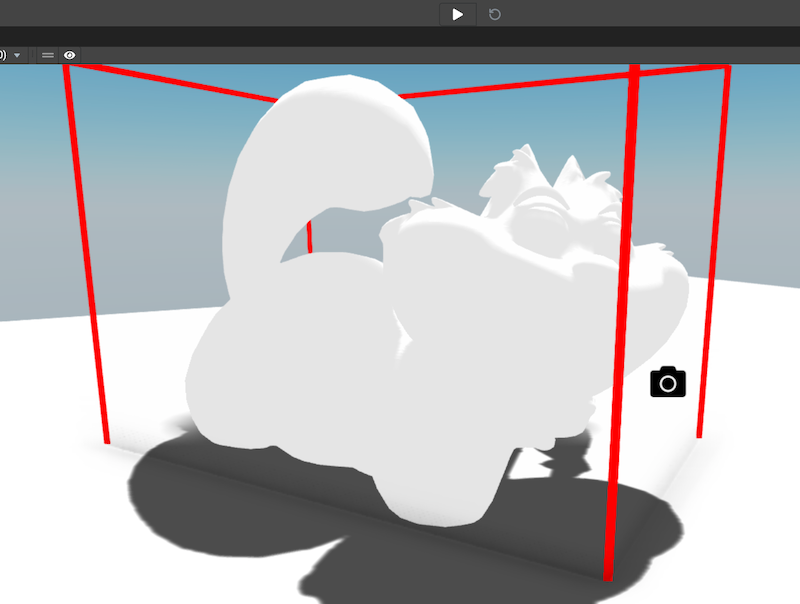
The Cube collider is the most performant collider and allows collisions to be checked only on the bounding box of the mesh.
In other words, just imagine that the following model will have collisions checked as if it were a cube instead of a complex mesh:
Sphere Collider
As with the Cube collider, the Sphere collider checks collisions on the bounding sphere of the mesh
instead of the bounding box of the mesh. In some cases, that collider can be useful, especially if the moving platform is a sphere.
LOD Collider
Taking the specific scenario example (the stairs), the tool allows you to create an Auto-LOD according to a few properties.
It uses the QuadraticErrorSimplification implementation in Babylon.JS and allows you to pre-generate the lower level of detail
that will be saved as well as the rest of the scene. In other words, no extra work is needed.
To understand the properties, check the
following documentation
for the Optimize Mesh property and the
following documentation
for the quality property.
For information, the tool shows the base vertex count vs. the LOD vertex count. This can help you understand how much the mesh has been simplified. Take care not to simplify too much in order to keep the overall topology of the mesh in the case of, for example, the stairs.
In most cases, setting the quality as "0.01" works where the vertices count can change from 77 424 to 882.
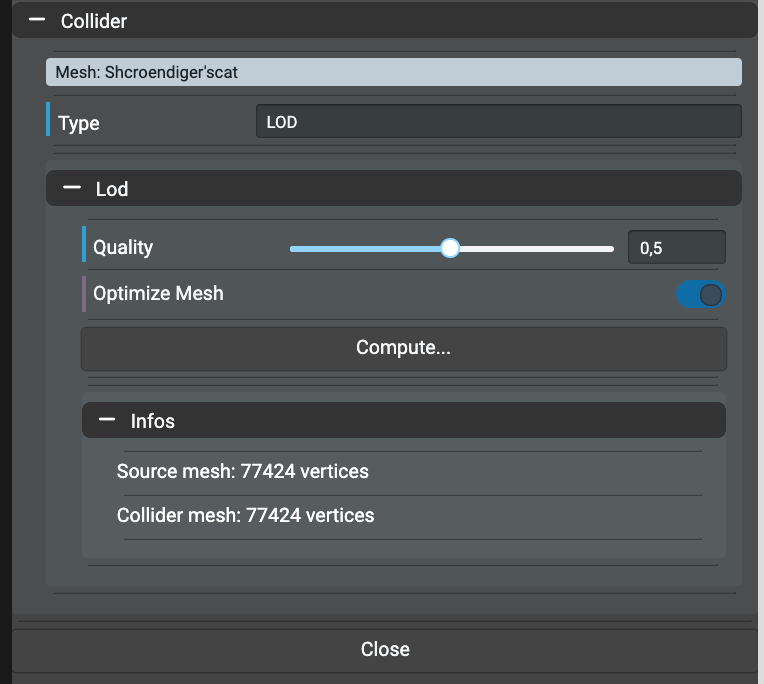
Once the properties are set, just click the Compute... button to generate the LOD, and an overlay appears to indicate that the
algorithm is working. Once done, the Infos section is updated to show the new vertex count value, and the collider mesh in the preview
is updated as well: